Co-Wrapping Gifts or... When you have a Huge Family

Fun Gift Wrapping

I have three sisters and one brother. Christmas is the only time every year we get to see each other. In fact, just this morning our brother flew in from Washington DC -- and shortly after he woke me up, I asked him to pose with our Christmas gifts. 

Why? Because this year we came up with a great idea: co-wrapping. This is how it works: each of our family members picked a wrapping paper. Then, we wrapped each of our gifts for our siblings in that paper. BUT, as a truly millennial clan, we've been emailing and online shopping for weeks, and many of our gifts were joint purchases. For example:

  • Jack, Colleen and I bought a gift together for our sisters Katie and Claire.
  • Claire and Katie bought a gift for me.
  • Jack, Claire and I bought a gift for our mom.
  • And we all went in on a gift for our dad. 

So for those purchases: we co-wrapped. The epic wrapping job below is our masterpiece. It's like our dad is receiving two gifts.... because the wrapped package is a gift in itself, don't you think? ;D

Fun gift wrapping for big families
Co-wrapping Christmas Gifts

Anyway, I'm signing off to pop open a bottle of wine with my sisters and sit by the fireplace. I wish you all the most wonderful, warm and lovely Christmas and I hope you are spending it with the ones you love most. xox


Photography: Annie Butler / Model: Jack Butler / Creative Director: Claire Butler
^^^ It's a family affair 😂

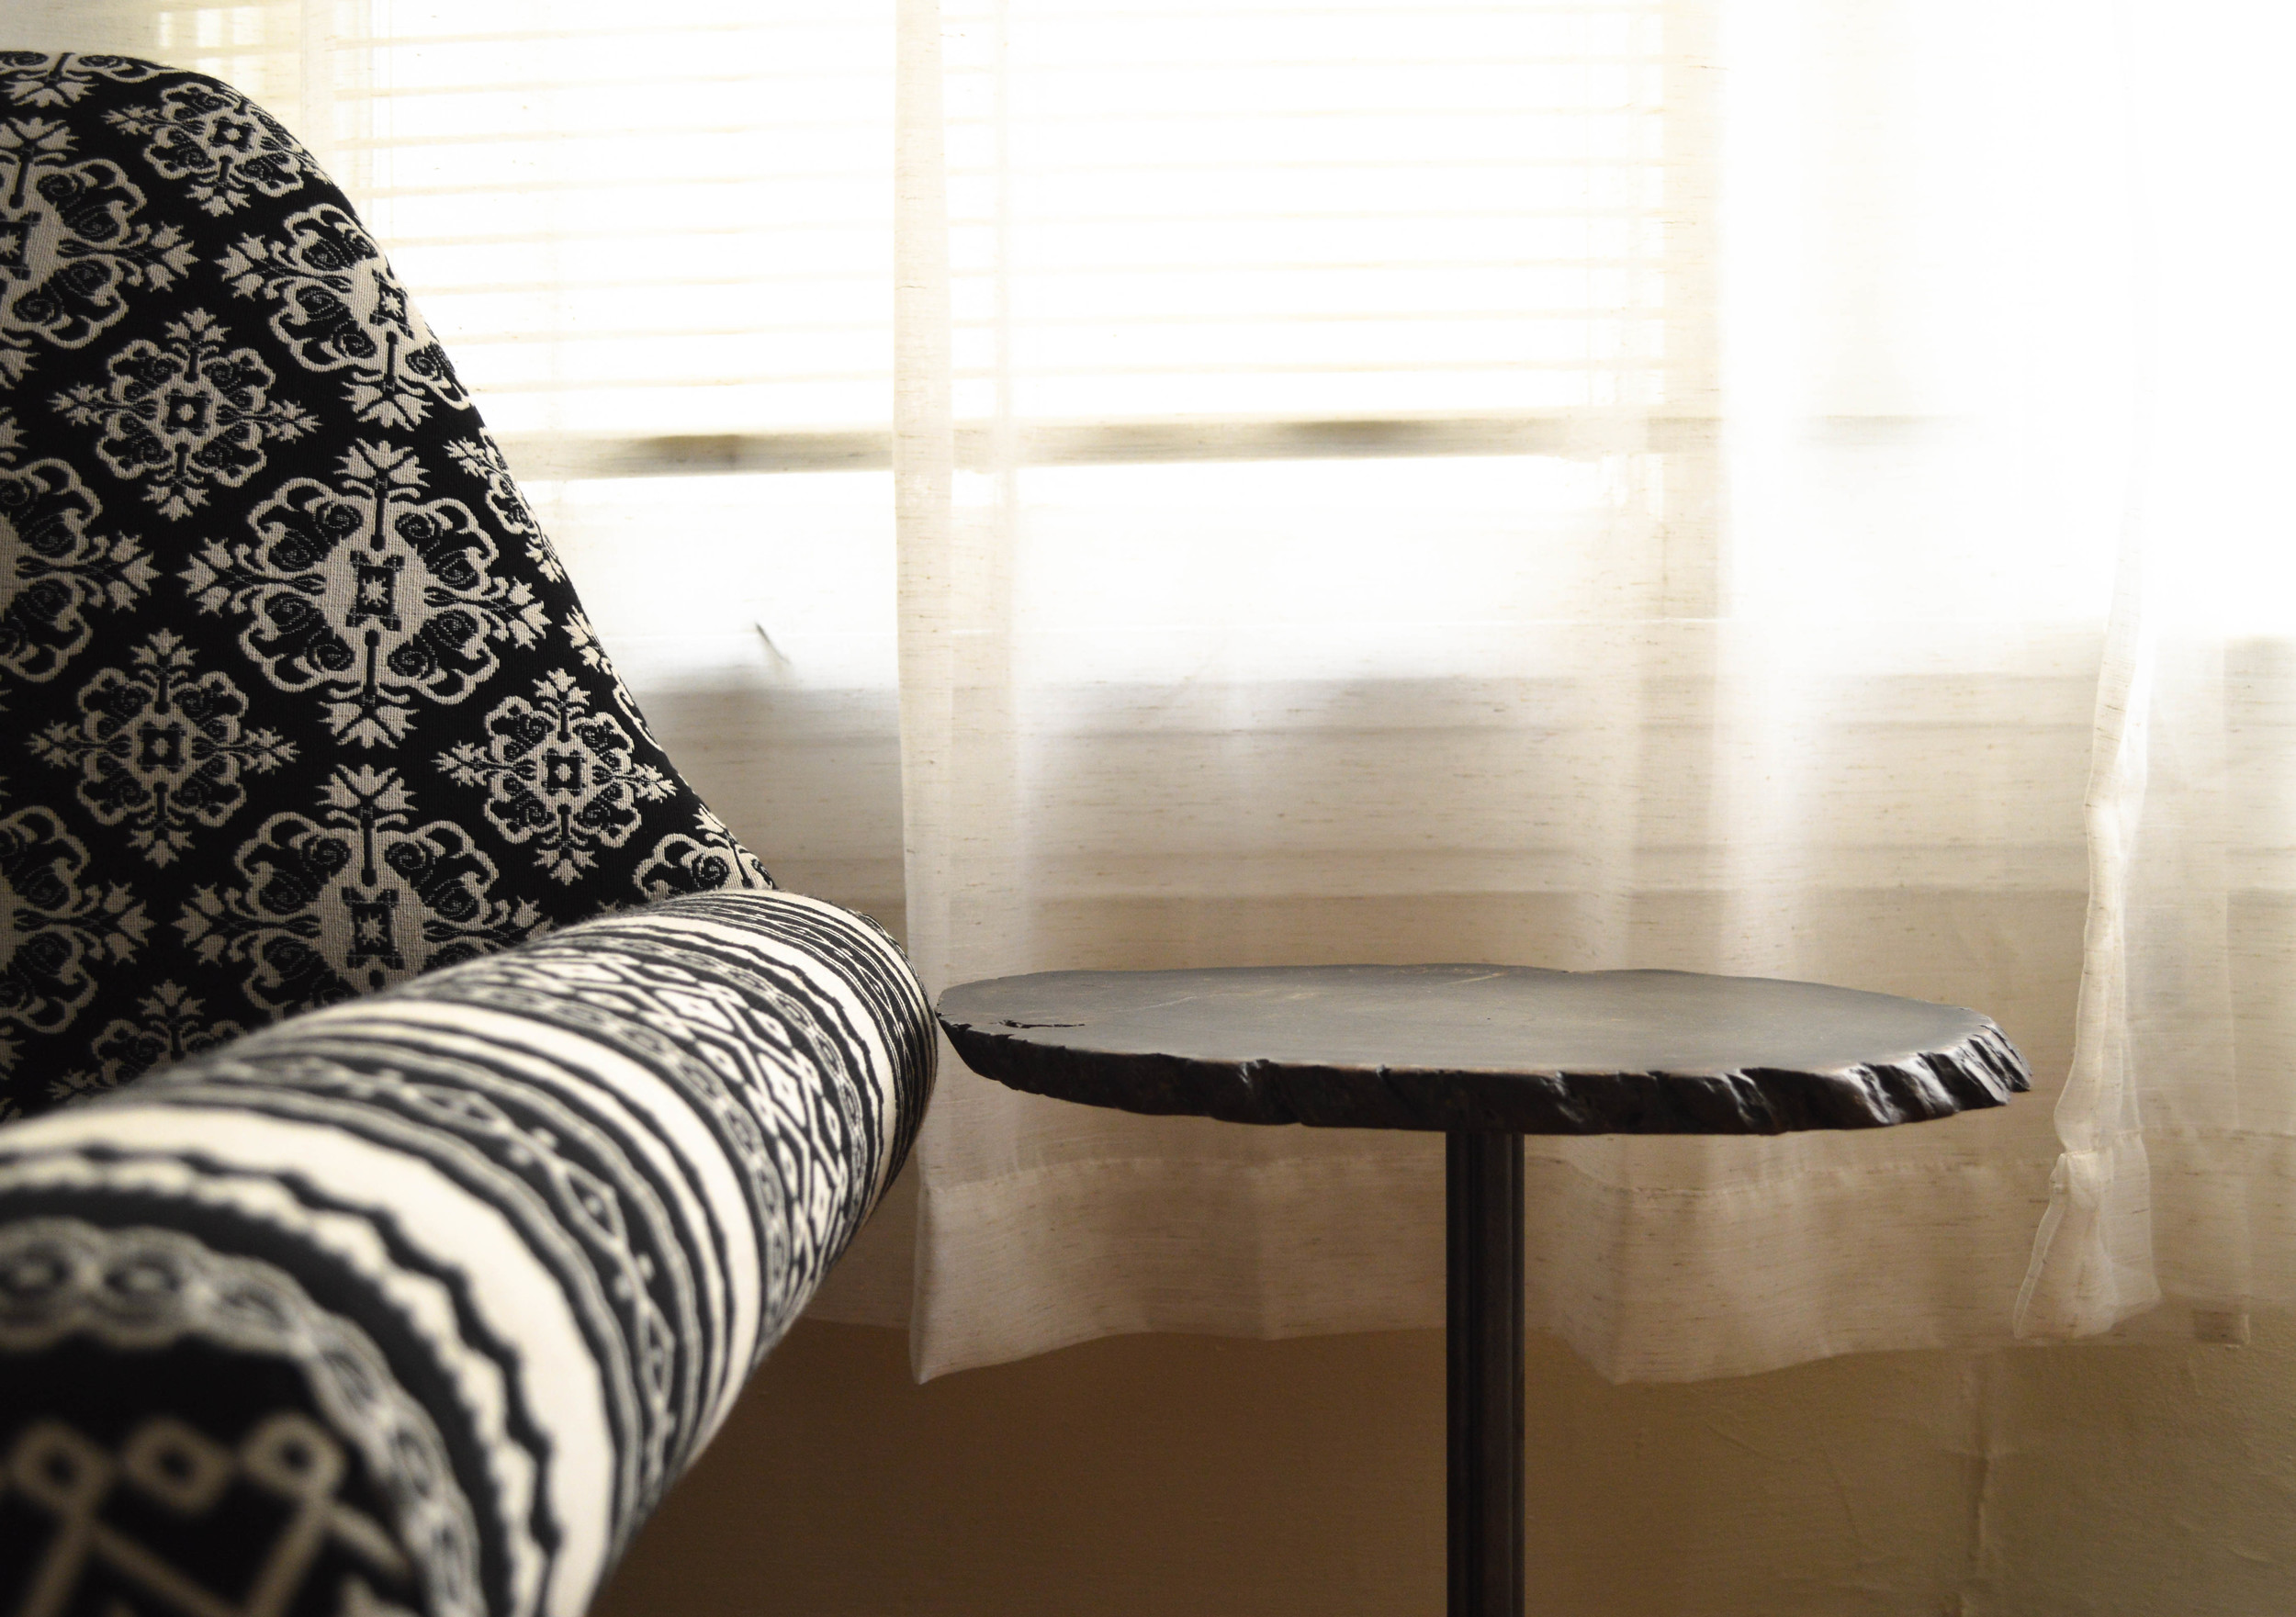
DIY Easy Tree Slice Side Table

DIY easy tree slice side table

I love craft and office supplies stores. Kinda weird, I know. Lucky for me, I pass a Michael's every day on the mile walk between my office and Caltrain station and often find a reason to stop inside. One day I found these wooden slabs, and though I didn't know what I was going to do with it, I bought one. My first plan was to make a hanging side table. Then, wait, serving tray. Wait, wait, maybe a cheese plate?

Finally, I landed on small side table and got to it.

The tree slice came pre-sanded with natural bark along the outside. Spoiler: dry tree bark is pretty flakey. I used a coarse grit sand paper (100) to take off the top coat of bark along the sides and a fine grit sand paper (220) to sand down the top as an extra precaution. Admittedly, I didn't do great research, so I didn't know basswood soaks up stain supahhhhh fast. In retrospect, I should have probably conditioned it ahead of time, but instead, I went straight to the ebony stain and it turned the wooden tree slice PITCH BLACK.  

I immediately tried to wipe it off, but couldn't get much. So, I let it dry overnight and used several pieces of sandpaper to lighten the coat in the morning. I didn't love it, but couldn't turn back. So, I added three coats of matte polyurethane to the top and bark (two hours apart with light 220 grit sanding in between) and let it set for 48 hours. 

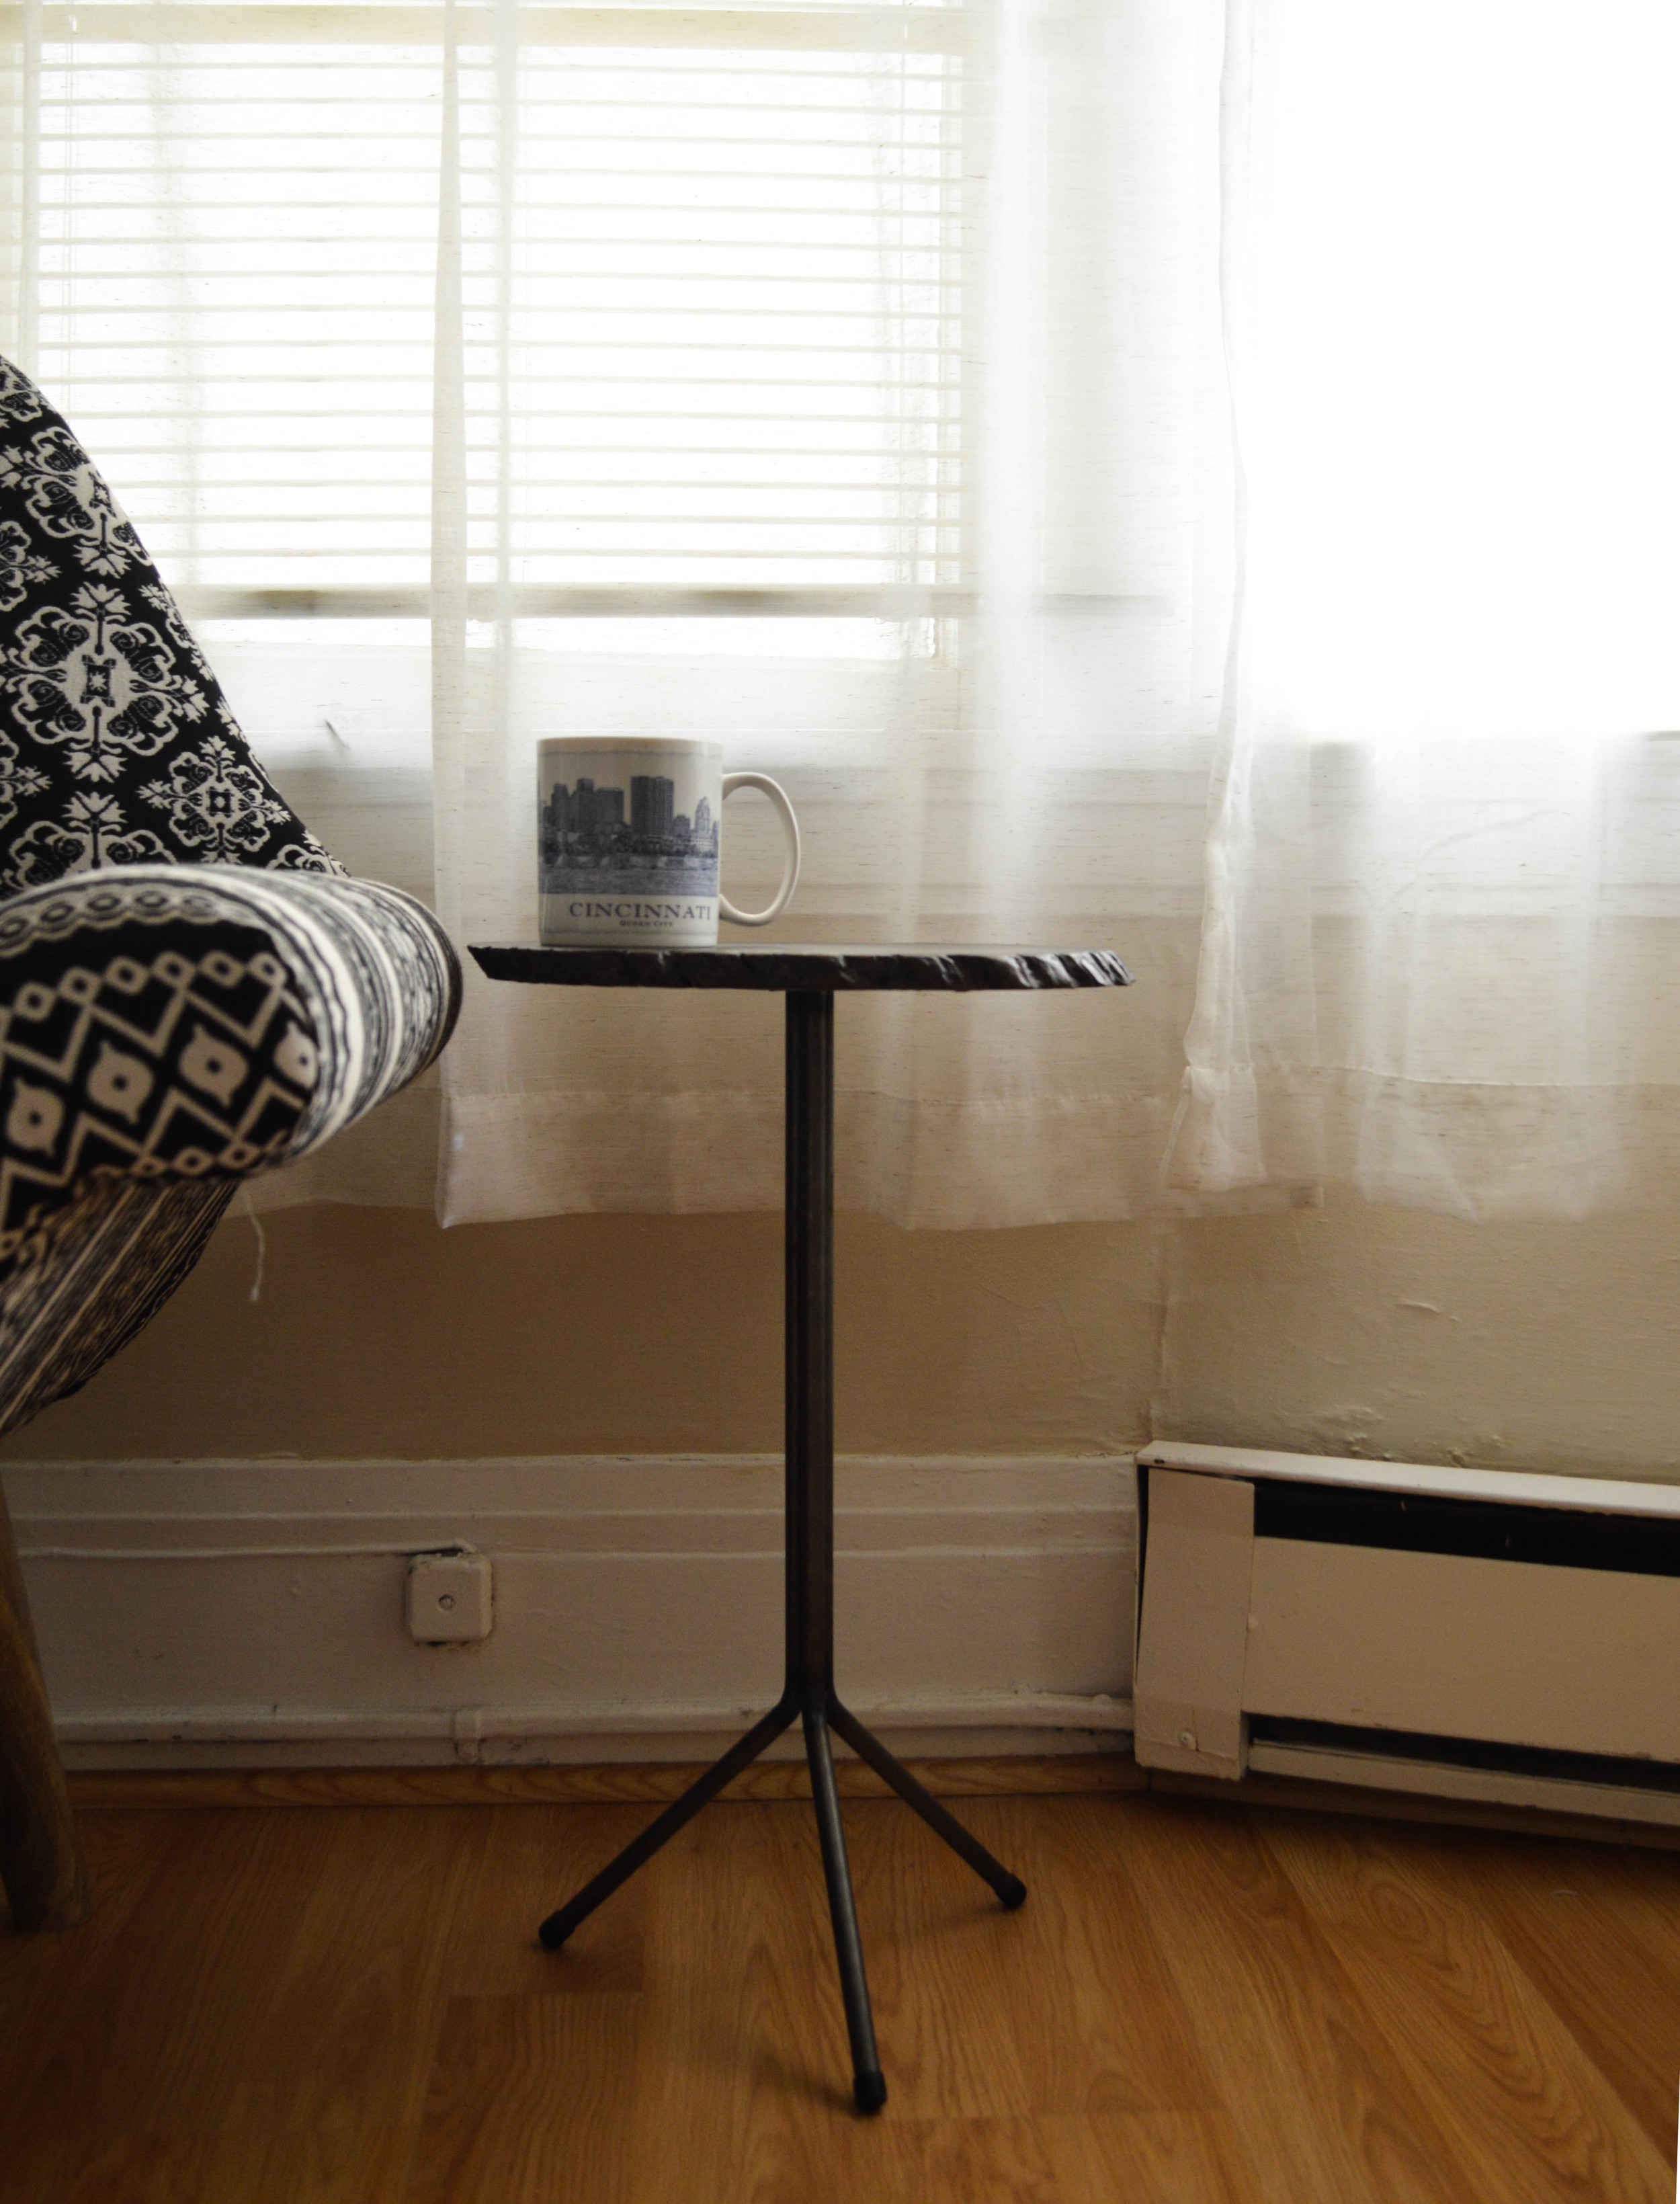
Two days later, it was looking much better :D The matte polyurethane really lightened it up. I lightly sanded the whole thing one last time, wiped it down with a wood conditioner and attached the  21" tripod stand I bought online with four 3/4 inch wood screws. 

BOOM. A one weekend wooden tree slice side table. 

Easy DIY Tree Slice Side Table
Easy hardware application

Round Wooden Tree Plaque (Michaels): $11
Multi Pack Sand Paper (Discount Builder Supplies): Had
Tripod Stand (hairpinlegs.com): $36.50
Ebony stain (Home Depot): Had
Matte Polyurethane (Home Depot): Had
Goat Hair Brush (Home Depot): Had
Wood Screws (Nob Hill Hardware): Had
Wood Conditioner: Borrowed
Total: $47.50

Photos: Nikon D3200 Kit Lens / Edits: Adobe Lightroom

Contact Paper & Temporary Fixes for Apartment Cupboards

Rental Cupboard Makeover

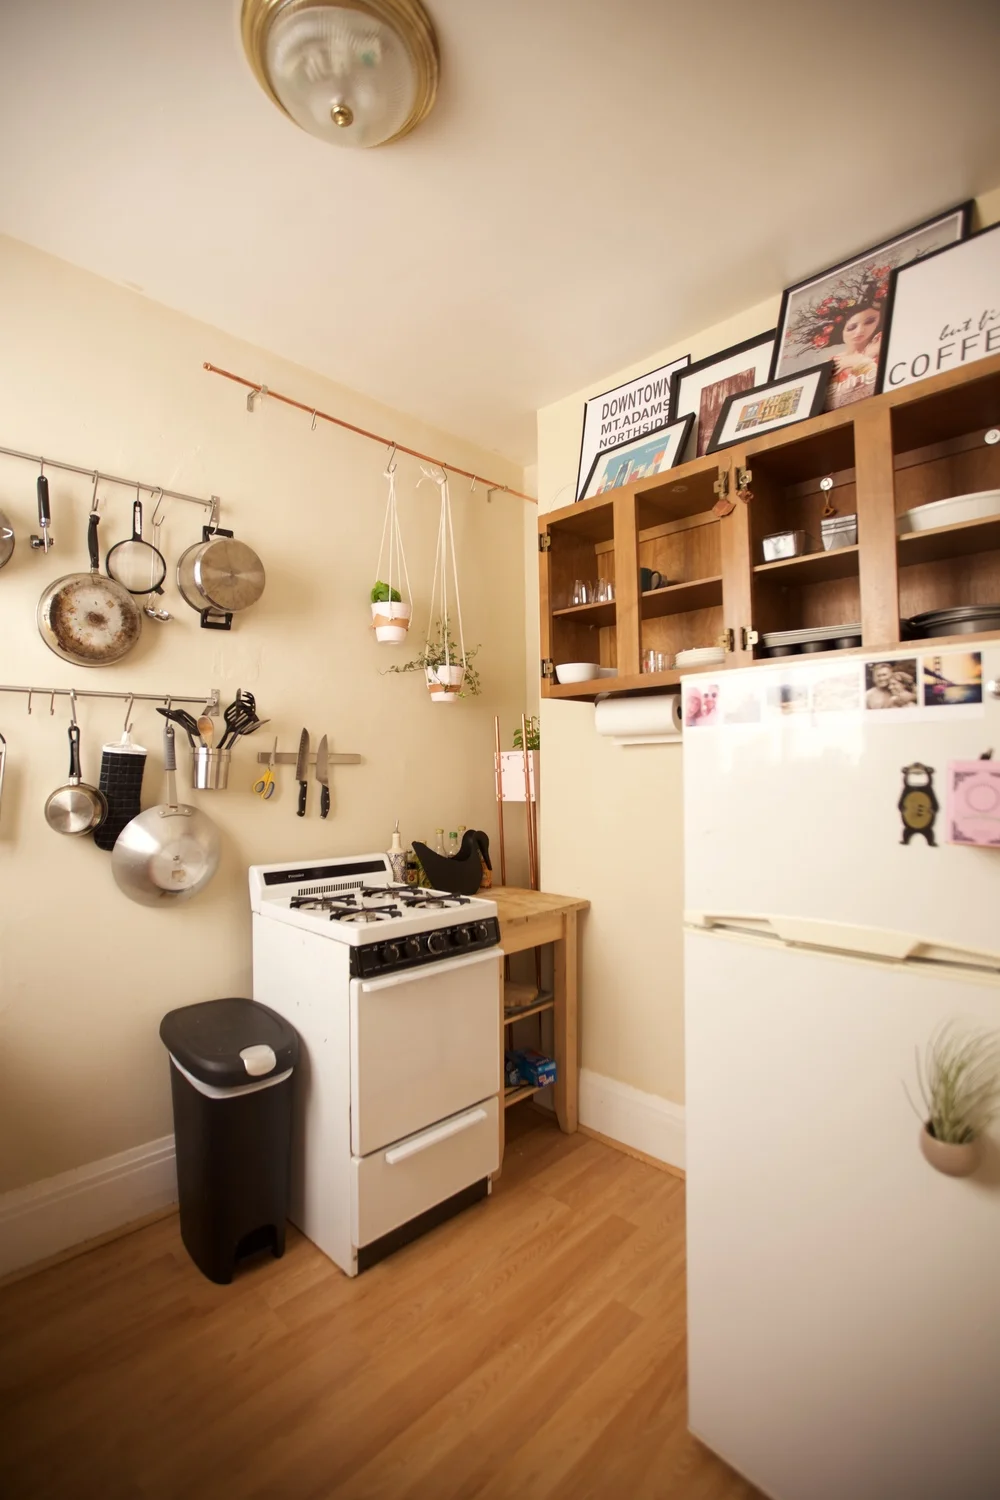
In an apartment, there's only so much you can do to change a space. You can drill into the wall -- as long as you're familiar with a can of spackle. You can add furniture, with pads on the legs. You can remove doors, if you add them back on before you leave. You can also add temporary wall paper. 

Remember this? A few weeks ago I added shelves under my cupboard. Almost as soon as I posted that first post, I realized I wanted to add contact paper to this space. The semi-painted, semi-stained wall had so much more potential than I was utilizing.

So right away, I bought 9 feet of this contact paper on Amazon for $3. I will say, that, while I love the contact paper, I probably should have cleaned the wall beforehand.  My paper seems to be separating, and I think its from all the dust :/. At Target this weekend I DID see lots of contact paper and temporary wall paper in the clearance section and they all seemed like great options for a 10 minute project like this.

But, the moral of the story is, nowadays, I find myself opening this cupboard even when I don't have. So, no matter the manner, I think temporary contact paper is a GREAT way to make apartment life work for you. 

Mr. Holmes Bakehouse & other crushes

Okay. I live a quarter of a mile away from Mr. Holmes Bakehouse. A QUARTER OF A MILE. Mr. Holme's Bakehouse is the home of the cruffin and when my friend Natalie was visiting from Columbus, I just knew we had to try out this SF original. 

Cloaked in white tile, with a bright neon pink sign, this tiny walk-in bakery on the edge of the Tendernob is the bees knees. Here are a few articles you should read about it: one, twothree.

The shining glory of the place is the cruffin. A croissant + a muffin + a surprise filling which changes daily and happened to be pumpkin mousse the day we visited = the best thing that has ever come out of an oven. So here's the dl: Mr Holme's starts selling the cruffin at 9am, and they pretty much sell out within the hour. Natalie and I waited in line for about 25 minutes on a Friday morning and got some of the last ones. We also bought a box and filled it with other pastries. Mostly because the box was just ridiculously beautiful.

That's all I'll say, because I want you to go and see for yourself. You'll be able to tell when you're close because of the line on the sidewalk ;D

Mr Holmes Bakehouse

Anywayyyyy. Things I have been crushing on:

Photo: iPhone5s / Edits: Lightroom

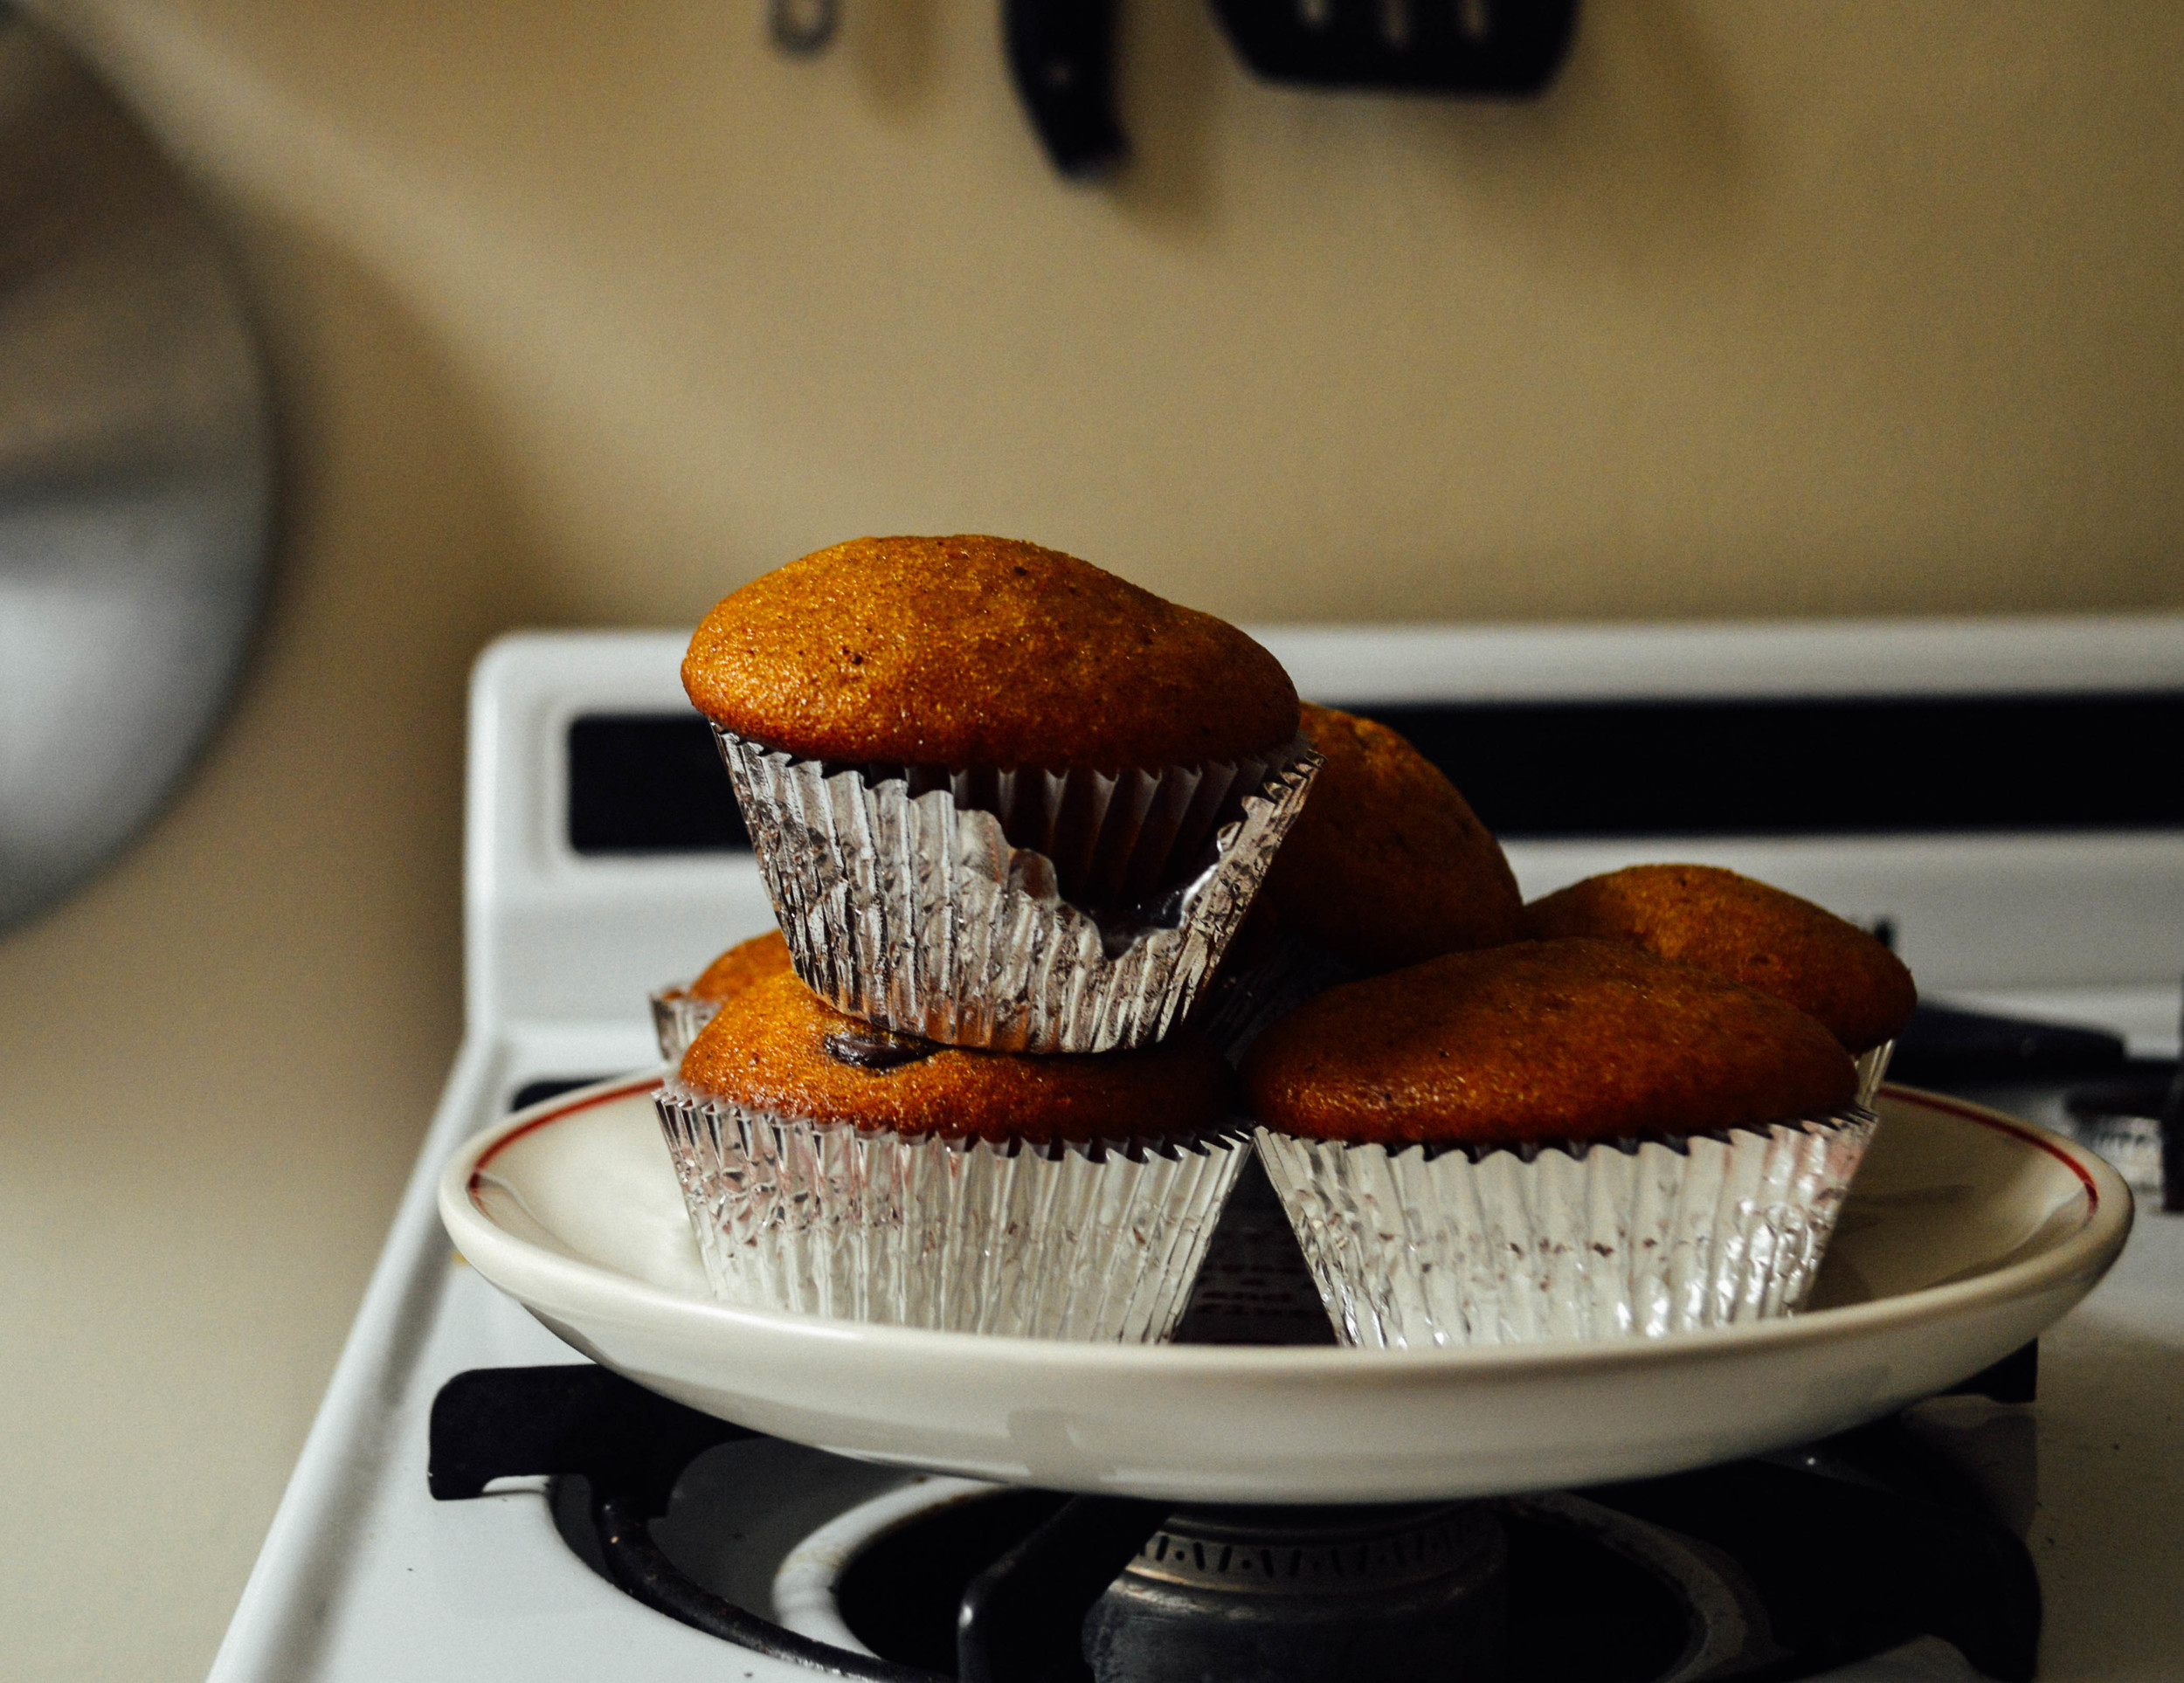
Northern Maine Chocolate Chip Pumpkin Muffins

Homemade pumpkin muffins

It might be really basic of me to post this. But, if "basic" leaves me on Caltrain eating a chocolate chip pumpkin muffin on the way to work every morning.. bring it.

I once showed you these super easy three ingredient pumpkin muffins. They were a delightful staple in my childhood home. But, last year my sister Katie sent me the recipe for Northern Maine Pumpkin Bread, and since most of the ingredients were things I already had in the kitchen, I decided one lazy fall morning to give it a whirl. Di-vine. This fall, in SF, I wanted to bring the comforts of home to my little studio apartment. So here you have it, modified from bread to muffins, for the freezer-friendly single life ;D

I now know, the recipe Katie initially sent me from allrecipes.com called this "Down-East Maine Pumpkin Bread." But all this time, it's been Northern Maine in my head... so, call it what you will, but I'm sticking with Northern for Ida Street :D

Northern Maine chocolate chip pumpkin muffins.
Elsewhere known as: Annie's breakfast for the past two weeks.

Main Ingredient: 1/2 cup 60% cocoa ghirardelli chocolate chips

Wet Ingredients
1 can of pumpkin
4 eggs
1 cup vegetable oil
2/3 cup water
3 cups sugar

Dry Ingredients
3 1/2 cups flour
2 teaspoons (t) baking soda
1 1/2 t salt
1 t cinnamon
1 t nutmeg
1/2 t cloves
1/4 t ginger


Preheat oven to 350. In large bowl, mix together wet ingredients until blended. In separate (equally large) bowl, whisk dry ingredients. Stir the dry ingredients into the pumpkin mixture. Fold in 1/2 cup chocolate chips. Pour into lined muffins tins and bake approximately 20 minutes (or until a fork comes out clean).

This recipe makes a TON (over 2 dozen muffins). Freeze what you don't eat right away. They are so, so good in ice cream. Or for breakfast. Or both ;D

Photo: Nikond3200 / Edits: VSCO Filters for Lightroom