Kitchen

DIY: Over Stove Spice Shelf

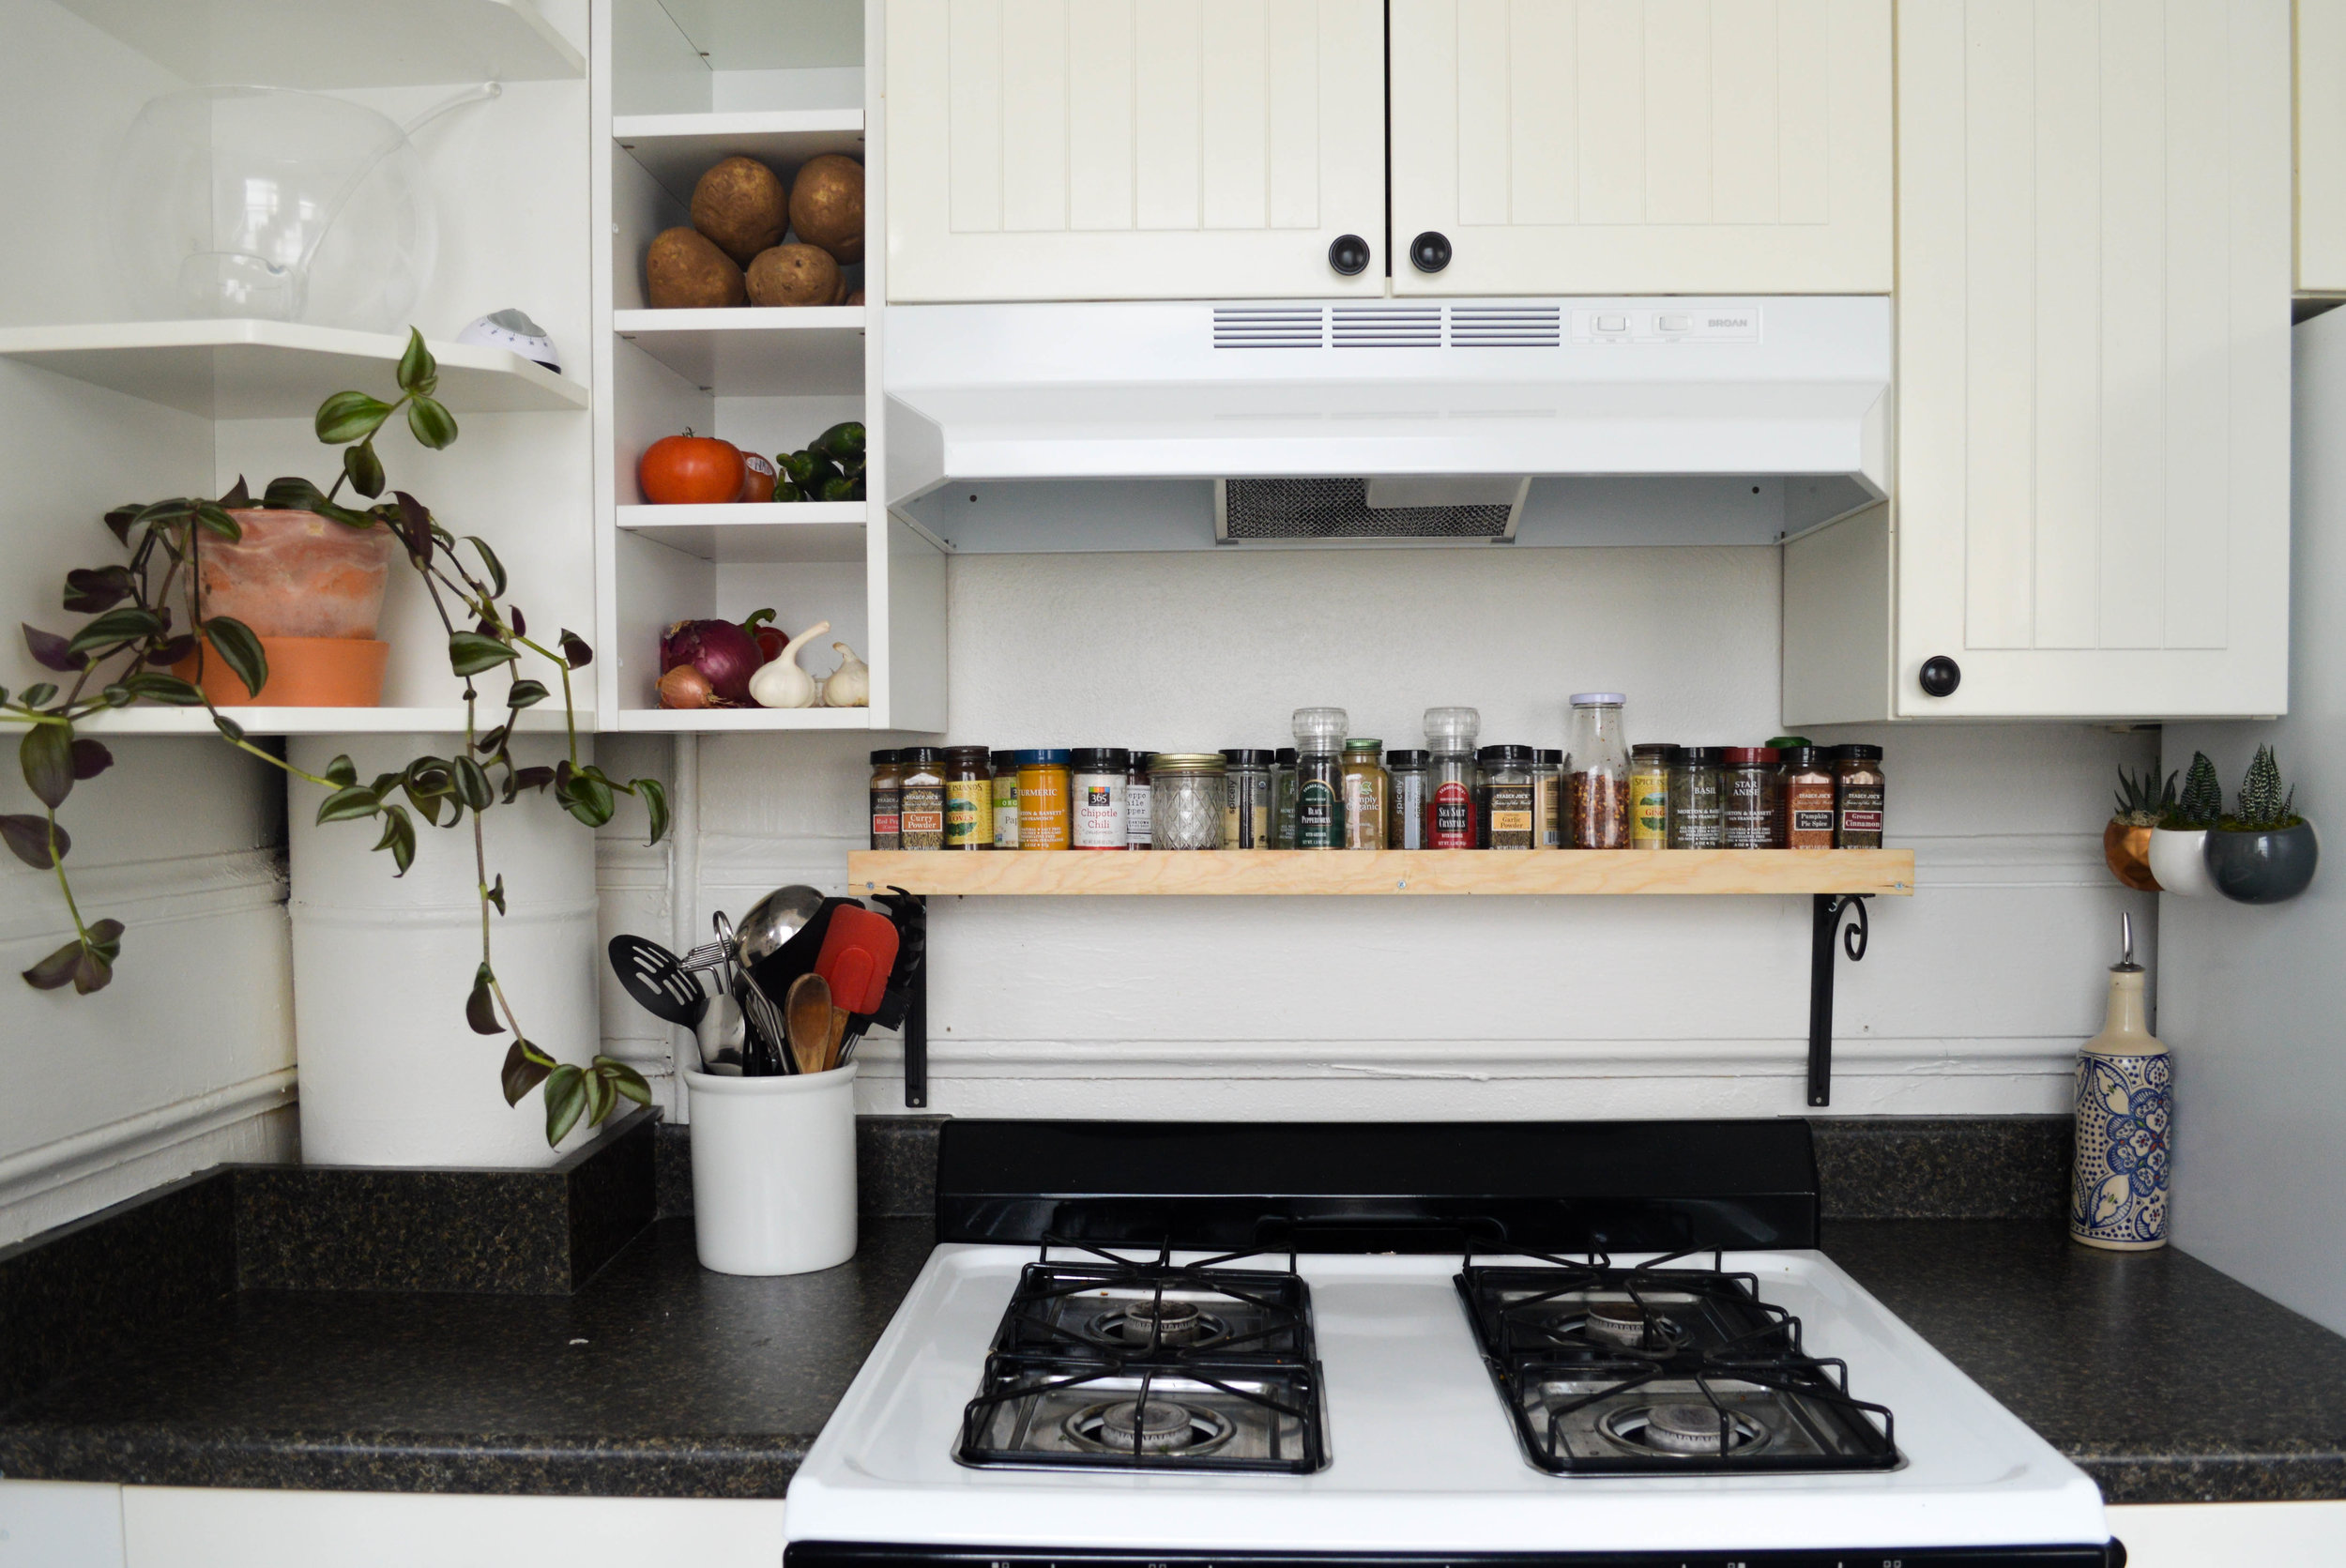
Over stove spice shelf

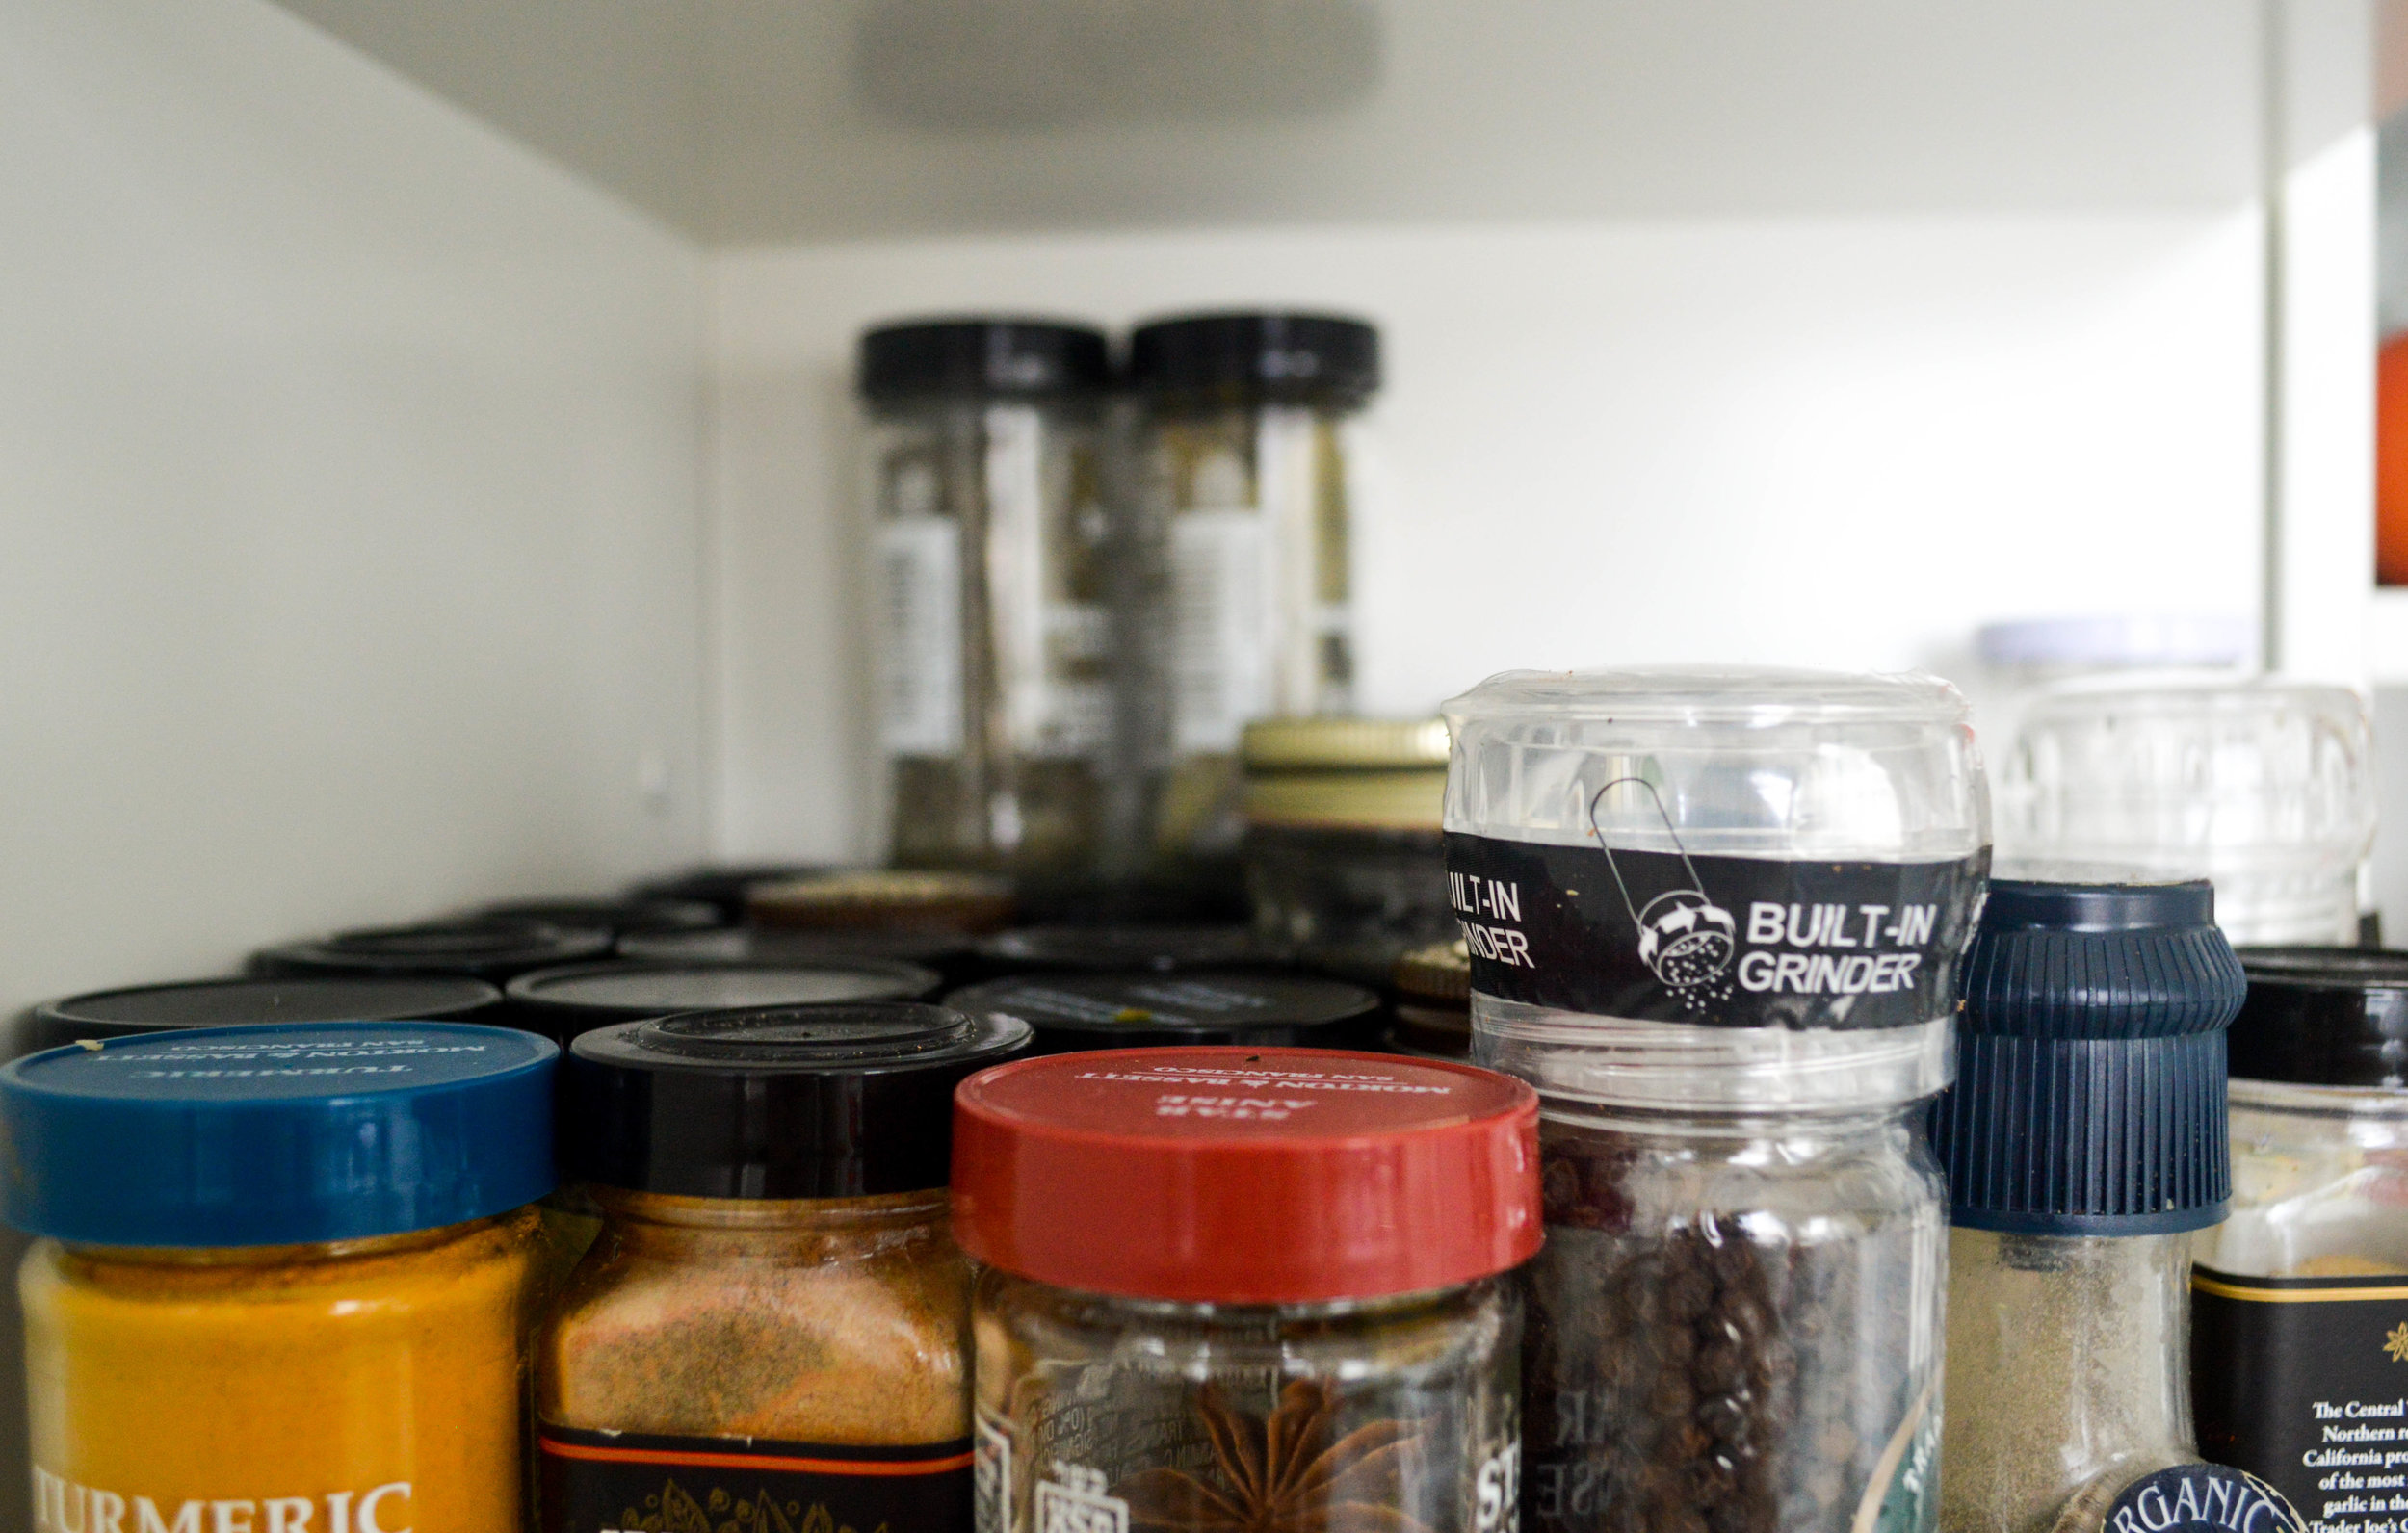
SPICES. Kind of hate to love them. Oh, I mean, spices totally make or break a meal. But good LORD - does anything get you more peeved than trying to retrieve a spice from the back of your cupboard?

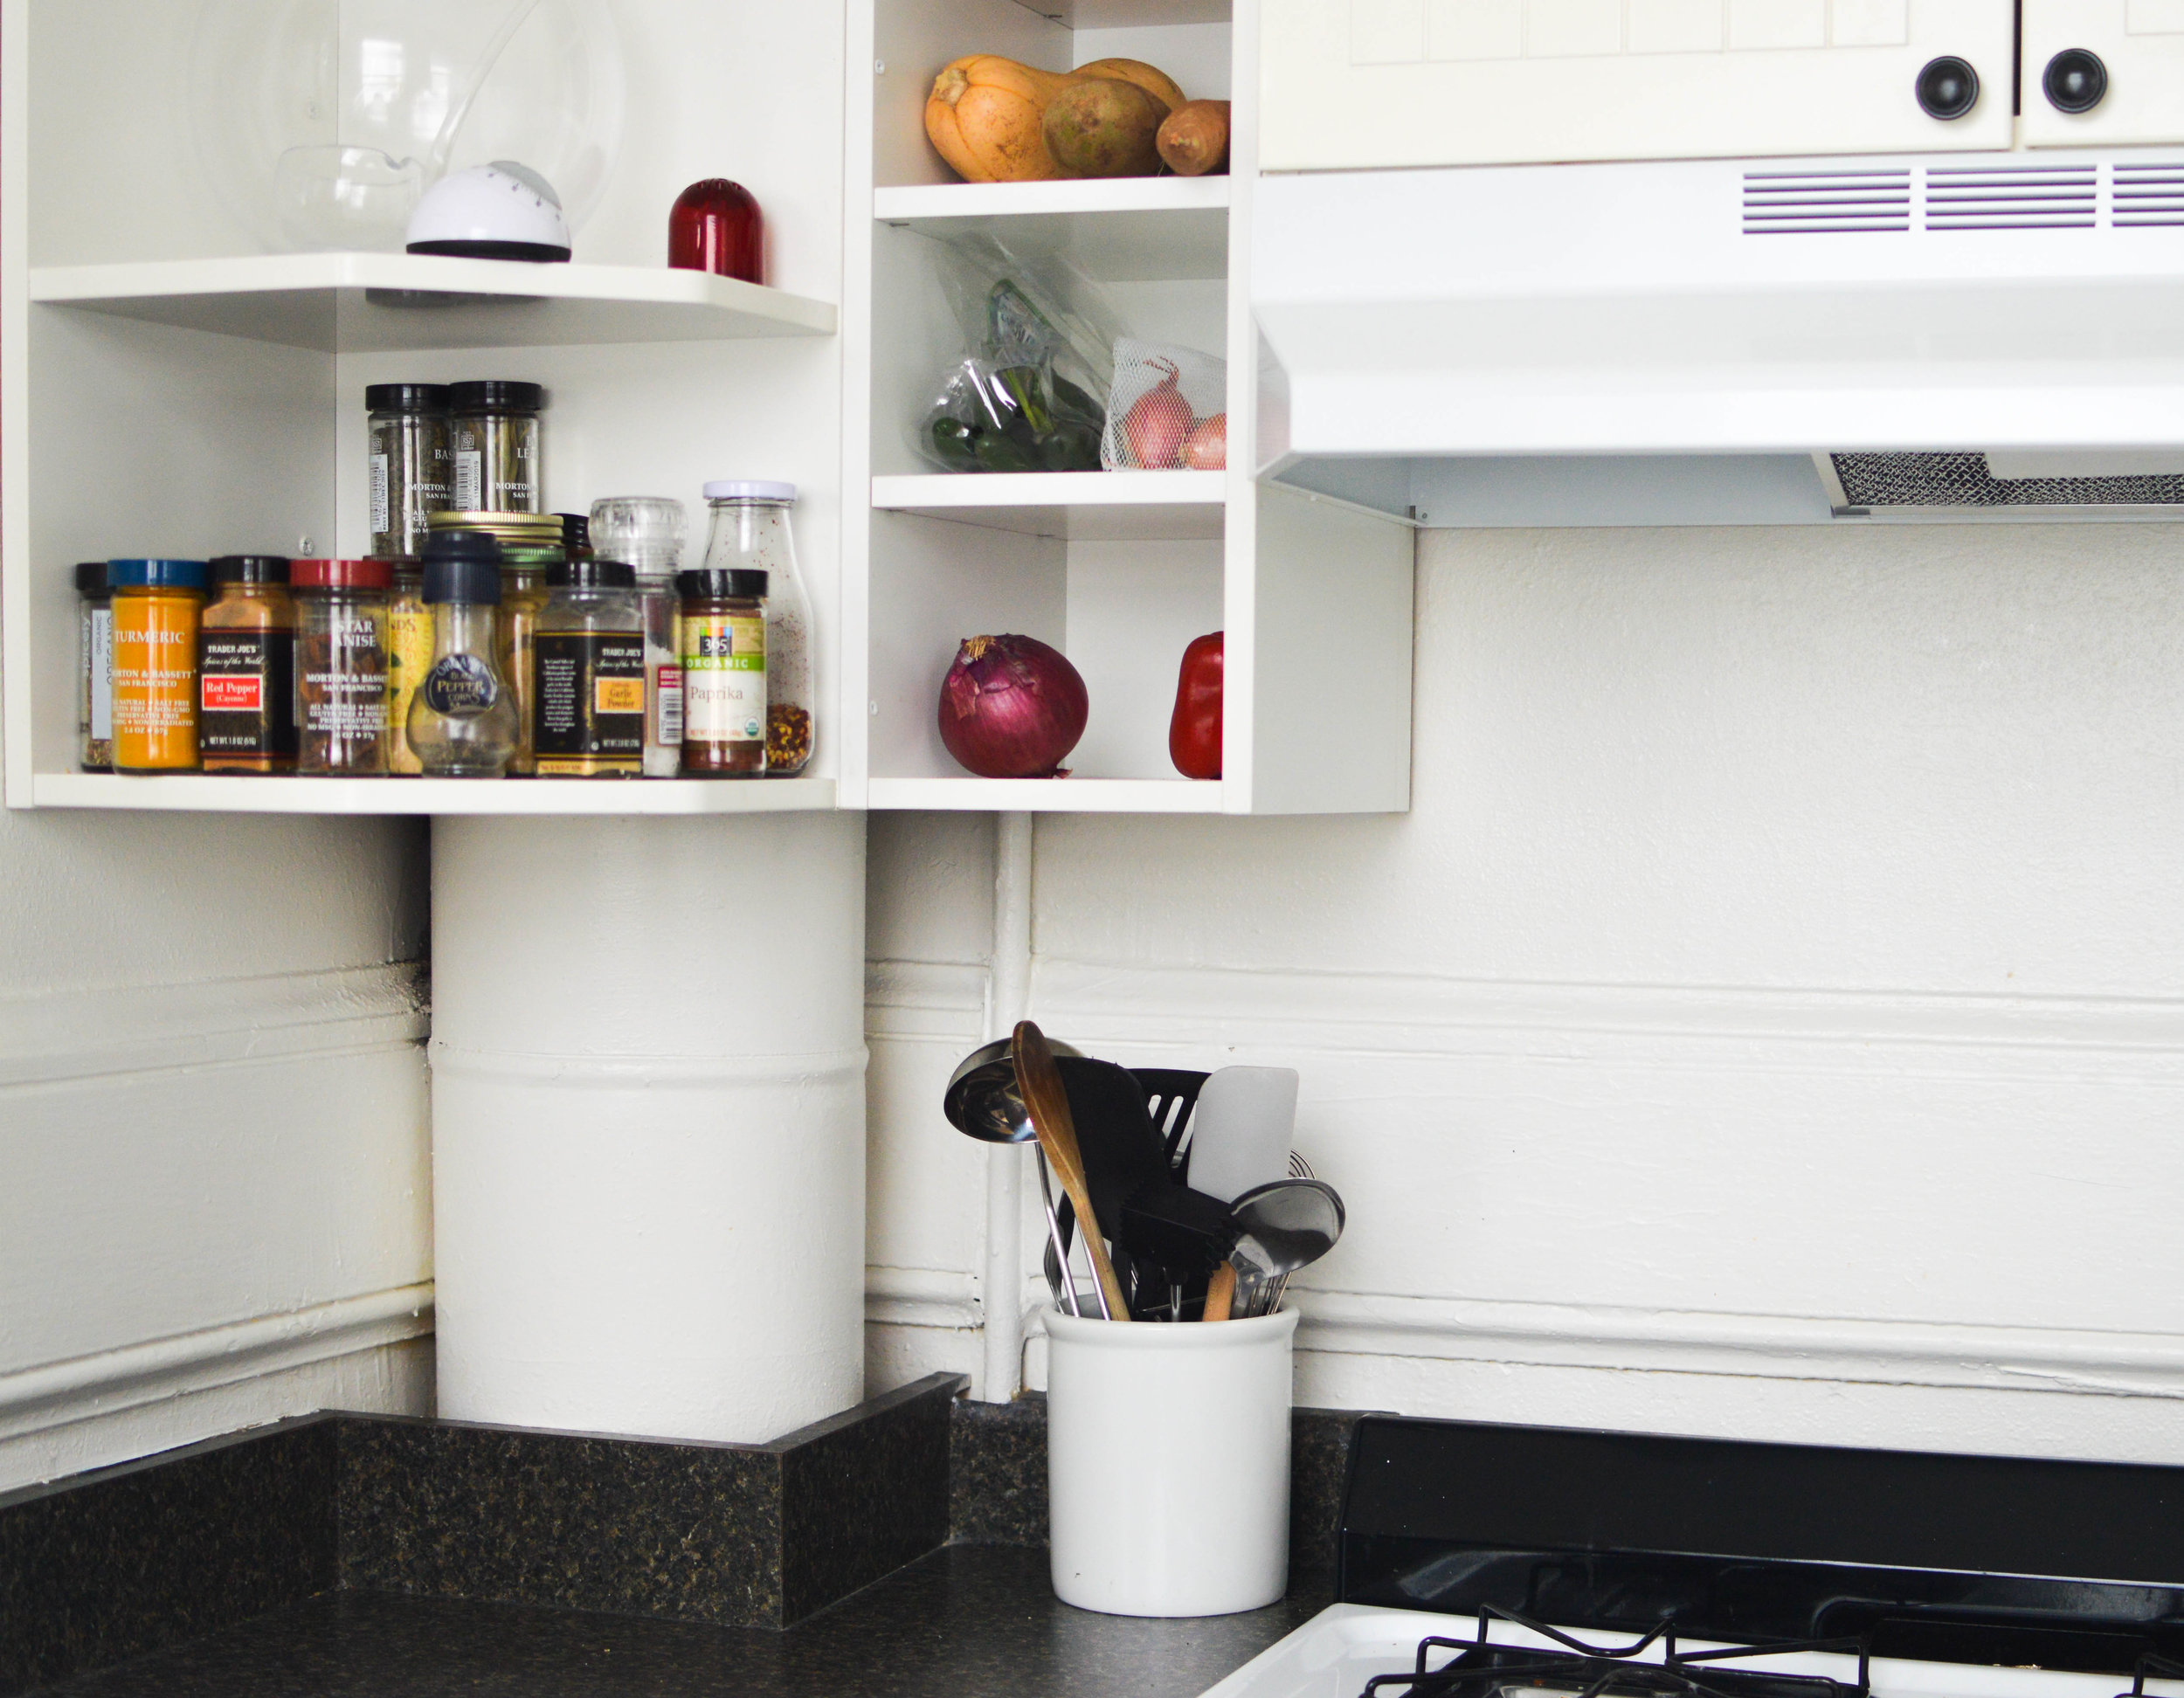
At my old apartment in the TenderNob, I kept my small amount of spices on the windowsill above my sink. I've since moved in a with a roommate who actually knows how to cook, so, combined, our spice situation was out of control. Neither of us were happy, so we brainstormed a solution: utilize the weird above stove space as a home for our many bottles of spice. Like the single file nature of my window sill, a skinny shelf would make our spices easier to see, plus, bonus, easy access while we cooked! 

I used: 

Over stove spice shelf
  • Two (2) 38in x 3.5in pine project boards
  • Two (2) 38in x 2.5in pine project boards
  • Four (4) C-clamps
  • Wood Glue
  • Level
  • Power Drill 
  • Two (2) brackets
  • Sand paper
  • Goat hair brush
  • Polyurethane 
  • 22 screws 

So, this is what we were dealing with....

Spice Chaos
spices
spice chaos

Here's what I did:

Step one: Sandwich the Project Boards

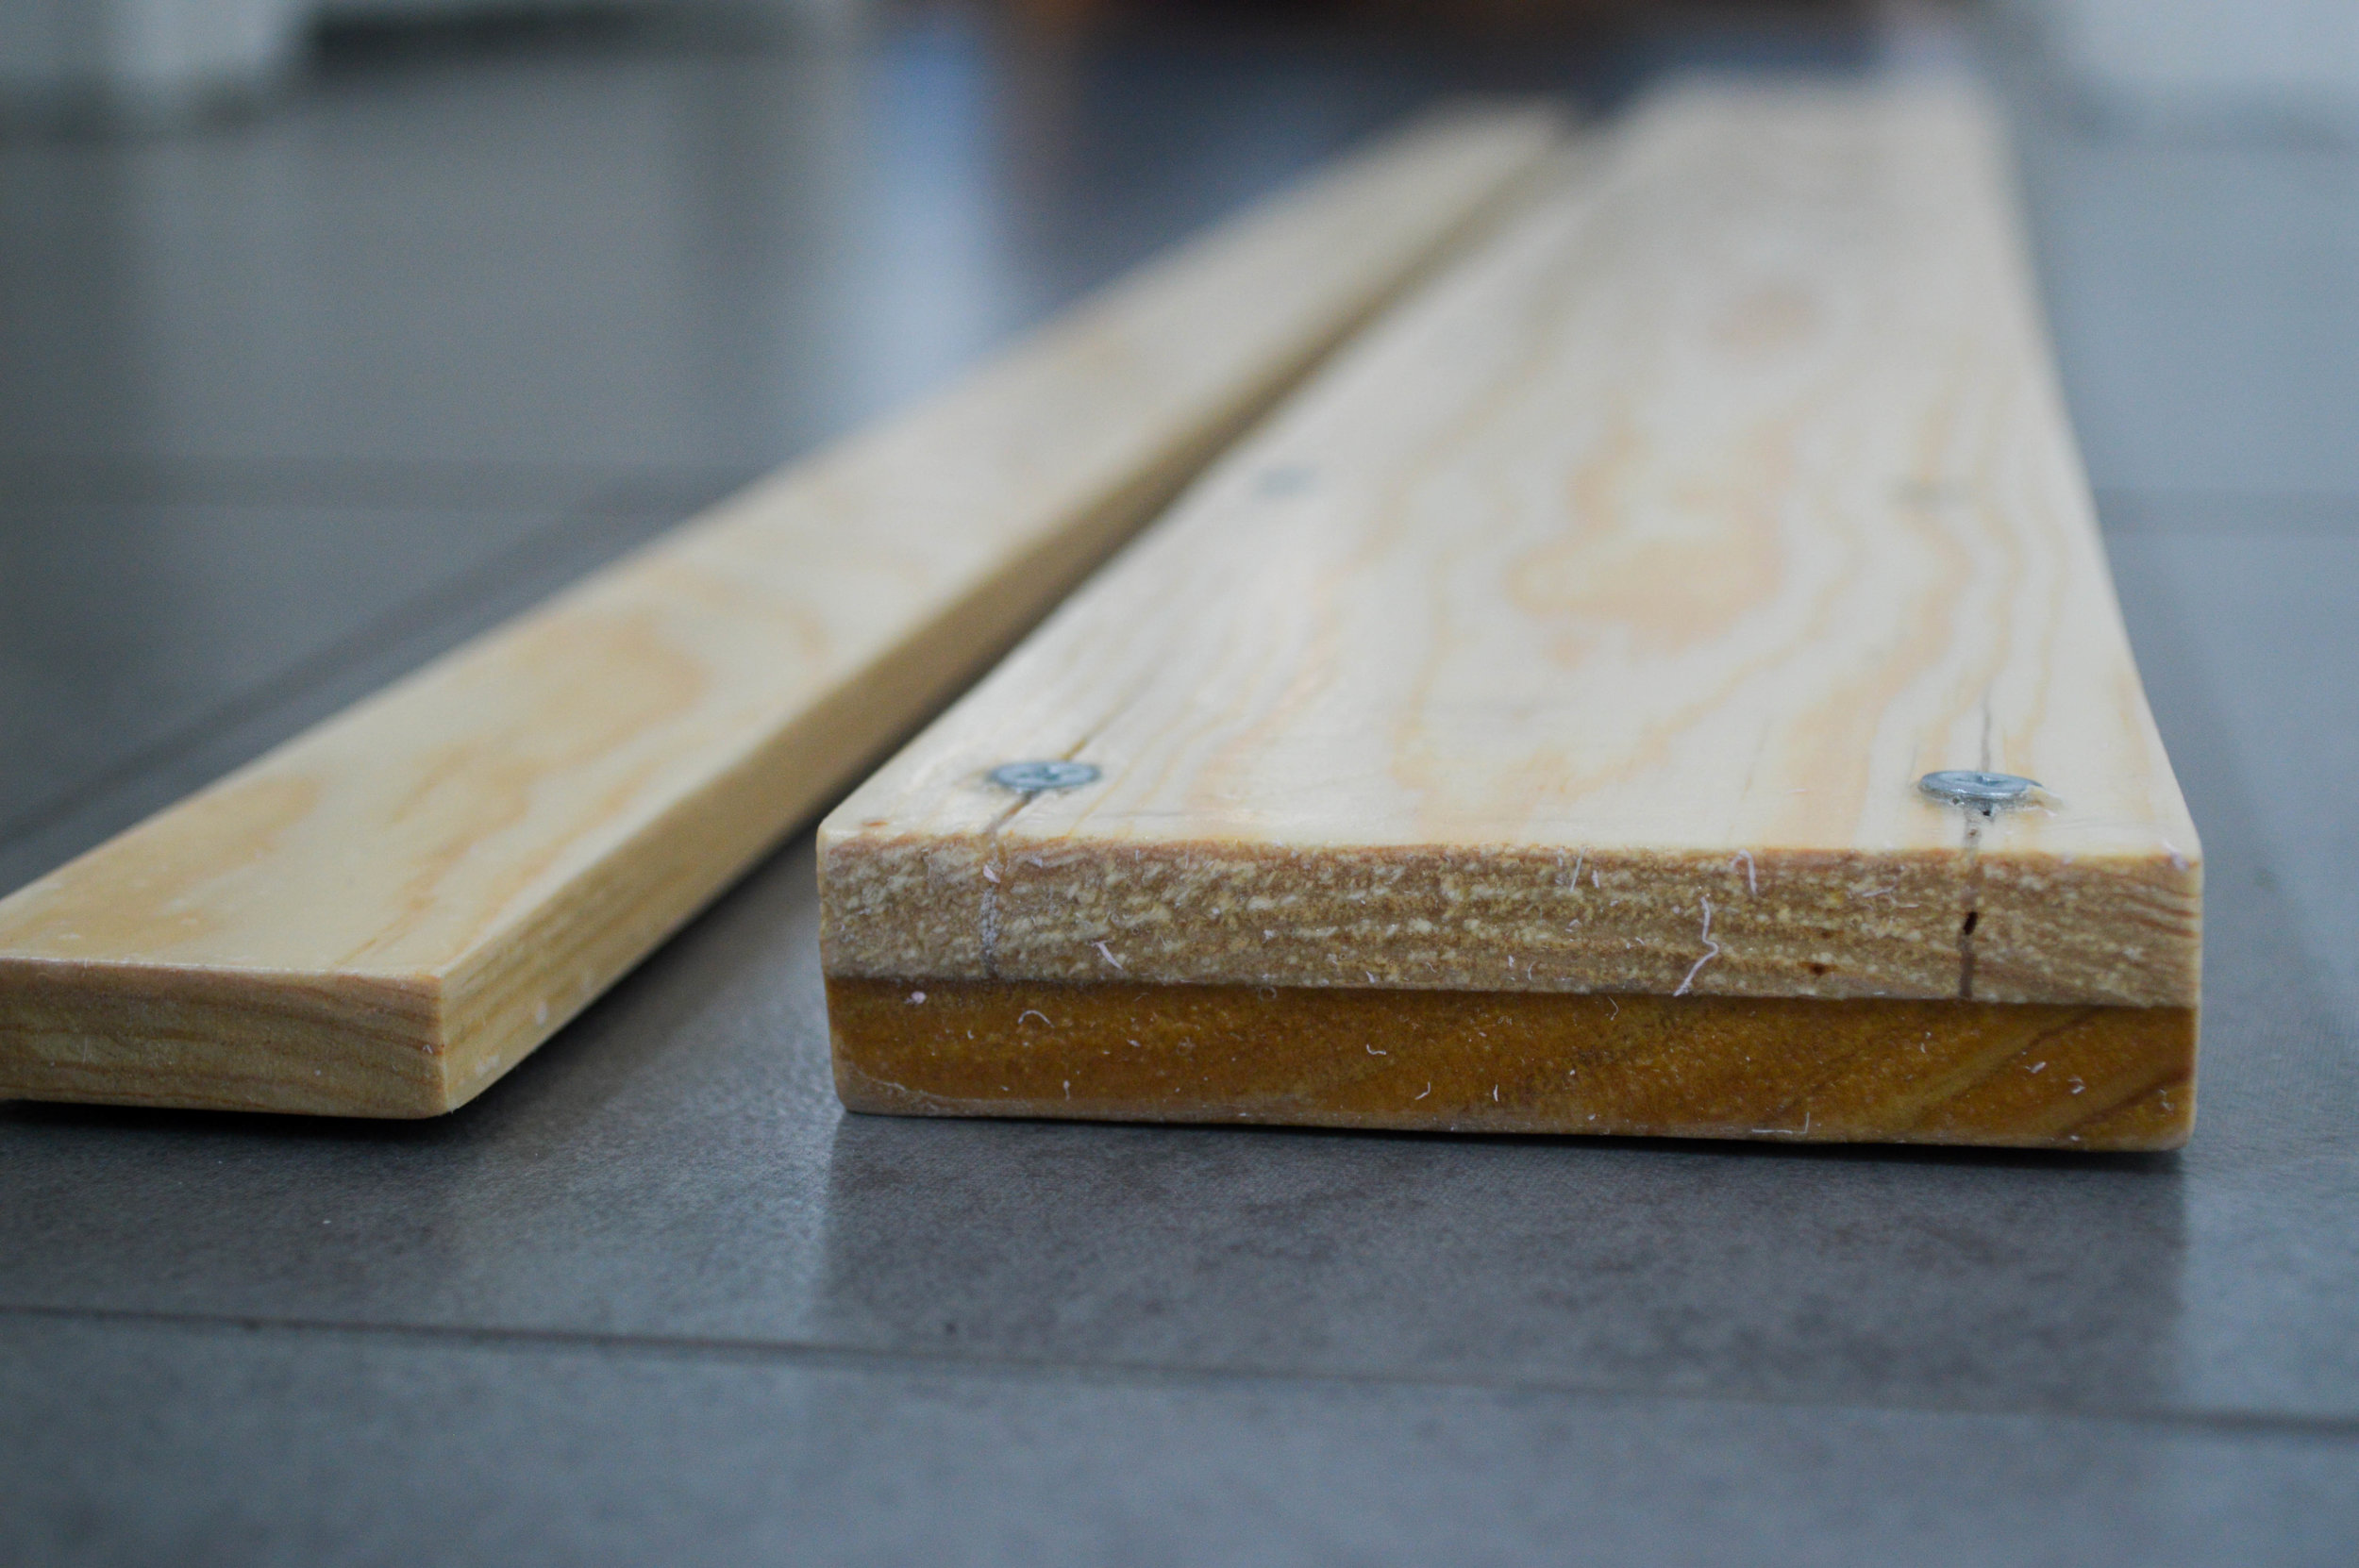
Project board is very thin and flimsy by nature. Alone, I was worried it wouldn't be able to hold the weight of our spices. I decided to sandwich the two wider project boards to make it a bit more sturdy. Using wood glue, I placed one board directly on top of the other. With four c-clamps I secured it for drying. Then, while the wood glue was still wet, I used a power drill to secure ten screws into the project-board-sandwich, to aid the c-clamps. If you do this step, be sure to choose screws that are long enough to reach both levels of the project board, but not long enough to break through the top. 

Here's a picture of the finished sandwich :)

Sandwiched project board

Step two: Sand and Polyurethane

After 24 hours, my wood glue was dry. I removed the c-clamps and sanded the sandwiched, thicker board. At this point, I also grabbed the two thinner boards and sanded them as well. Following the directions on my can of polyurethane, I applied two coats to each side of all the boards with a goat hair brush, several hours apart. This step is important because, at its spot above the stove, the shelf will be exposed to water, steam and other liquids. The polyurethane should prevent warping.

Step three: Build the shelf

When everything was dry, about two days later, it was time to build the shelf! The base of our shelf is the wider, sandwiched project board. Using three screws, I attached the skinnier project board to the front of this piece at a 90 degree angle. My intent was to make a "wall," so the spices could not easily fall off of the base. I did the same to the back side with the second skinny project board.

I don't like this picture because the brackets aren't flush (I readjusted before hanging), but this will help demonstrate what you're doing....

Spice Shelf

Step Four: Attach the brackets to shelf

Flip your new shelf over, so the bottom is in the air. Screw the brackets, flush, to the bottom of your project board. Again, be sure to use screws that aren't long enough to break through the top board.

Step Five: Screw Shelf to Wall

Voila! With a level and a screwdriver I hung up our new spice shelf! Unfortunately, the brackets I chose were too long for my un-flat wall, so I could only utilize the screw holes at the top of my brackets. The bottoms hang off into the air, a bit, but it still gets the job done. If this happens to you, too, just make sure to prioritize the screws at the top of your brackets since they will be bearing the real weight of your spices. As a side note, you can find brackets of all sizes at your local hardware store, I just didn't measure before choosing mine.

Over stove spice shelf

What do you think? We love our new shelf. It's already wayyyy easier to find what we need and it looks much cleaner!

Costs

Project board: $2.50 per = $10
Screws: $4
Brackets: $20
Tools/Polyurethane/Wood glue: Had
Total: $34!


Annie's Studio Kitchen Tour

Ikea Grundal Kitchen Bars

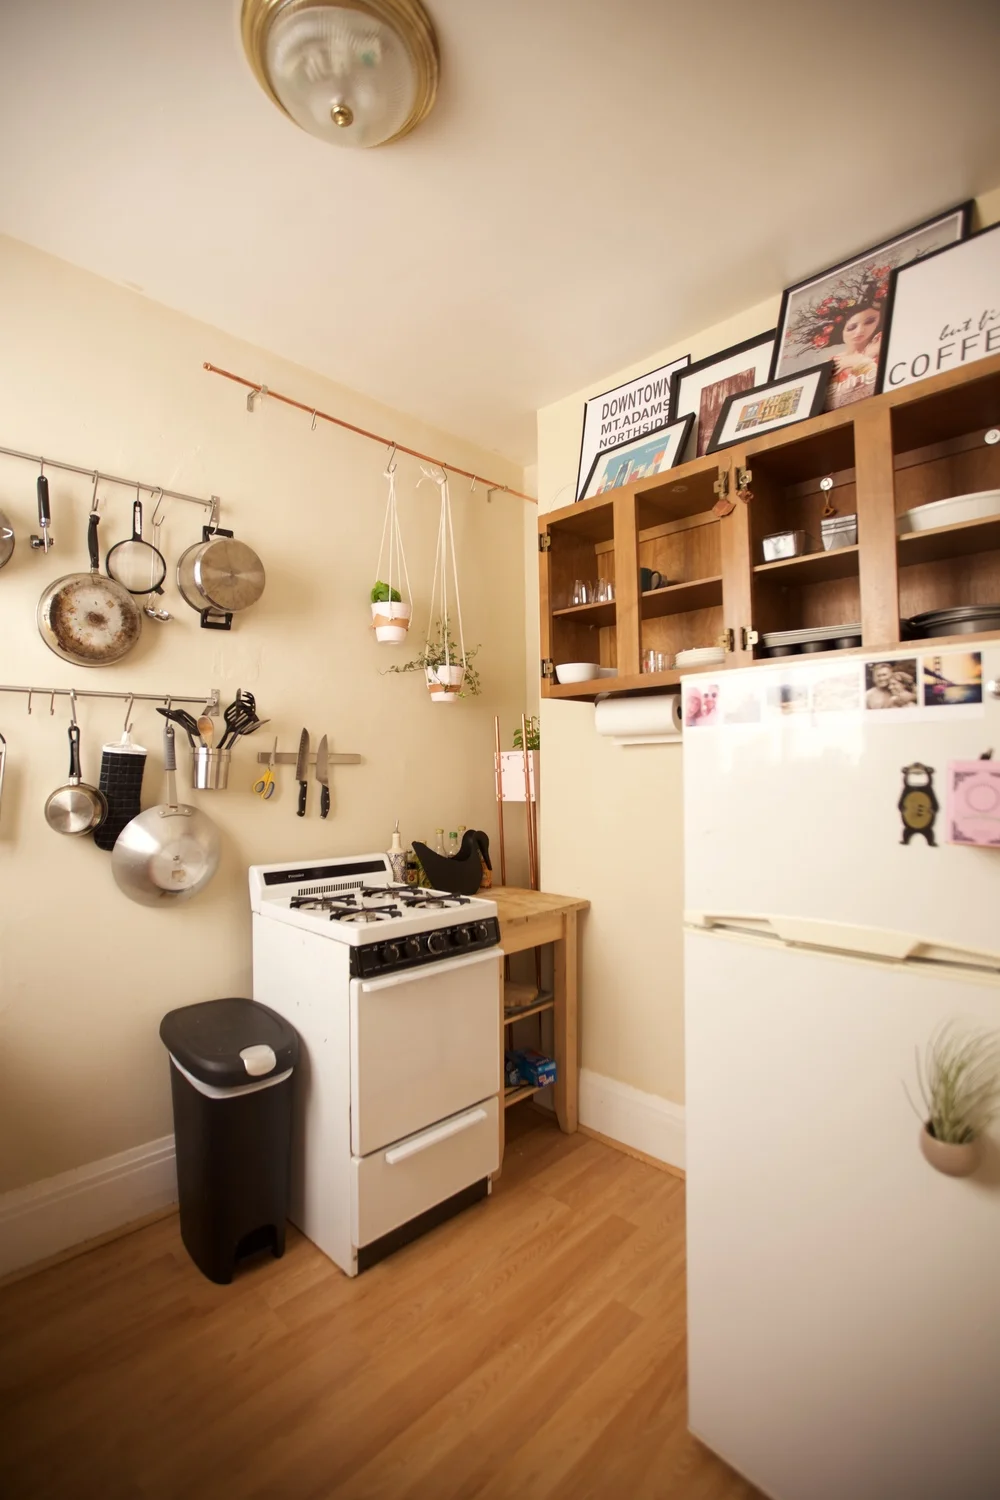
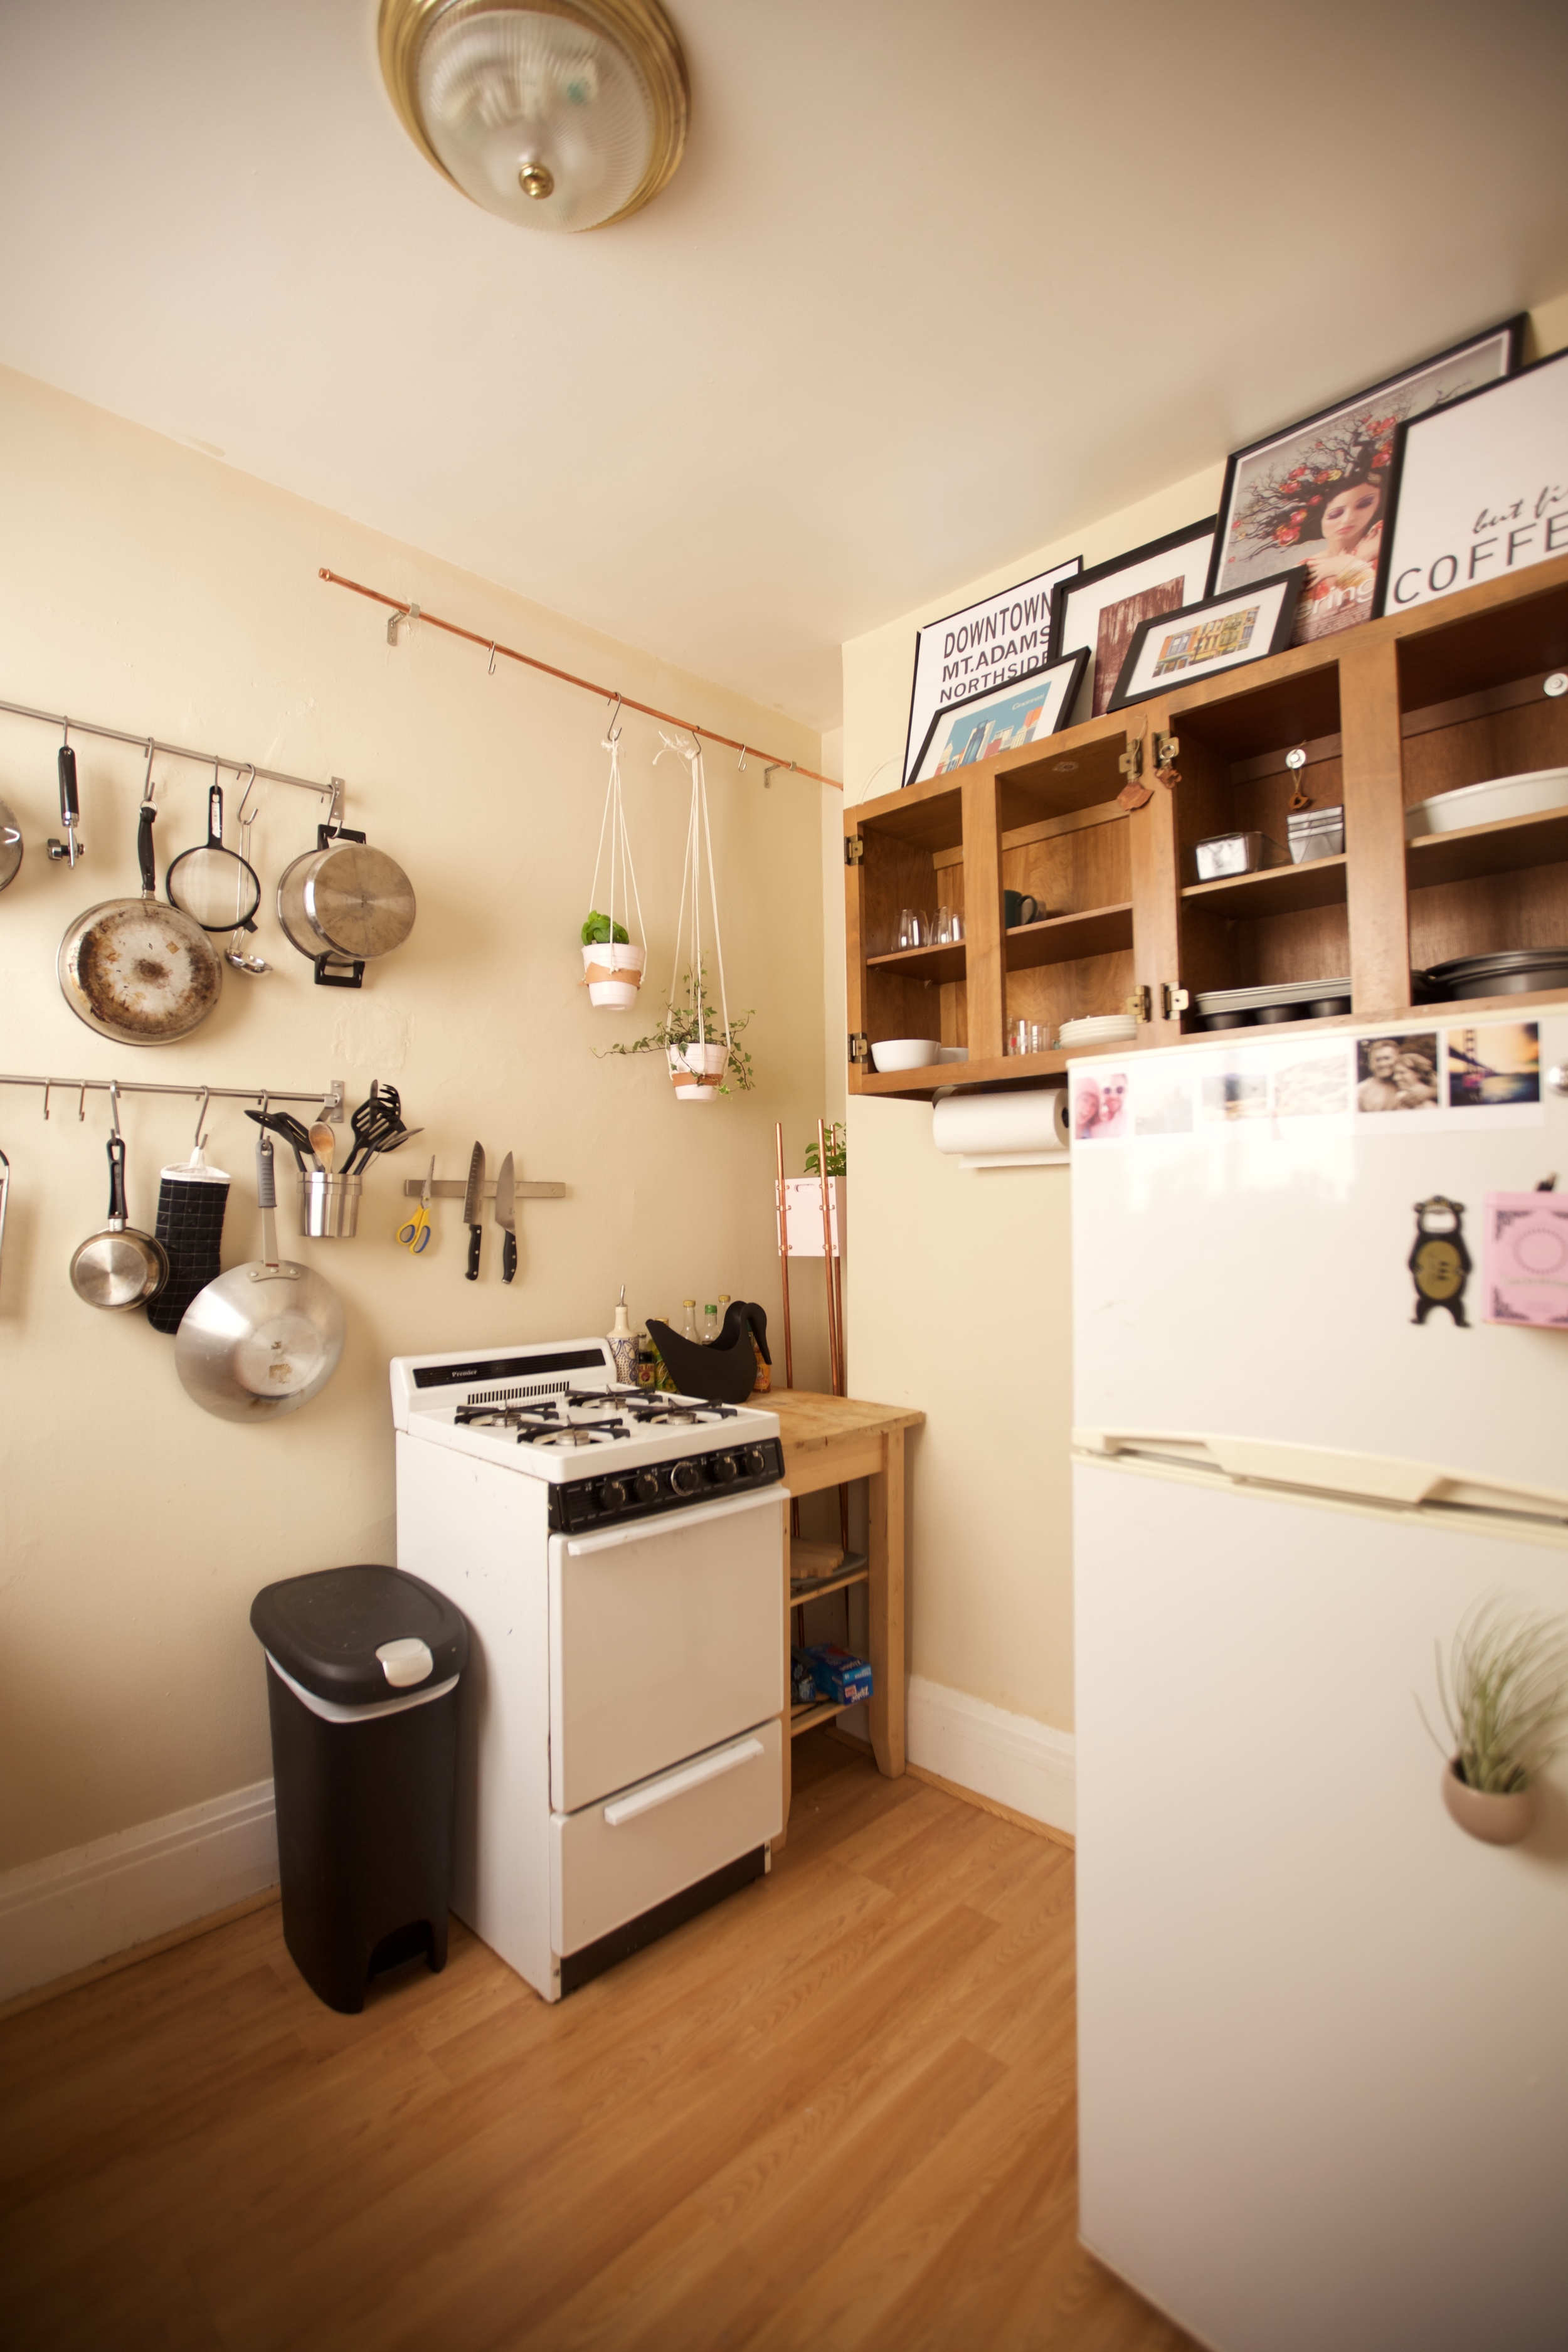
Long awaited and slightly spoiled by my SmallCool Contest... the "after" photos of my tiny little SF kitchen! Let's first take a trip down memory lane. Remember what my kitchen looked like when I moved in? Here's the "before" post and a few photos below. 

Apartment kitchen before and after
Before and After

This is honestly my favorite space in the apartment. Not just because it's where I cook dinner (Cough. Excuse me. Where I warm up pizza from the Whole Foods Refrigerated Section.), but also because it was the first room here in SF that I got "done."

That's a funny word, because of course no room is ever "done." A space grows and changes with your needs and taste. But, this was the room that I focused on making me right away. Moving here was really hard. I mean, I'm so happy I did, don't get me wrong. But living 2000 miles away from my family and everything I know -- that was a challenge. I really needed to make something here in SF mine, and I wanted to do it as quickly as possible. I did it here in this tiny kitchen. 

Que end of the sappy part of this post :D Anyway, you can see for yourself how the space evolved in the photos below. But I also wanted to point out a few of what I consider the "big impact" items:

  • Removing the cupboard doors. I did this RIGHT away. It's super easy, for you other renters out there. Literally just unscrew the hinges. Of course, before I move out, I'll have to screw them back on, but I absolutely think removing these doors opened the room a TON.
  • HANG EVERYTHING. Literally, everything. I hung pots and pans, I hung knives, I hung the paper towels, I hung plants, I hung baking supplies, I hung my pictures (as magnets on the fridge). There is one drawer and two "food" storage cupboards in this kitchen. That's not enough room for anything. Utilizing the wall space was imperative.
  • Draw the eyes up. It's true what they say, if you put something above the natural line of vision, your eye will travel up to see it. This layering of height helps the space feel much larger. I did this through the art above my cupboards and the hanging copper plant rod (a DIY I can share here, if you'd like!).
  • Speaking of the plants, Greenery. I've never had plants before, but now I have three succulents in the kitchen, two herbs the wall, mint in the corner, and an air plant on the fridge. You might think I'm crazy for saying this, but I feel like they're like my little pets! It's so fun to watch them grow. The plants add some needed life into this tiny kitchen.
  • You might notice I don't have a microwave.... so that's my final tip. Challenge yourself. I didn't think I could live without a microwave (ugh, pampered much?), but it actually is totally fine. I use this awesome wok that I found at a Thrift Store to make oatmeal in the morning and heat up leftovers. Those were pretty much the only reasons I ever used a microwave anyway! It feels great to save the space the microwave would have taken up.
Cute Tiny kitchen
Tiny Kitchen solutions
Plants in a tiny apartment kitchen
Small kitchen solutions
Tiny kitchen

Photos: Diana Lustig | Sources: Ikea Grundtal Kitchen Rods (pots and pans); Urban Outfitters Swan Watering Can; Bed Bath and Beyond Paper Towel Holder; Target Trash Can; Ikea Magnetic Knife Bar; Ikea Double Tiered Drying Rack; Hanging plants, Hanging Shelf and Modern Planter DIY's; Amazon Le Parfait Jars.


DIY Hack: Class Up Your Table with Hairpin Legs

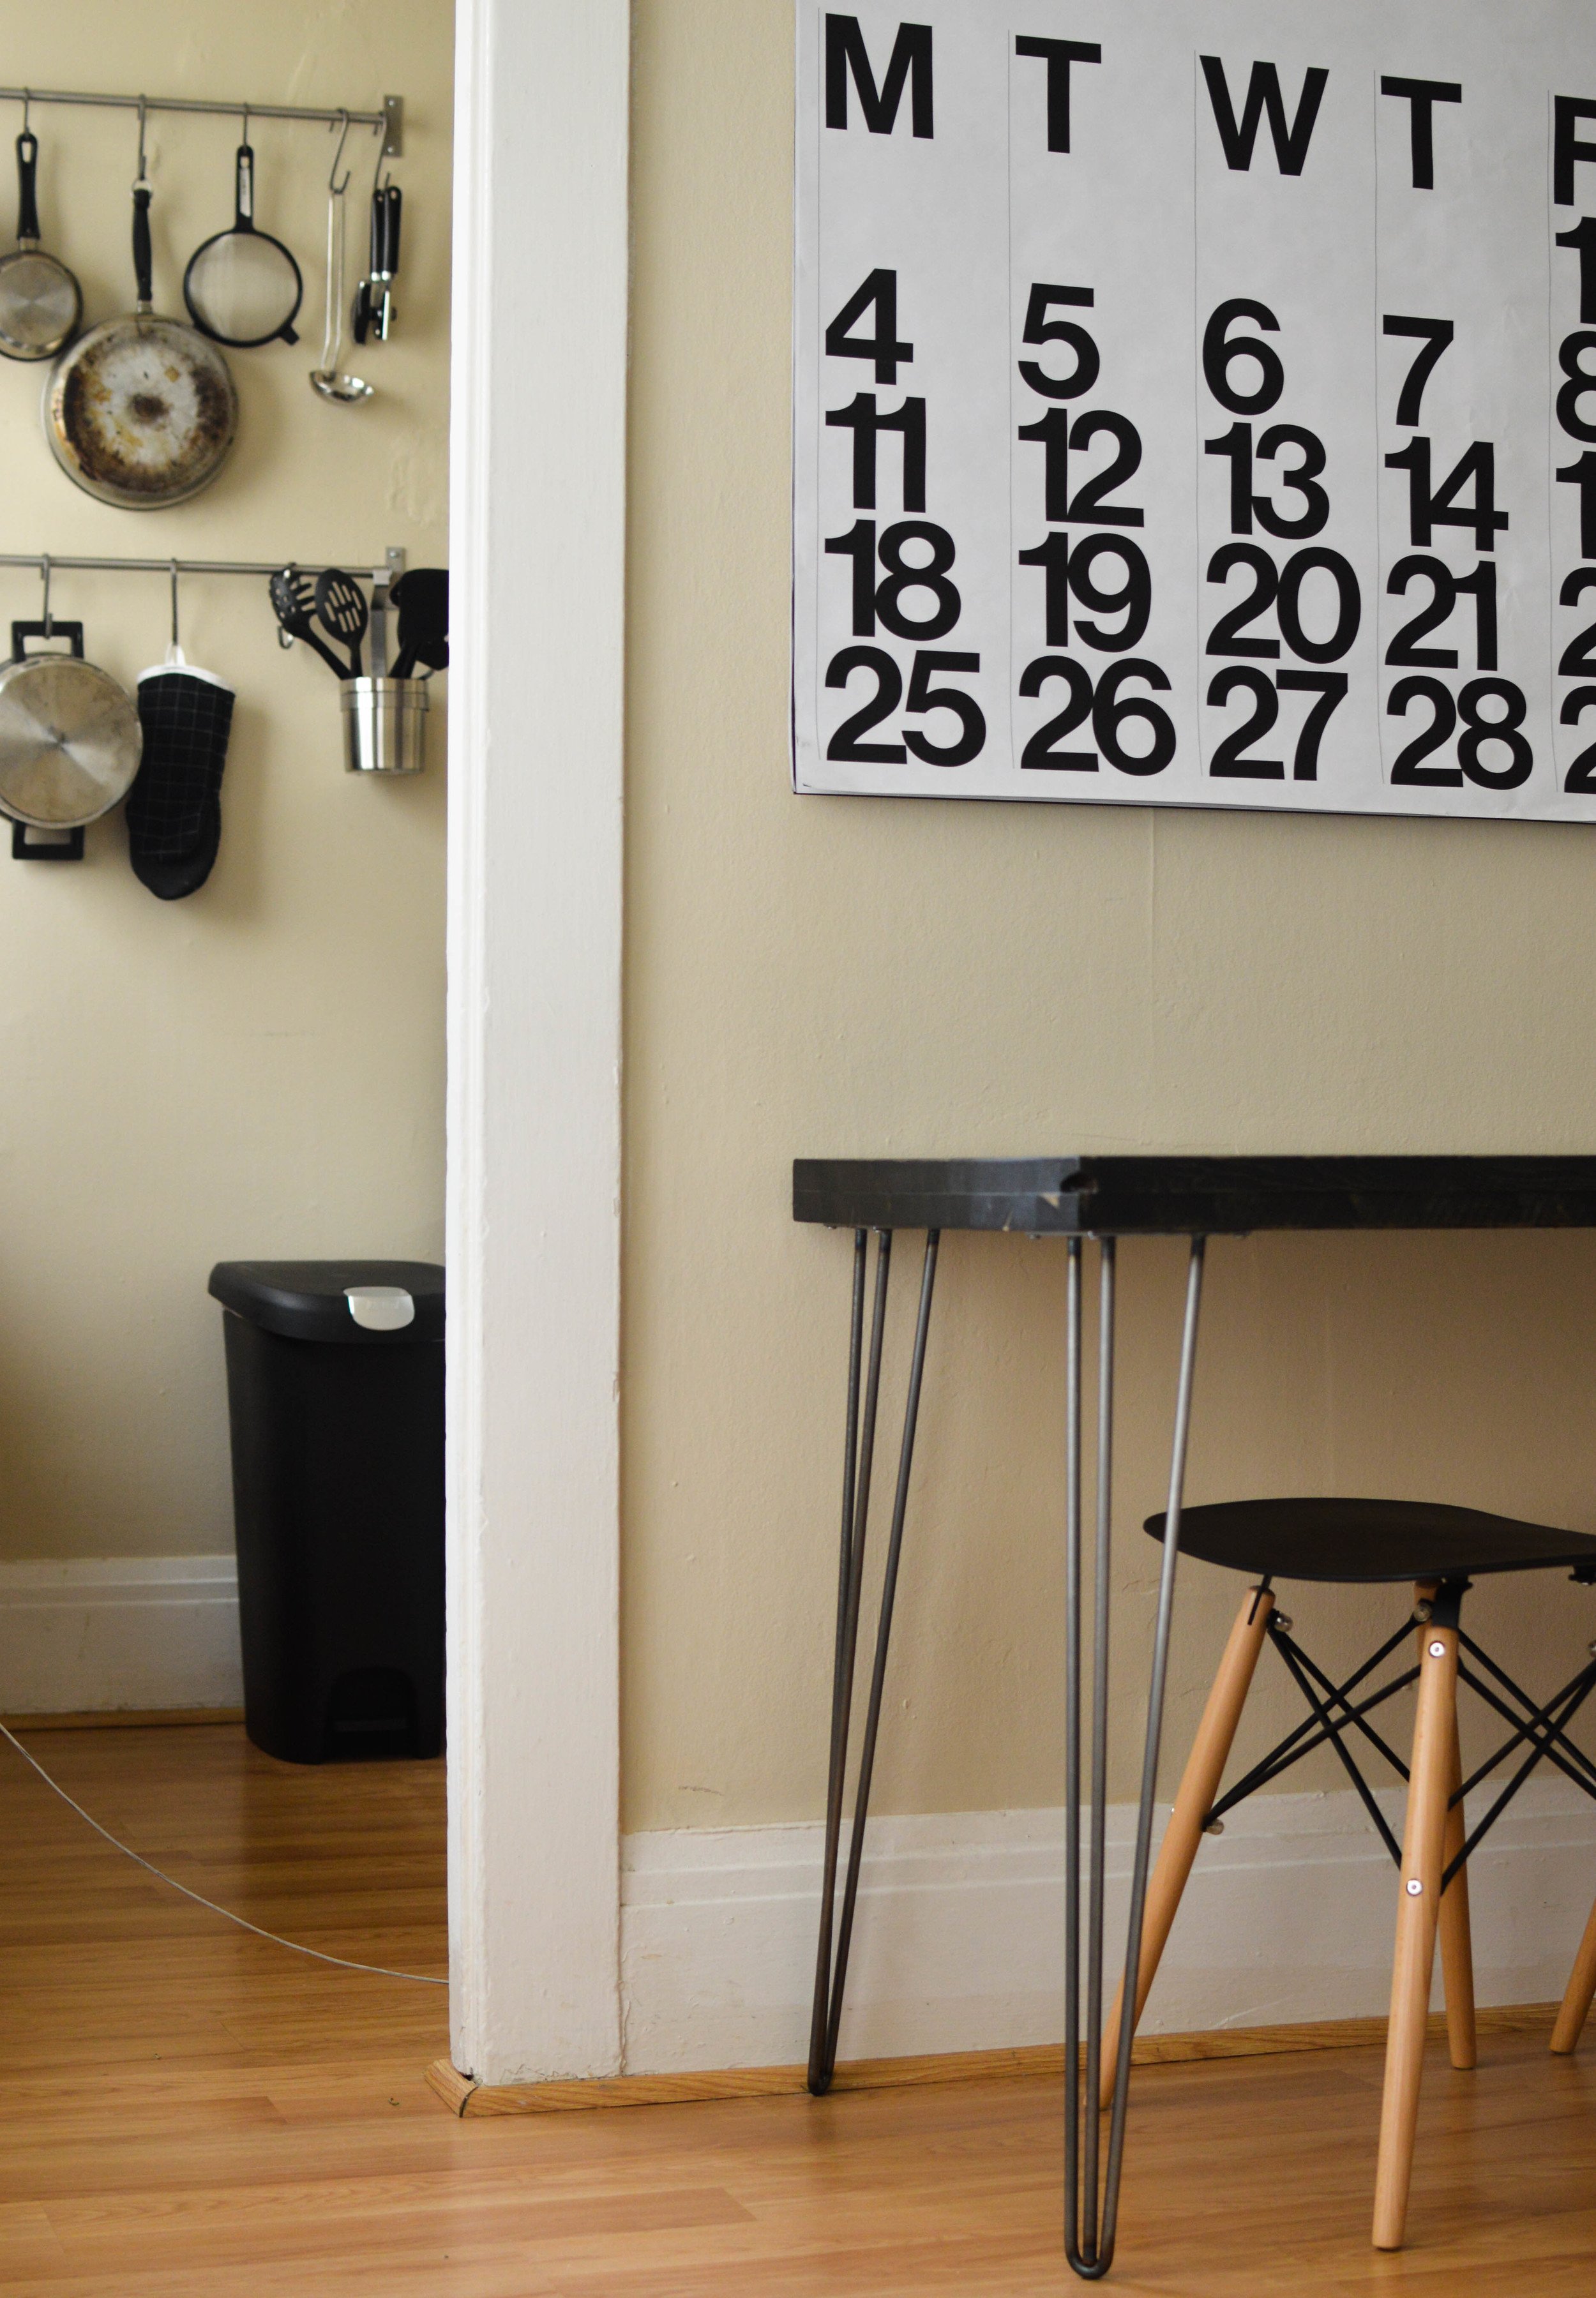
Swap your regular table legs for hairpin legs for a modern look

When I moved across the country, I sold all my furniture and had to start completely anew. I would say that's when I realized I have an affinity for modern interiors. What was the first clue? Hairpin legs. 

After a few months in my little SF studio, I had saved enough money to find a table. Eventually, I decided to build one myself, to fit the needs of my small space, and I just knew I wanted hairpin legs. Of course, as I'm sure all my twenty-something readers will understand, I only have so much in my monthly budget to alot to furniture. At the time I wrote this post, I had spent the monthly budget on my kitchen table top and was using cheap Ikea desk legs to hold it up. But when the new month hit, you better believe I spent my entire apartment budget on four hairpin legs. 

I had them sent to my office, and after one particularly difficult commute home on Caltrain/Muni/1.5 mile walk (my box weighed 20 pounds 😳), it turned out to be a very easy switch. I flipped the table over so the legs were in the air. Then I removed the three wood screws holding each Ikea leg to my table top, and swapped them into each hairpin leg. I can't tell you how THRILLED I am with the result. Not only is my table taller now, it just look so much better! The light, slim outline of these hairpin legs is not to be taken for granted in my small space.

It was such an easy process to replace my kitchen table legs. If you're ever looking for a change of pace, I would definitely suggest the switch! Let me know if you do. xox

Swap your regular legs for hairpin legs to make a fancy table
Cute modern tiny kitchen

p.s. I found my legs at hairpinlegs.com. I have since learned about hairpinlegsforless.com and think it's worth checking out. Happy swapping!


Photos: Nikond3200 35mm and kit lens; Edits: Adobe Lightroom / Table top: DIY / Table legs: hairpinglegs.com (28 inch, 3 Rod Leg in raw steel) / Stendig Calendar: gifted / Stools: Amazon  

Contact Paper & Temporary Fixes for Apartment Cupboards

Rental Cupboard Makeover

In an apartment, there's only so much you can do to change a space. You can drill into the wall -- as long as you're familiar with a can of spackle. You can add furniture, with pads on the legs. You can remove doors, if you add them back on before you leave. You can also add temporary wall paper. 

Remember this? A few weeks ago I added shelves under my cupboard. Almost as soon as I posted that first post, I realized I wanted to add contact paper to this space. The semi-painted, semi-stained wall had so much more potential than I was utilizing.

So right away, I bought 9 feet of this contact paper on Amazon for $3. I will say, that, while I love the contact paper, I probably should have cleaned the wall beforehand.  My paper seems to be separating, and I think its from all the dust :/. At Target this weekend I DID see lots of contact paper and temporary wall paper in the clearance section and they all seemed like great options for a 10 minute project like this.

But, the moral of the story is, nowadays, I find myself opening this cupboard even when I don't have. So, no matter the manner, I think temporary contact paper is a GREAT way to make apartment life work for you. 

DIY Dining Table for a Small Apartment

DIY Kitchen Table

Small apartment life! As you may know I recently moved to San Francisco and my studio apartment is pretty little. How small? 300some square feet (in SF it's apparently illegal for rental companies to reveal the actual size, so I don't know the real measurements. Weird). 

In this small space I have some uniquely sized walls to work with. I knew I wanted a real dining table, but I couldn't find what I wanted on craigslist. Especially one that fit my one free wall. Luckily, my sister Claire recently built her own kitchen table and inspired me to do the same :D

I bought two pine wood common boards at the Discount Builder's Supply Store. On a side note, the hardware stores here have everything you could ever need: hand soap, frying pans, water bottles, coffee grinders, baking dishes, toilet cleaner, humidifiers and fans. I don't know why, but I find this so unique. Anyway, they cut the boards to exactly the size I needed. I used wood glue to sandwich these together so I could have a nice thick table top. I chose the prettiest side (top) and faced it down on the ground. On the "uglier" side (bottom), I screwed 30 wood screws in four rows down the length for extra wood glue support. With 4 C-clamps I clamped the two glued boards together for 48 hours. 

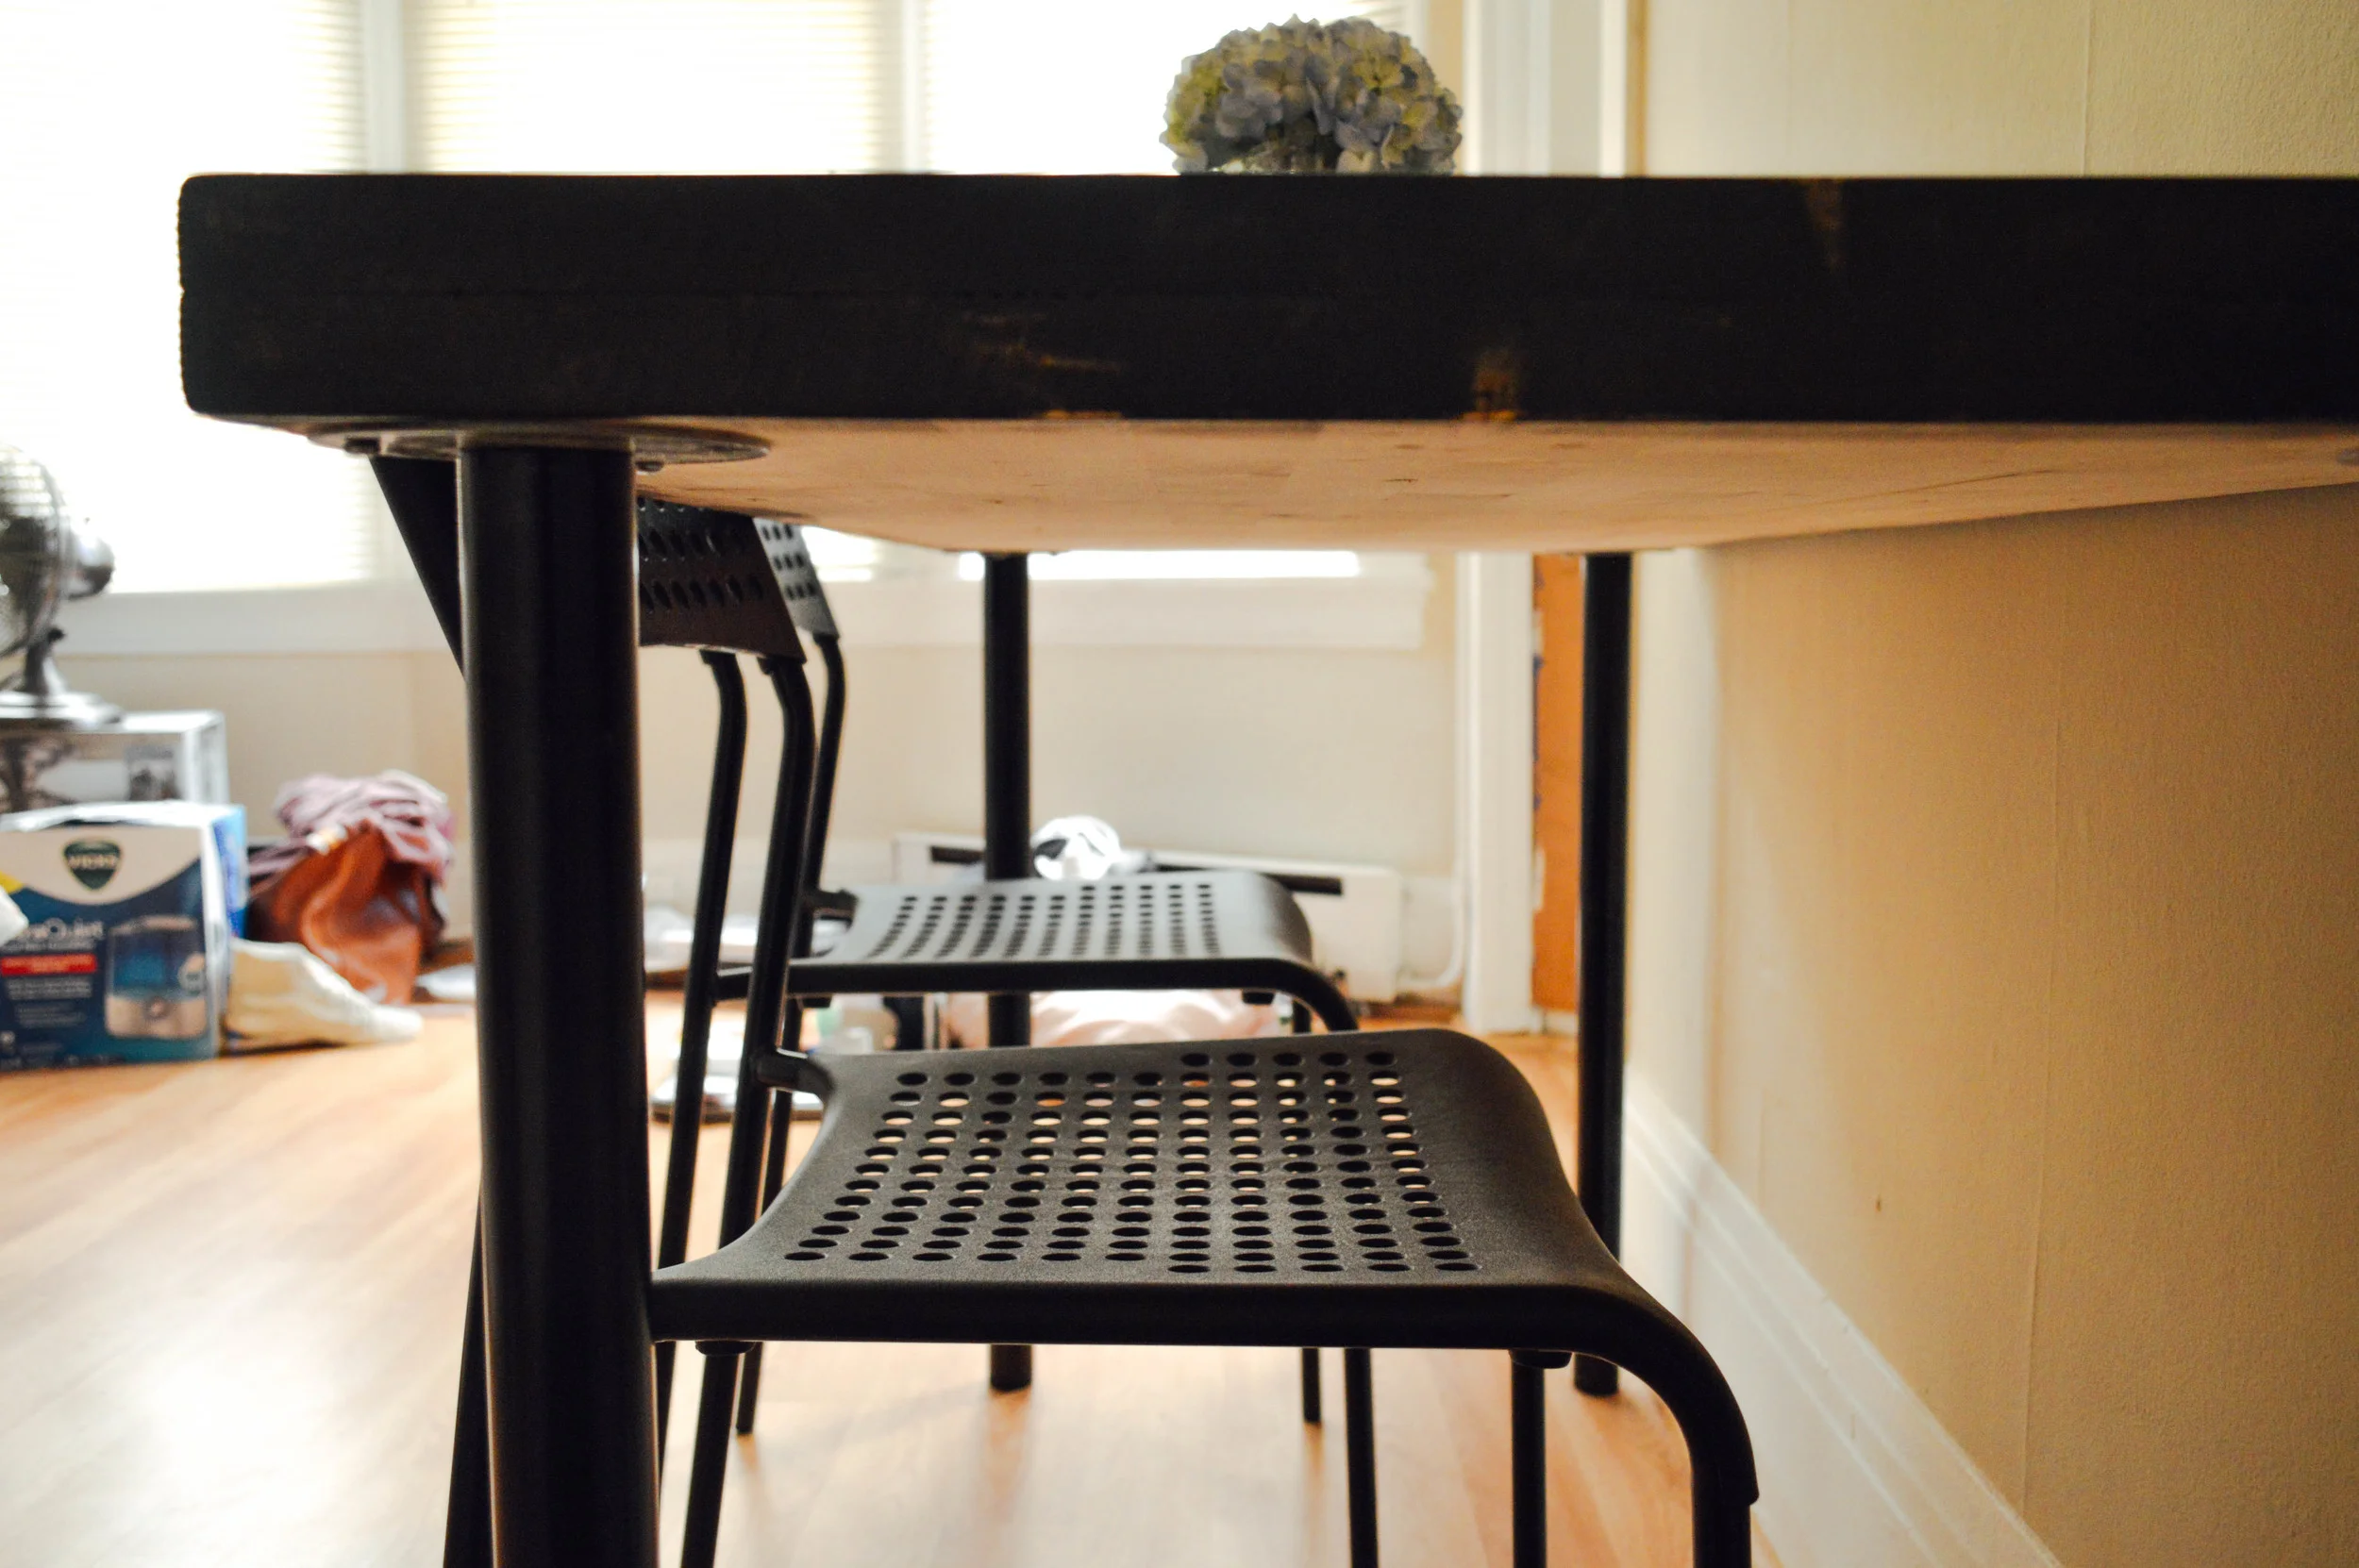
After two days I removed the clamps and sanded the whole thing down using 3 grains of sand paper working from coarsest (100 grit) to finest (220). I bought four really cheap adjustable desk legs from Ikea and screwed those to the bottom of my table top, stood it up and added 1 coat of Ebony stain. It sat for about 7 minutes before I wiped the excess off with a clean towel and let it dry overnight. Next, I added three coats of matte polyurethane over the course of two days, sanding lightly in between. Finally, I applied a wood conditioner and let it dry for 20 minutes and my table was complete!

I moved into my apartment three months ago and, til this point, have been eating all my meals in bed or picnic style on the floor -- the former was becoming a not so great habit, and the ladder tends to hurt my bum. I might be biased but I LOVE MY TABLE. All in all, it took five days to complete and I was able to do the whole thing (even the polyurethane) in my tiny apartment (with the windows open).

2 one inch pine boards: $80
Wood Glue: had
4 C-clamps: had
30 1.25 inch wood screws: $8(ish)
4 Ikea legs: $16
1 multi pack sandpaper: $3
1 goat hair brush: $7
1 can Ebony Stain: $8
1 can Matte Polyurethane: $11
Wood Conditioner: borrowed from my sister :D
Total cost: $133

DIY Kitchen Table
DIY Kitchen Table

Wanna see what it looked like before the stain? Just peek underneath the table ;D Someday when I don't need a dining option for multiple days I might take the legs off and stain it. Maybe. p.s. don't mind my messy apartment! Usually I try to push my disorganization out of the picture frame, but, whatevz. Welcome to my real life :)

DIY Kitchen Table

Photos: Nikond3200 / Edits: VSCO filters for lightroom