DIY Dining Table for a Small Apartment

DIY Kitchen Table

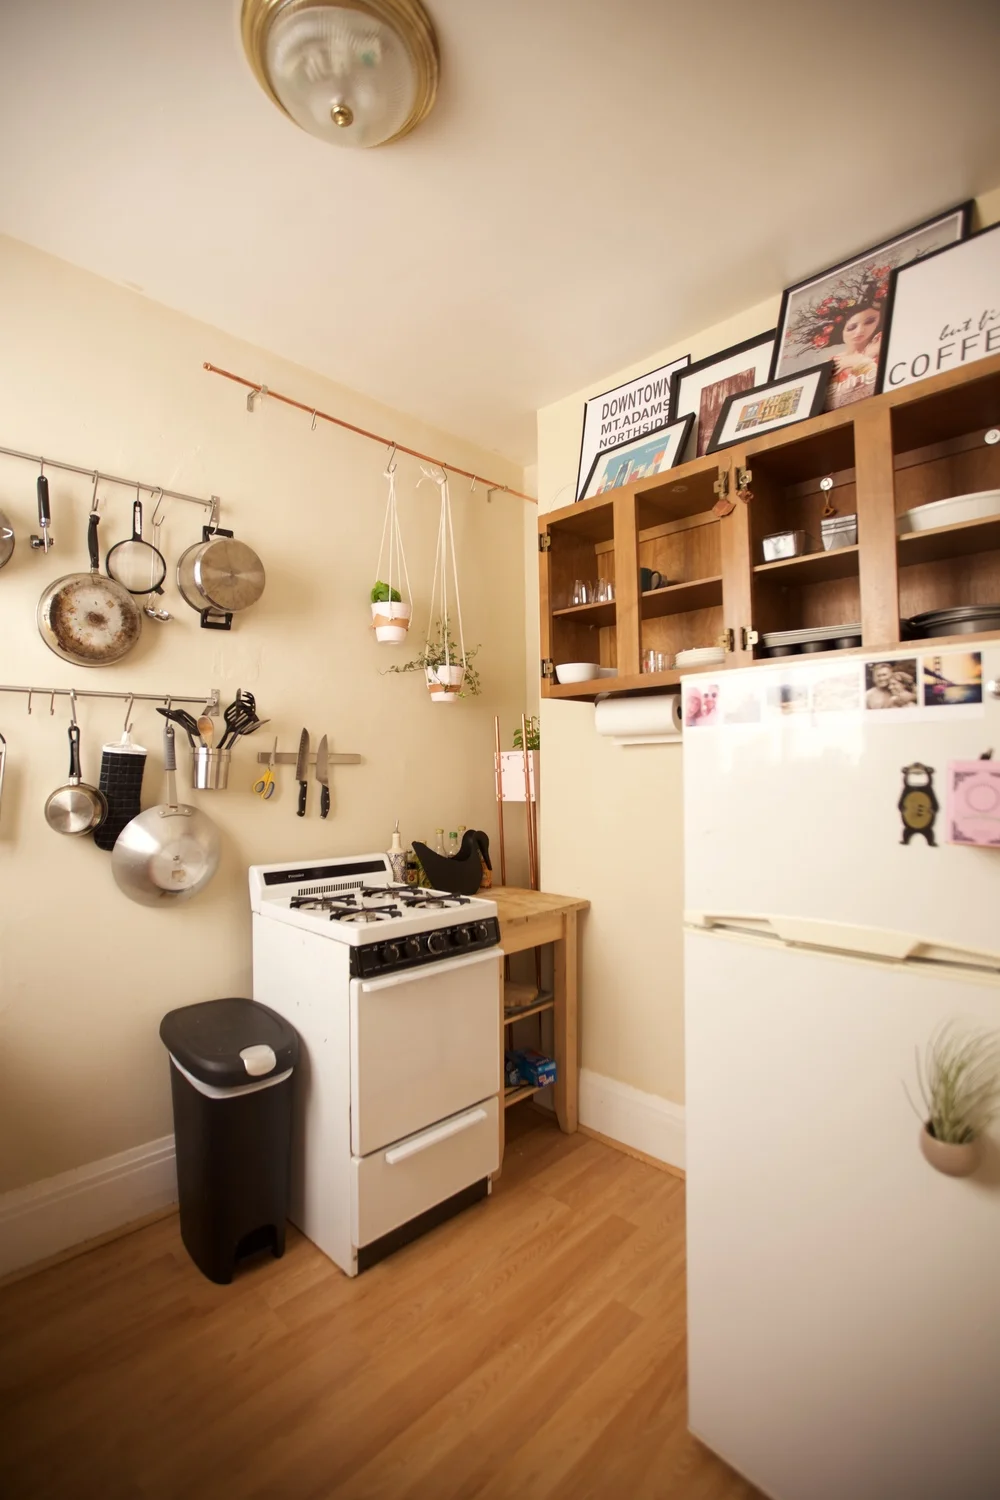
Small apartment life! As you may know I recently moved to San Francisco and my studio apartment is pretty little. How small? 300some square feet (in SF it's apparently illegal for rental companies to reveal the actual size, so I don't know the real measurements. Weird). 

In this small space I have some uniquely sized walls to work with. I knew I wanted a real dining table, but I couldn't find what I wanted on craigslist. Especially one that fit my one free wall. Luckily, my sister Claire recently built her own kitchen table and inspired me to do the same :D

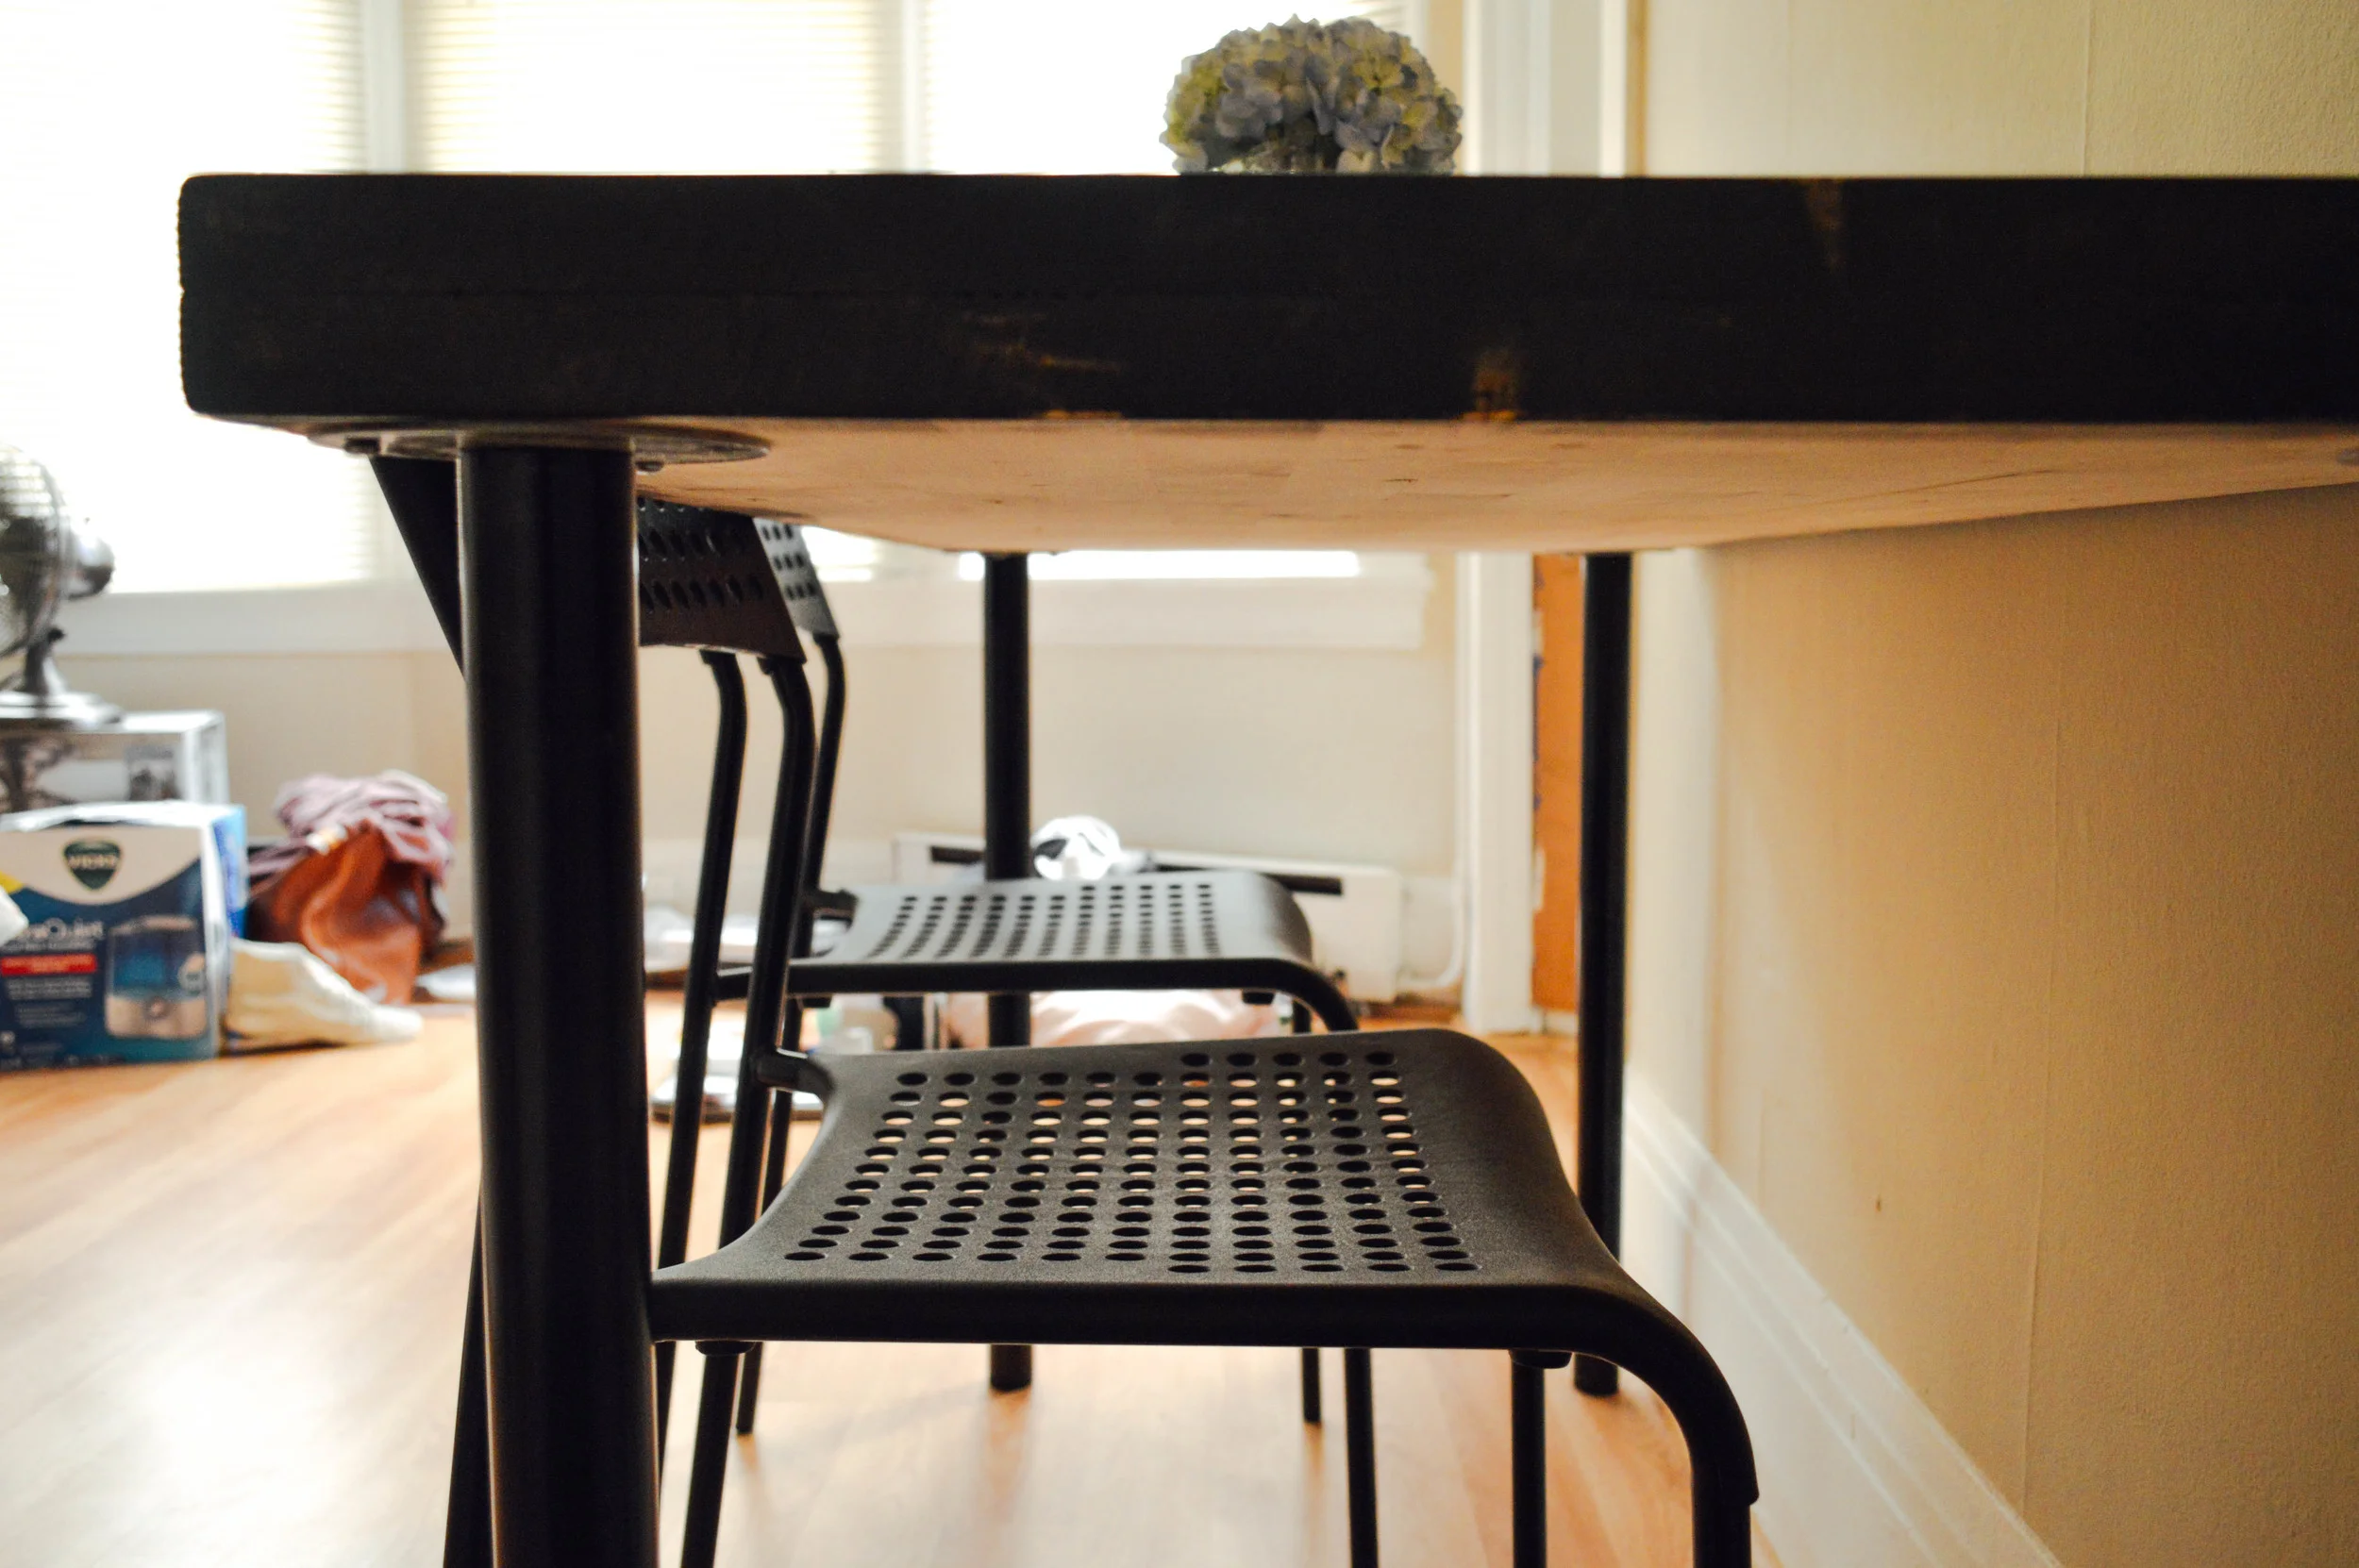
I bought two pine wood common boards at the Discount Builder's Supply Store. On a side note, the hardware stores here have everything you could ever need: hand soap, frying pans, water bottles, coffee grinders, baking dishes, toilet cleaner, humidifiers and fans. I don't know why, but I find this so unique. Anyway, they cut the boards to exactly the size I needed. I used wood glue to sandwich these together so I could have a nice thick table top. I chose the prettiest side (top) and faced it down on the ground. On the "uglier" side (bottom), I screwed 30 wood screws in four rows down the length for extra wood glue support. With 4 C-clamps I clamped the two glued boards together for 48 hours. 

After two days I removed the clamps and sanded the whole thing down using 3 grains of sand paper working from coarsest (100 grit) to finest (220). I bought four really cheap adjustable desk legs from Ikea and screwed those to the bottom of my table top, stood it up and added 1 coat of Ebony stain. It sat for about 7 minutes before I wiped the excess off with a clean towel and let it dry overnight. Next, I added three coats of matte polyurethane over the course of two days, sanding lightly in between. Finally, I applied a wood conditioner and let it dry for 20 minutes and my table was complete!

I moved into my apartment three months ago and, til this point, have been eating all my meals in bed or picnic style on the floor -- the former was becoming a not so great habit, and the ladder tends to hurt my bum. I might be biased but I LOVE MY TABLE. All in all, it took five days to complete and I was able to do the whole thing (even the polyurethane) in my tiny apartment (with the windows open).

2 one inch pine boards: $80
Wood Glue: had
4 C-clamps: had
30 1.25 inch wood screws: $8(ish)
4 Ikea legs: $16
1 multi pack sandpaper: $3
1 goat hair brush: $7
1 can Ebony Stain: $8
1 can Matte Polyurethane: $11
Wood Conditioner: borrowed from my sister :D
Total cost: $133

DIY Kitchen Table
DIY Kitchen Table

Wanna see what it looked like before the stain? Just peek underneath the table ;D Someday when I don't need a dining option for multiple days I might take the legs off and stain it. Maybe. p.s. don't mind my messy apartment! Usually I try to push my disorganization out of the picture frame, but, whatevz. Welcome to my real life :)

DIY Kitchen Table

Photos: Nikond3200 / Edits: VSCO filters for lightroom

Questions from a 20-something: vol 2

We’re young. We’re learning. There are still some life skills that need some tuning up. Which reminds me: does Wd40 work on all metals? Does it stain?

There are a lot of questions I have on the daily, some answers are an easy google search away. Some, though, are harder and more thought provoking. But you know what? I usually figure it out, and I thought you might benefit from what I’ve found. So here we go: five of my recent questions AND answers. 

peaceful kitchen

How long does it take to cool a room temperature diet coke in the freezer?

A can of coke should cool down in the freezer in about 20-25 minutes. It will take half that time if you put it in a bucket of ice instead. It will half that time if you add water to the ice and half that time if you add salt to the water. So you’re looking at a perfectly cooled soda in 25 minutes in a freezer or 2 minutes in a salted-water-ice bucket. via 

Can a sinus infection cause your teeth to hurt? 

Yes! My recent sinus infection put me out of commission all week. To top it off, I thought I had a cavity in addition to my symptoms! Turns out it's all related. Phew.

What's the right amount of time to keep a toothbrush?

3-4 months. But also replace it after every illness, regardless of how new it is. I've heard of people re-catching their own germs from their toothbrush after being sick.

What are the best podcasts to listen to on a commute?

Gimlet media's Start Up and Reply All. TED Radio Hour. Serial. PBS Newshour. I listen to each of these every week :D

Shoot. My eggs are expired.. can I still eat them?

Check with the float test! Place your eggs in a bowl of water. If they float -- don't eat them! If they stand on the bottom, they're still good. If they lay on their side at the bottom, they're very fresh. Via.

Got a question? I'll look it up! Just shoot me a note. Photo: Nikond3200 / Edits VSCO Filters for Lightroom.

Crushing on lately...

Oh guys. Hi :D I have some updates: A few weeks ago I had a kitchen accident and cut my hand. Ouch! I could type, but after my full work day (marketing) (read: typing a lot) I couldn't muster much hand stamina to blog,. I had to rely on the posts I had in stock (two) but those went really fast and I had to miss you guys terribly.  Finally, on Friday, I got my stitches out (yay!), but the next day I got sick. My days have consisted of work, sleep and DayQuil since. But, now, here we are, back in action :D

Happy updates! My friend Natalie is coming to visit me in less than TEN DAYS! I can't wait to host my first official visitor in SF! & with that, I can introduce this beautiful photo. Recognize it? I geeked over it (and immediately bought this exact flavor) when Natalie posted this picture last week. Which leads me into my last note: I want to host a photo sharing space. Would you guys be into that? I'm not sure of the details yet but I've been tossing around the idea for a while.

Let me know. & in the meantime... some crushes: 

Photo by: Natalie Folchi of Natalie Was Here

Photo by: Natalie Folchi of Natalie Was Here

Pumpkin recipe round-up

Last year I went  a little crazy with pumpkin recipes the last week of October. So I thought this year I'd knock it all out early, and in one post. Here's a round up of all the pumpkin recipes you'll find in the Ida Street archives & below that, a list of what I'll be cooking up here in SF this year :D

That was last year. But, I have a love for pumpkin that just won't quit, so up for this year...

Pumpkin french toast (what?!?)
Pumpkin bread
or pumpkin chocolate chip bread (yes.)
Pumpkin baked oatmeal
Pumpkin beer biscuits
Pumpkin grilled cheese

& apparently.. the best pumpkin beer in SF? Jury is out until I get my hands on this to compare to Mad Tree's Great Pumcan... all hail the Great PumKING!

Repurposing wood scraps for under-counter storage

One of the big problems I have in my small SF apartment is kitchen storage. I have a few under-sink and under-counter cabinets that need to house all my food, glassware, water bottles, kitchen appliances, etc. There's a decent amount of space available, but it's all vertical. So, without shelves, I couldn't utilize it.

Luckily I held on to a few wood scraps left from my corner coffee bar and thought I could try my hand at some quick shelves.

Under Counter Storage
DIY Under Counter Storage

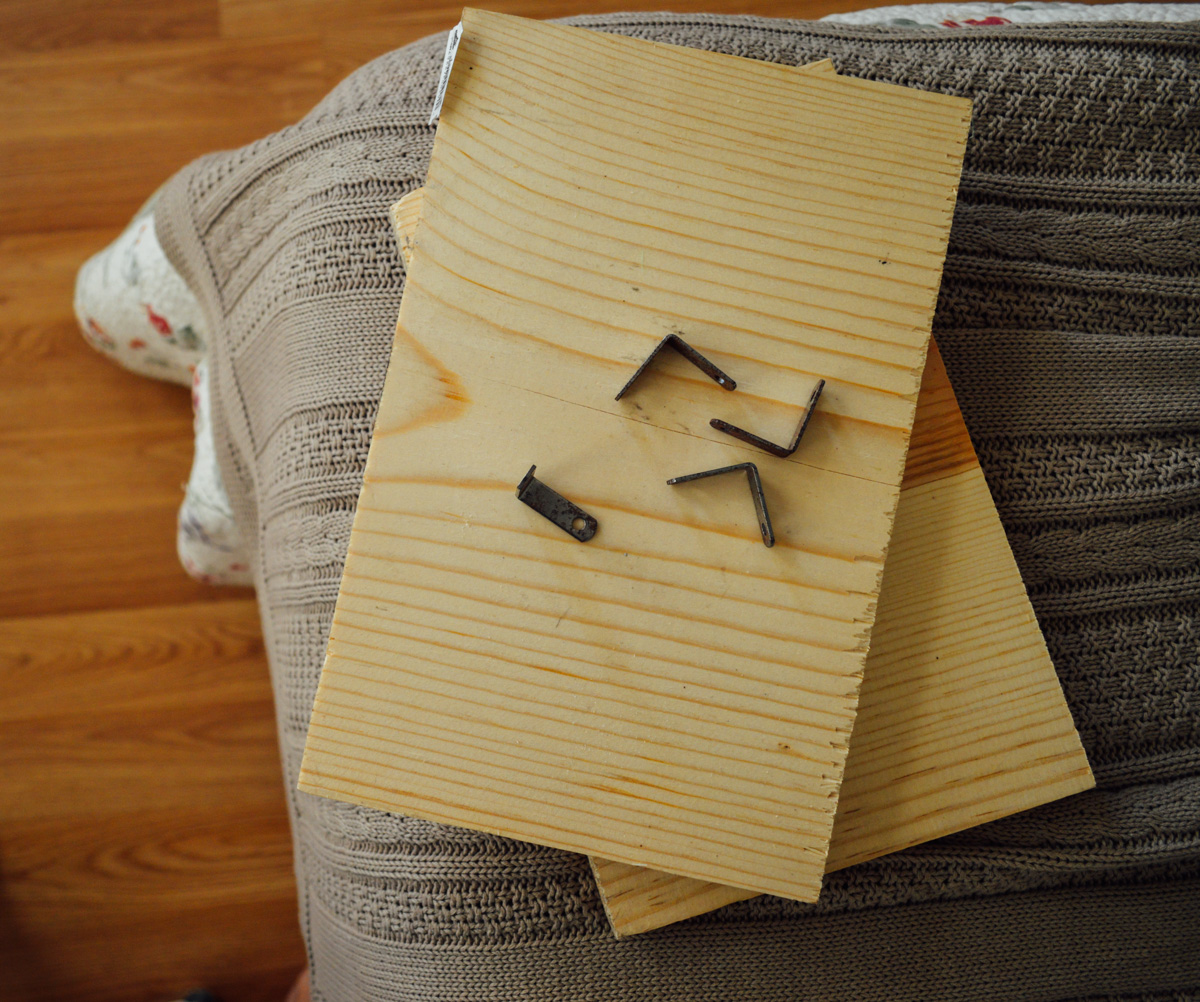
These brackets come in useful packets of four with fitted screws. I didn't know that. I found these for 25 cents each in a used box at the hardware store. Also, because my wood is not quite the size of my cabinets, I could only use three of the brackets on each shelf: two in the back corners and one on the wall-facing side (see photo below).

DIY under cabinet storage

Screw the brackets into the wood. Then use a level to screw the wood shelf into the cabinet. SIMPLE AS THAT. 

So easy. After I added this to the wall it dawned on me I could have painted the cabinet back board or, since it is an apartment, added some kind of removable wall paper or something. Whoops, that would have looked really cute. Next time :D

diy cupboard shelves

Also, I decided to add Cup Hooks for my coffee mugs. It works best to screw these in by hand after the board is hung up.. I had to remove my original hooks from the photos above to screw the shelf in, but I ended up replacing them anyway with a larger "C" for my mug handles. Happy organizing!