So I fail at taking "process photos" & I'm sorry! To be honest, I wasn't sure this would end up being a DIY I wanted to share with you guys. They don't always work, you know!!! (For example, yesterday I tried to make a hanging-mason jar-coffee bean-candle-thing. Yea, had to blow that one out when I started smelling burning paper instead of the vanilla cappuccino I envisioned. Whoops!)
But, I actually really love this planter, and it was relatively easy. So I'll try my best to explain what I did.
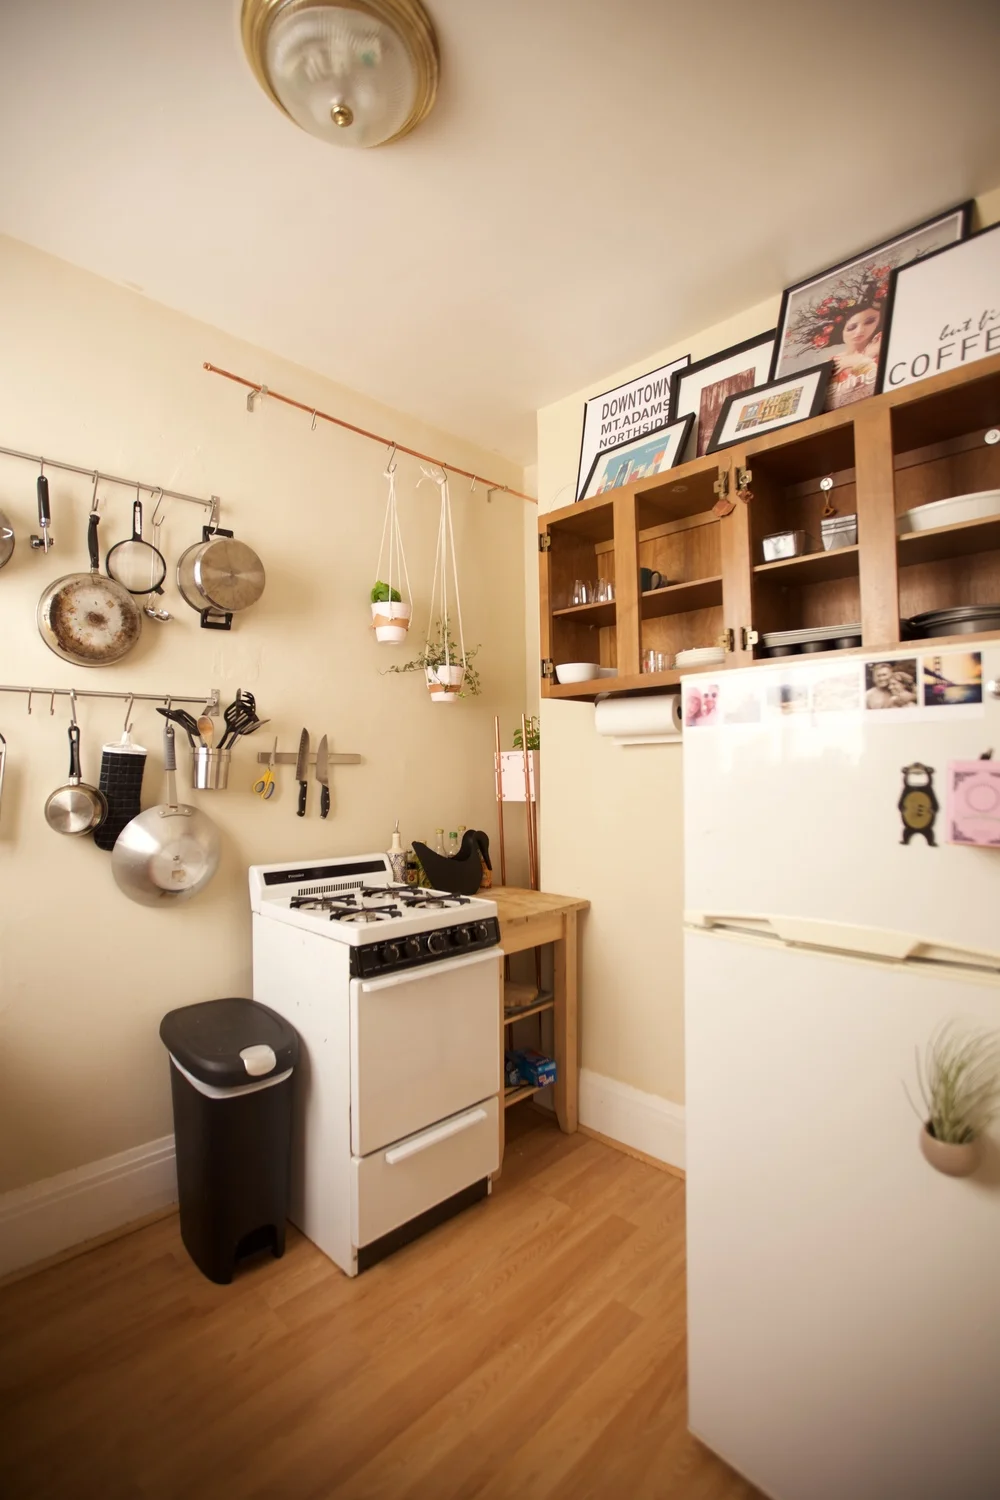
Like most of my blog posts, this one started with a problem. See, the only place plants can get light in my apartment is the kitchen. And my windowsills are maxed out with succulents. Que Laura's cute pink window box planter from ABM! I knew I would need one taller (four feet to be exact - to lift my plants over the stove), and skinnier (to fit into a random weird corner in my kitchen), but still this idea seemed like a solid solution.
So... To Michael's I went! I found a plywood box that was the perfect size for my little corner (8x8inches). It so happened to have a bunny face on it, gotta love that Easter clearance! The bunny face made painting this box kinda sad -- and difficult, ha! It took three days and three coats of paint to get that face covered!
But when it was dry, I bought four 4ft x 1/2inch copper pipes from Lowes (these are in the plumbing section). Across the aisle were matching copper brackets (actually called "pipe straps") that fit over the pipes (meaning, they were also 1/2 an inch). I got 12 of those and carried my loot home on Bart.
Using four c-clamps and a level, I clamped my pipes to the box and stood the whole thing up to find the height I wanted. While the pipes were still clamped on, I used a piece of masking tape to mark each pipe A-D and added corresponding tape on the corners of the box. STILL clamped and standing, I took a permanent marker and drew two lines on each pipe, marking where the top and bottom of the box should be in relation to the pipe.
Finally, time to make those pipes into legs! I unclamped everything and took Pipe A and matched it with Corner A. With the box on it's side, and using the lines I drew on the copper pipe to measure where I needed to place it, I laid pipe straps on top of my pipe and used a power drill to drill right through the holes of pipe strap#1 and into my box. I screwed bolts into the holes and secured it with a nut to hold that first pipe strap in place. Then I followed this process for pipe straps #2 and #3, alternating between drilling holes and screwing in the bolts. Woohoo! One leg down, three to go!
Once all the legs/pipes were screwed in place, I stood the planter up to make sure it was still balanced. According to my level, it was a little off. So I took a hammer and kinda, tapped the box into place (remember, we haven't actually screwed through the pipes at all, so this method works!).
Later, I added floor scratch pads to the bottom of each of the pipes. I've since found out about "end caps" and may look into this to top of my copper pipes.
Finally, to make this into a real planter, I stopped at Lowes again. There I bought a plastic garden pot that would fit inside my box (meaning the pot was under 8 inches tall). I brought that home and painted it to match my box (which has handle holes, since it was an Easter Basket in a previous life 😁). After the paint dried, I dropped the plastic pot into my Bunny Box and Voila! A modern looking, copper accent 4-ft planter!
I planted mint in this pup because mint apparently doesn't need a ton of sun and it's fairly hard to kill. I had big dreams of my apartment smelling like mint every time I opened the door, but so far... nothing to report. Still though, I can't wait to make mint adorned drinks all summer :D
Four 4ft x 1/2 inch Copper Pipes: (Lowes) $52
Twelve 1/2 inch Copper Pipe Straps: (Home Depot) $7
One 8x8inch Plywood Box: (Michaels) $12
24 nuts/bolts: (Amazon) $7
One Plastic Pot: (Lowes) $2
Felt furniture pads: Had
Paint: Had
Sweet Mint: $2
Potting Soil!: (Lowes) $5
Total: $87
^^ My DIYs always end up costing so much more than I think they will. I can't really compare this price to a "store bought" version, because I honestly haven't seen anything like it! I guess that's my favorite part about DIY-ing, you always end up with something one-of-a-kind :D


