


My apartment looks straight across a skinny alley into someone else's kitchen. After a few awkward encounters (picture me waving at strangers while they cooked, or Tom Cruise's scene from Risky Business lip-sync-dancing in my tighty whities), my options became 1) keep the blinds of my studio closed and live in a dungeon or 2) buy some kind of curtain.
News flash: curtains are expensive. And also, you're supposed to measure the window before you buy.
After a long time of speculation and non-measuring, I found myself in the curtain aisle at Target yet again in a fluster, decided to screw it, picked up three packs of curtains that "I bet are the right length" and marched them home. It seemed crazy expensive, but for a while my problems were solved! But, shortly after I threw away the receipt and packaging, my friend came over and said "aren't curtains supposed to hit the floor?"
Ummm,..... What? Are they? I don't know! So I researched. And most do. And I became kind of obsessed with it. The idea haunted me like three soft, white, 95 inch, fluffy ghosts. Every blog I read, every Apartment Therapy post I stalked, floor length curtains were everywhere, and mine fluttered softly 1.5 feet above the ground. Then the blog gods smiled on me and I stumbled upon a post about lengthening curtains. & even though Katie only needed a few extra inches, and I needed several more feet, I realized it was doable, and I could either give it a try or spend one hundred more dollars on new curtains.
So....... with a seam ripper I removed the bottom seam of my curtains and then measured the amount of length I needed, width and height, to get to the floor. At JoAnn's Craft and Fabric Store I picked two fabrics I wanted to layer at the bottom of my curtains and an "apparel trim" (but it took me a few trips around the store to find out they were called that) to add to the very bottom. I got all those cut at the cutting station for enough fabric for my three windows (little tip: you have to pull a number, like the deli, to get in line at the cut station). At home, I used fiskers to cut and pin together the first curtain and sloooooowwwwly stitch the entire thing together. It took f.o.r.e.v.e.r. I'm not kidding. Ten hours. TEN. After I finally finished I decided there had to be an easier way, and I ordered stitch witchery on Amazon.
It saved me like, a million hours. Basically, it's magic. You cut your stitch witchery like it's scotch tape. Then put it between your fabrics, and with the wool setting on your iron, and a damp cloth on top of both fabrics, press down firmly. Let it dry. Then you're good! Even with a small table top ironing board, it cut about 16 hours off my time.
Seam Ripper: $3
2 yards of fabric one: 9.99/yard = $20
2 yards of fabric two: 14.99/yard = $30
4 yards of lace apparel trim: $20
Stitch Witchery: $4.36
Iron: borrowed
Total: $77.36
As it turns out, it would have been around the same price for me to just buy new curtains. But, I still feel really proud of my creation, and I'm not sure what I would have done with three old curtains stuck in my closet, anyway. Plus, like all my DIY's, I love that these are completely custom made and no one else in the world has them. I would encourage you to give it a try!
Let me know if you do! xox

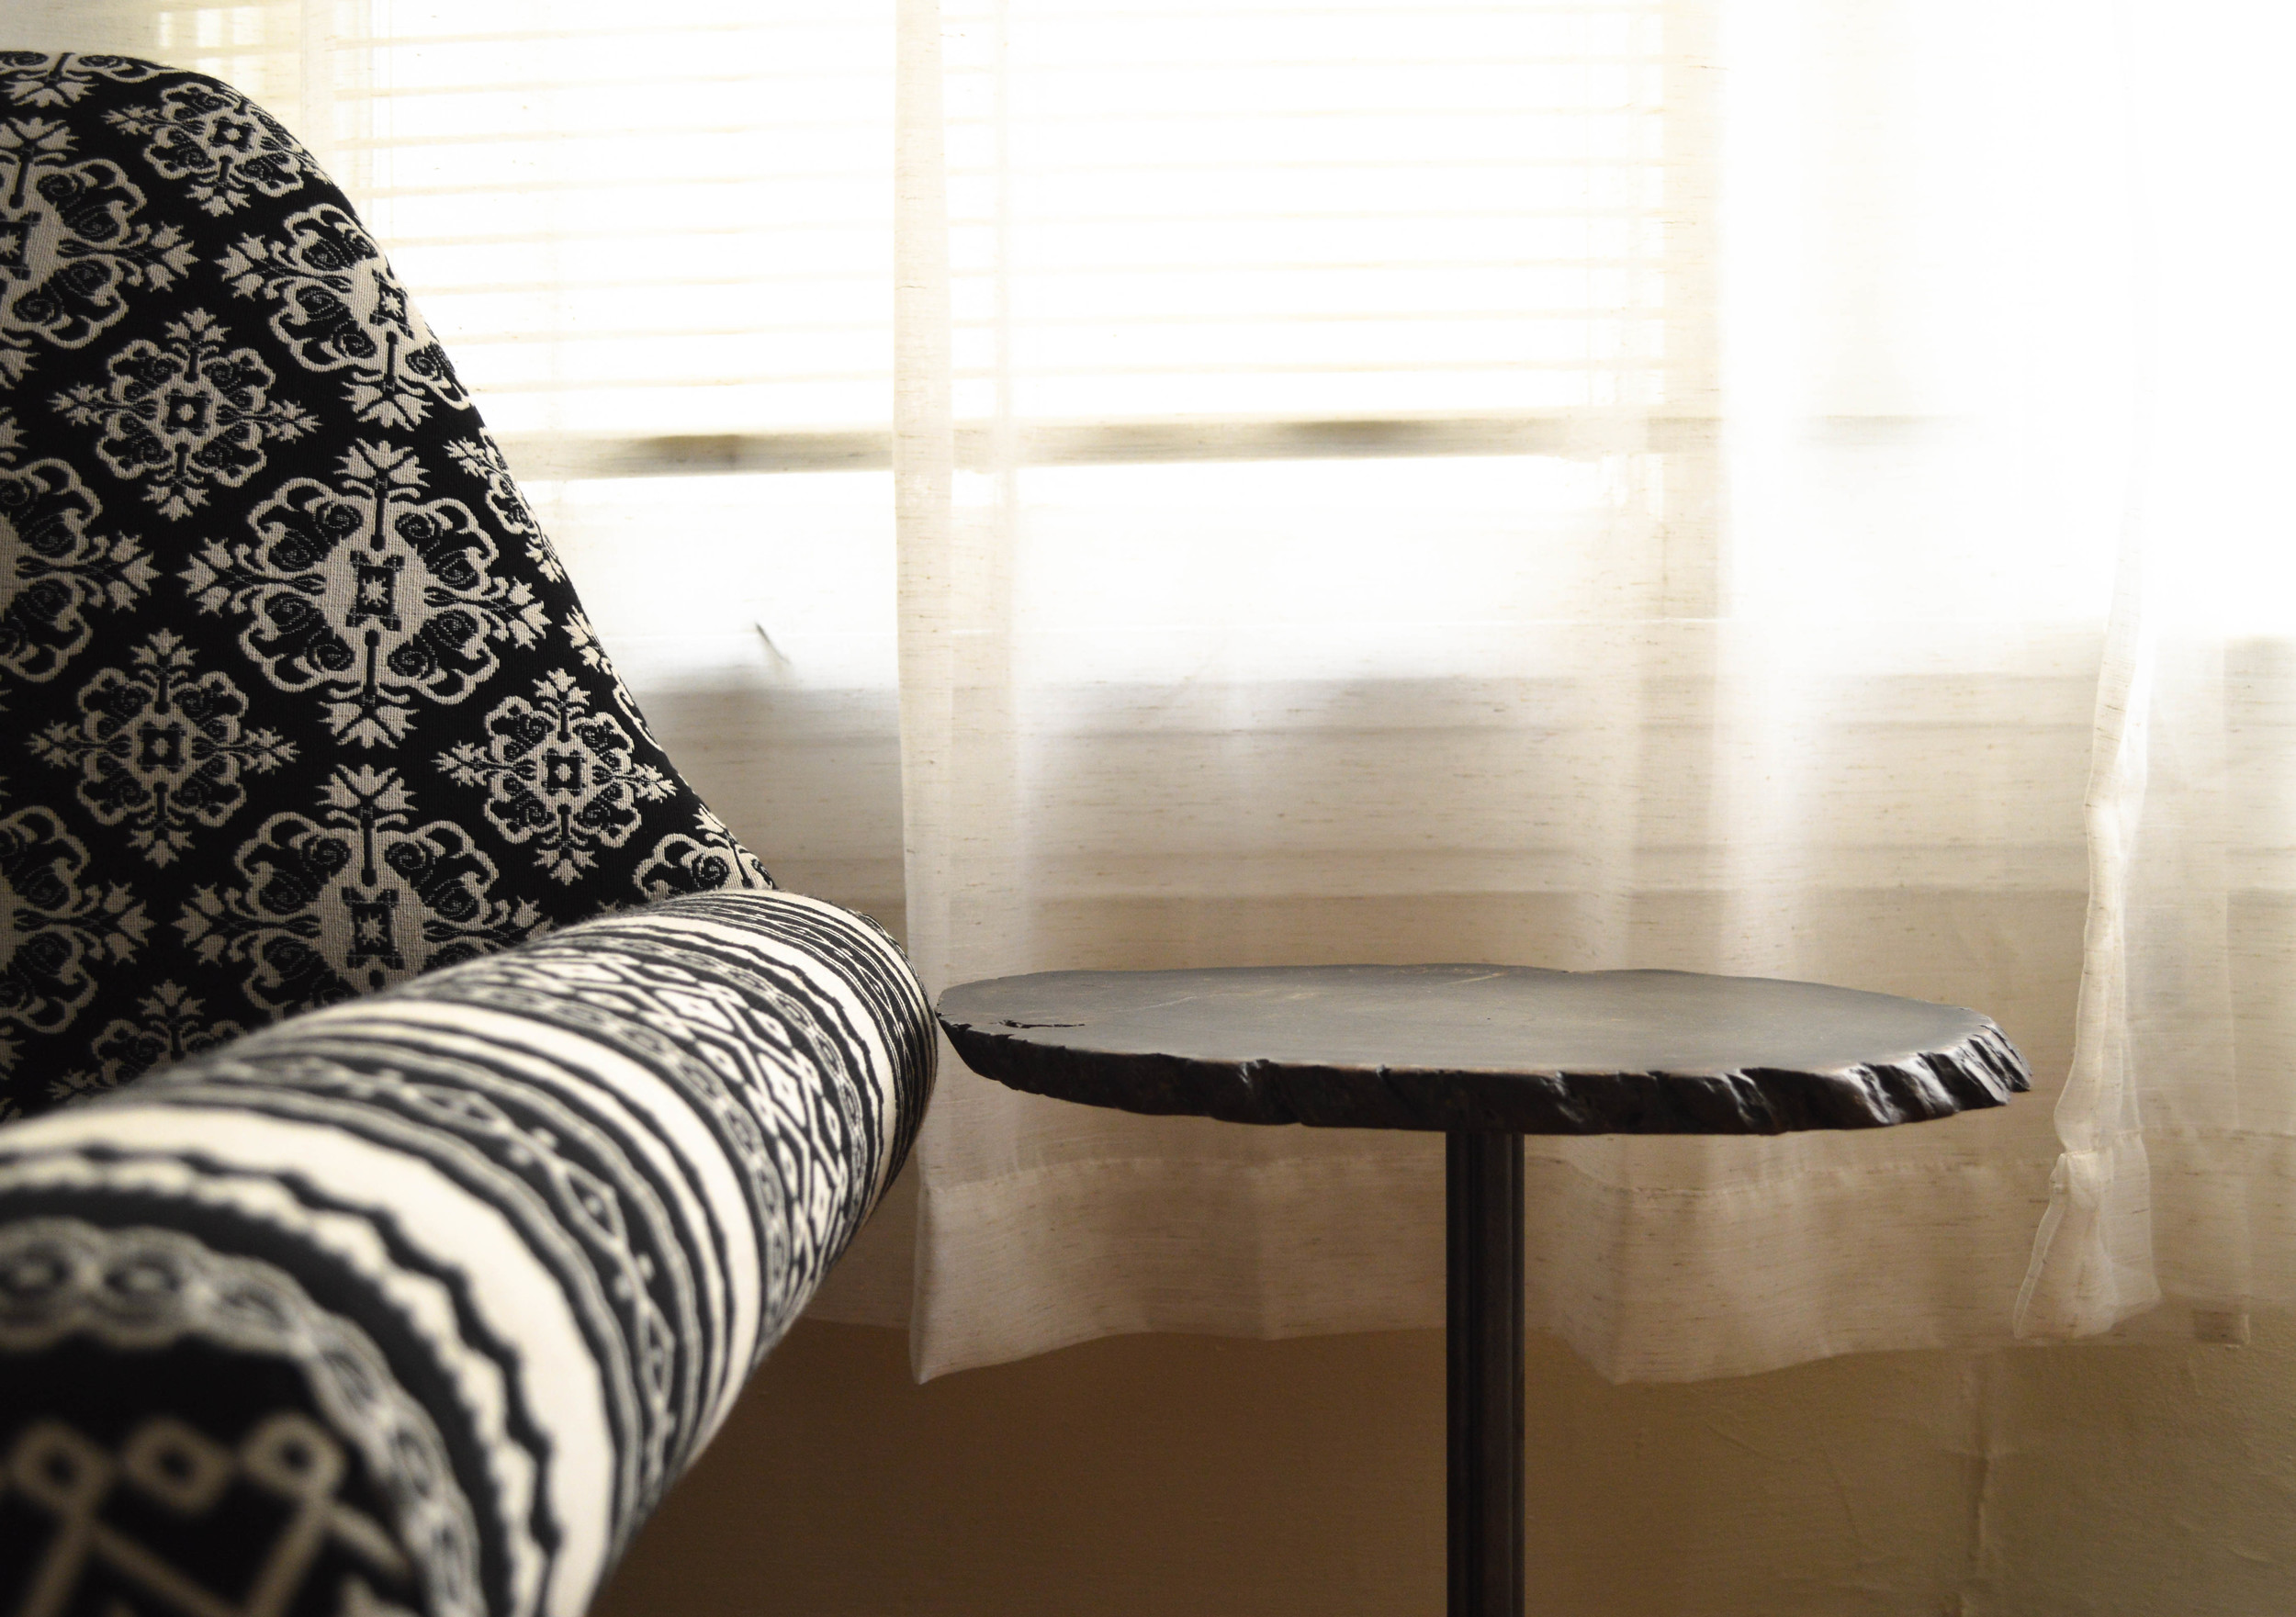
^^^ with stitching.

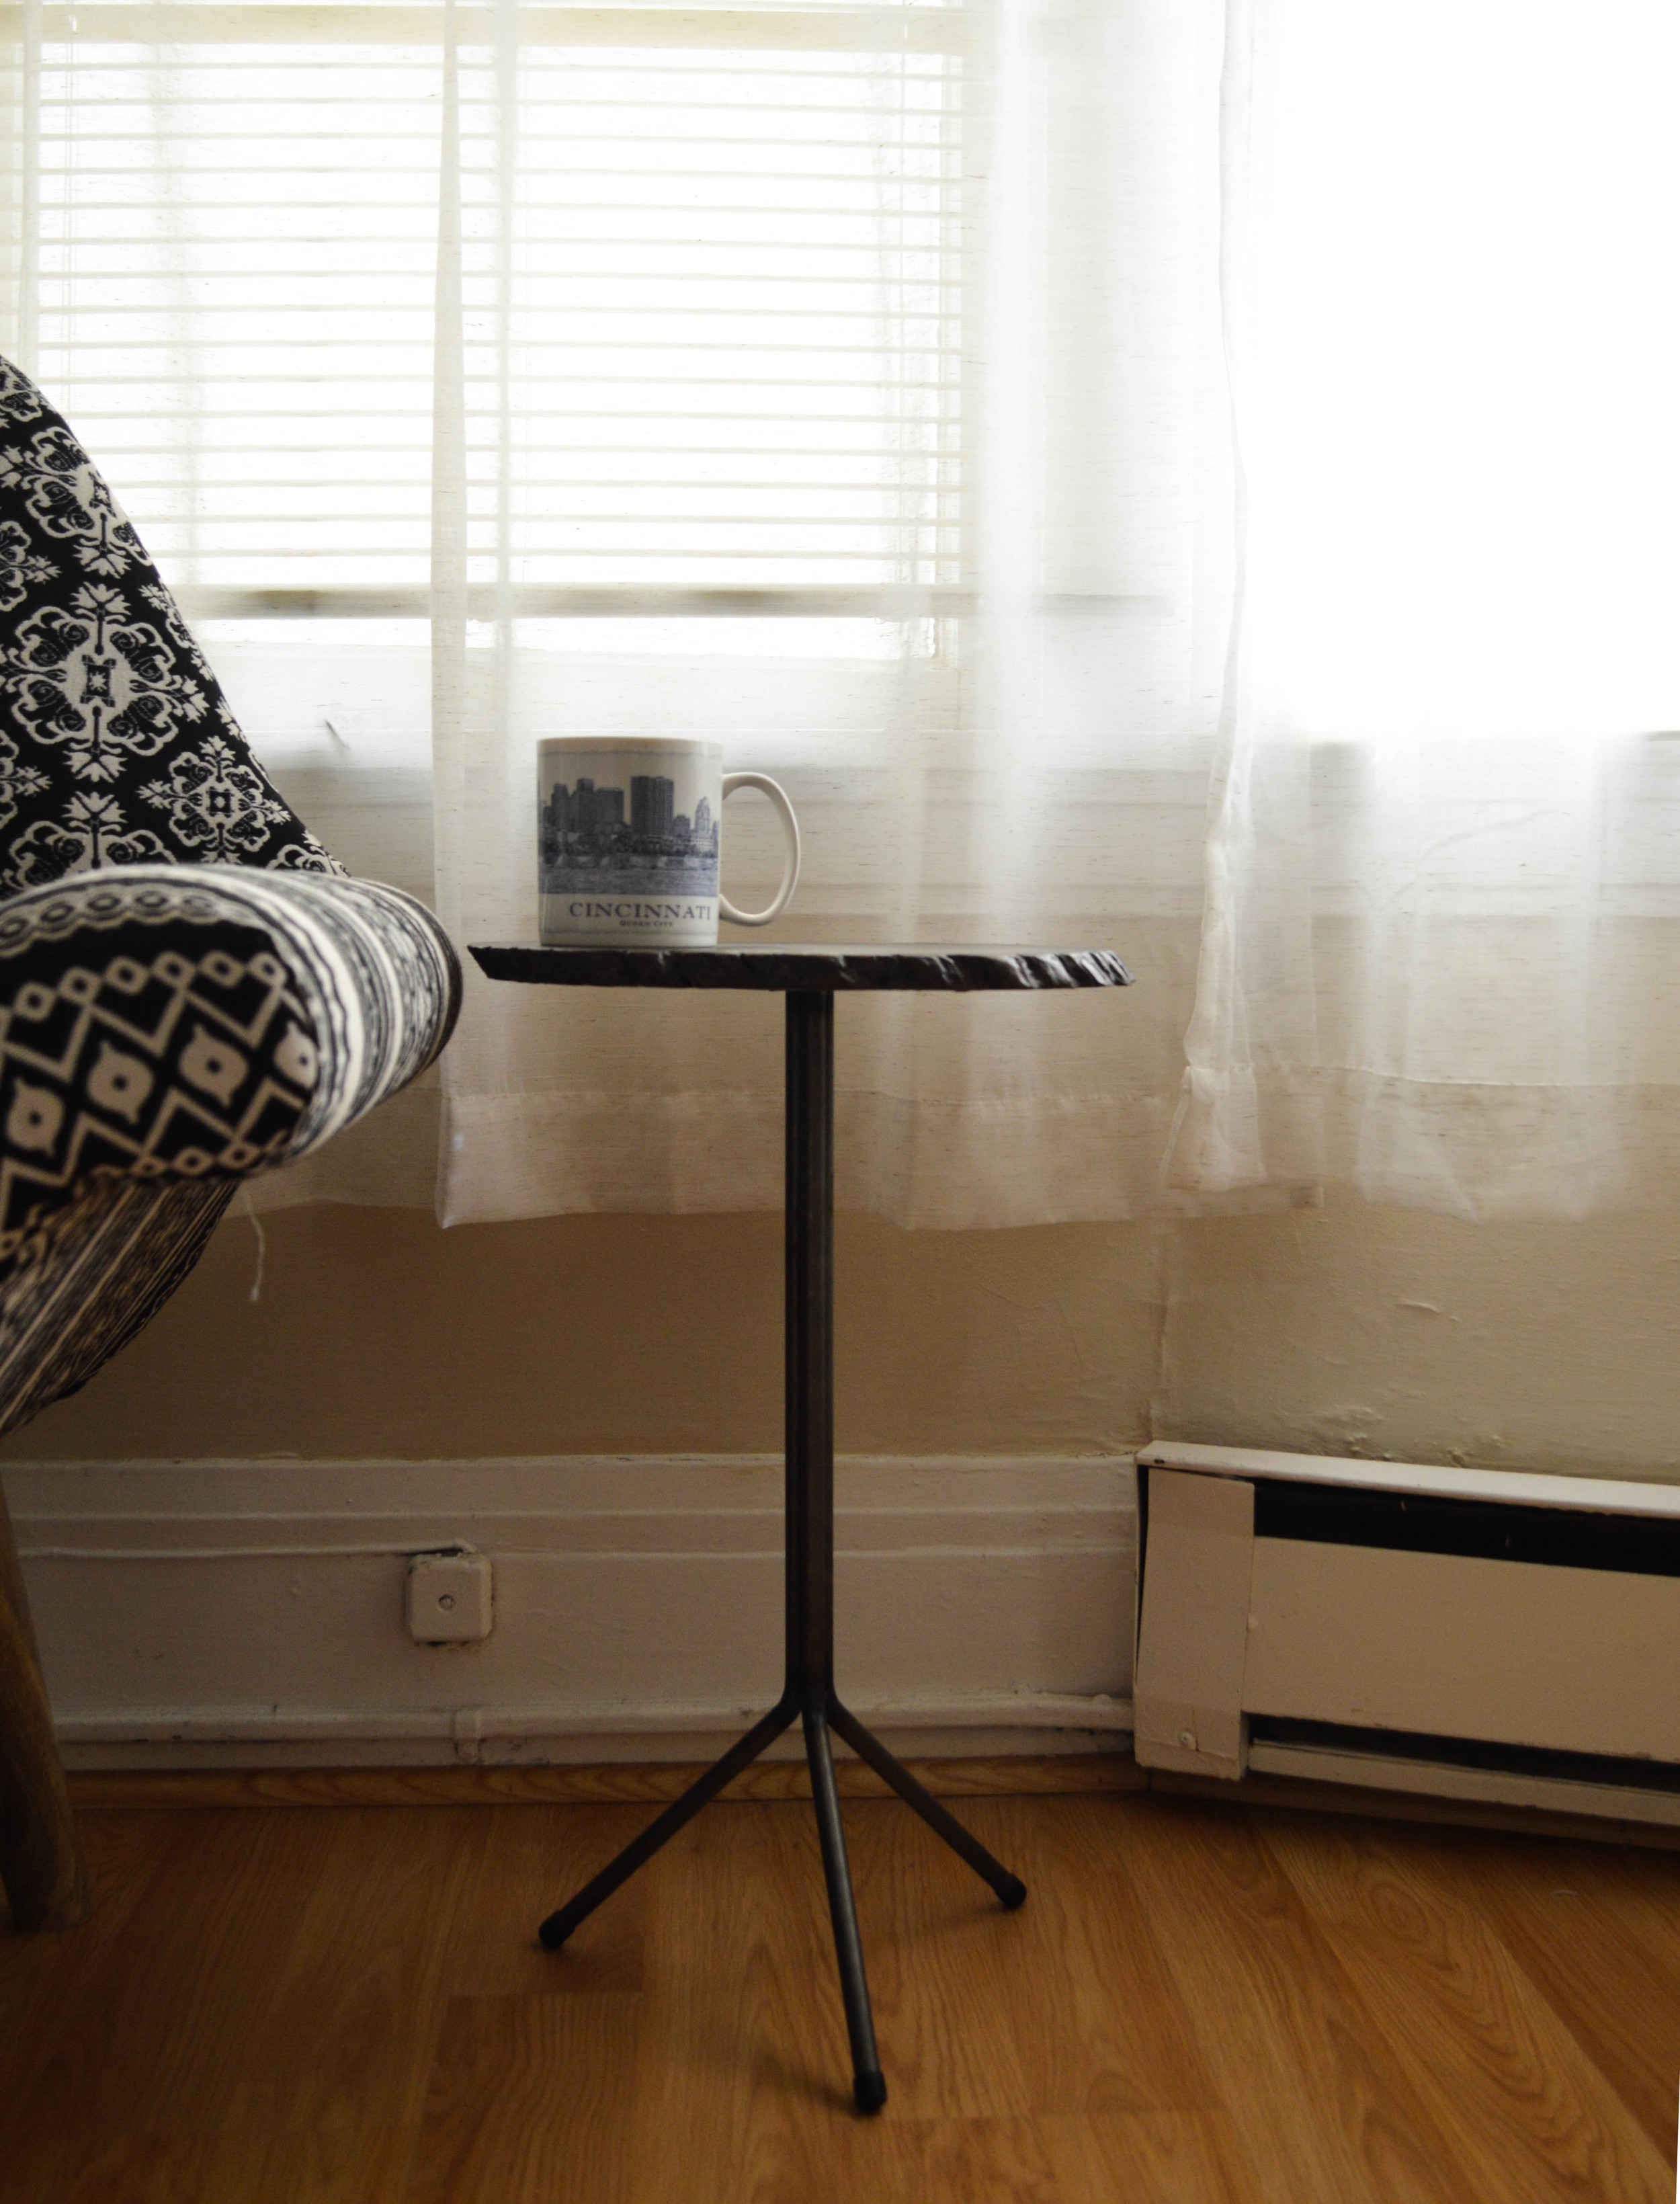
^^^ with stitch witchery.


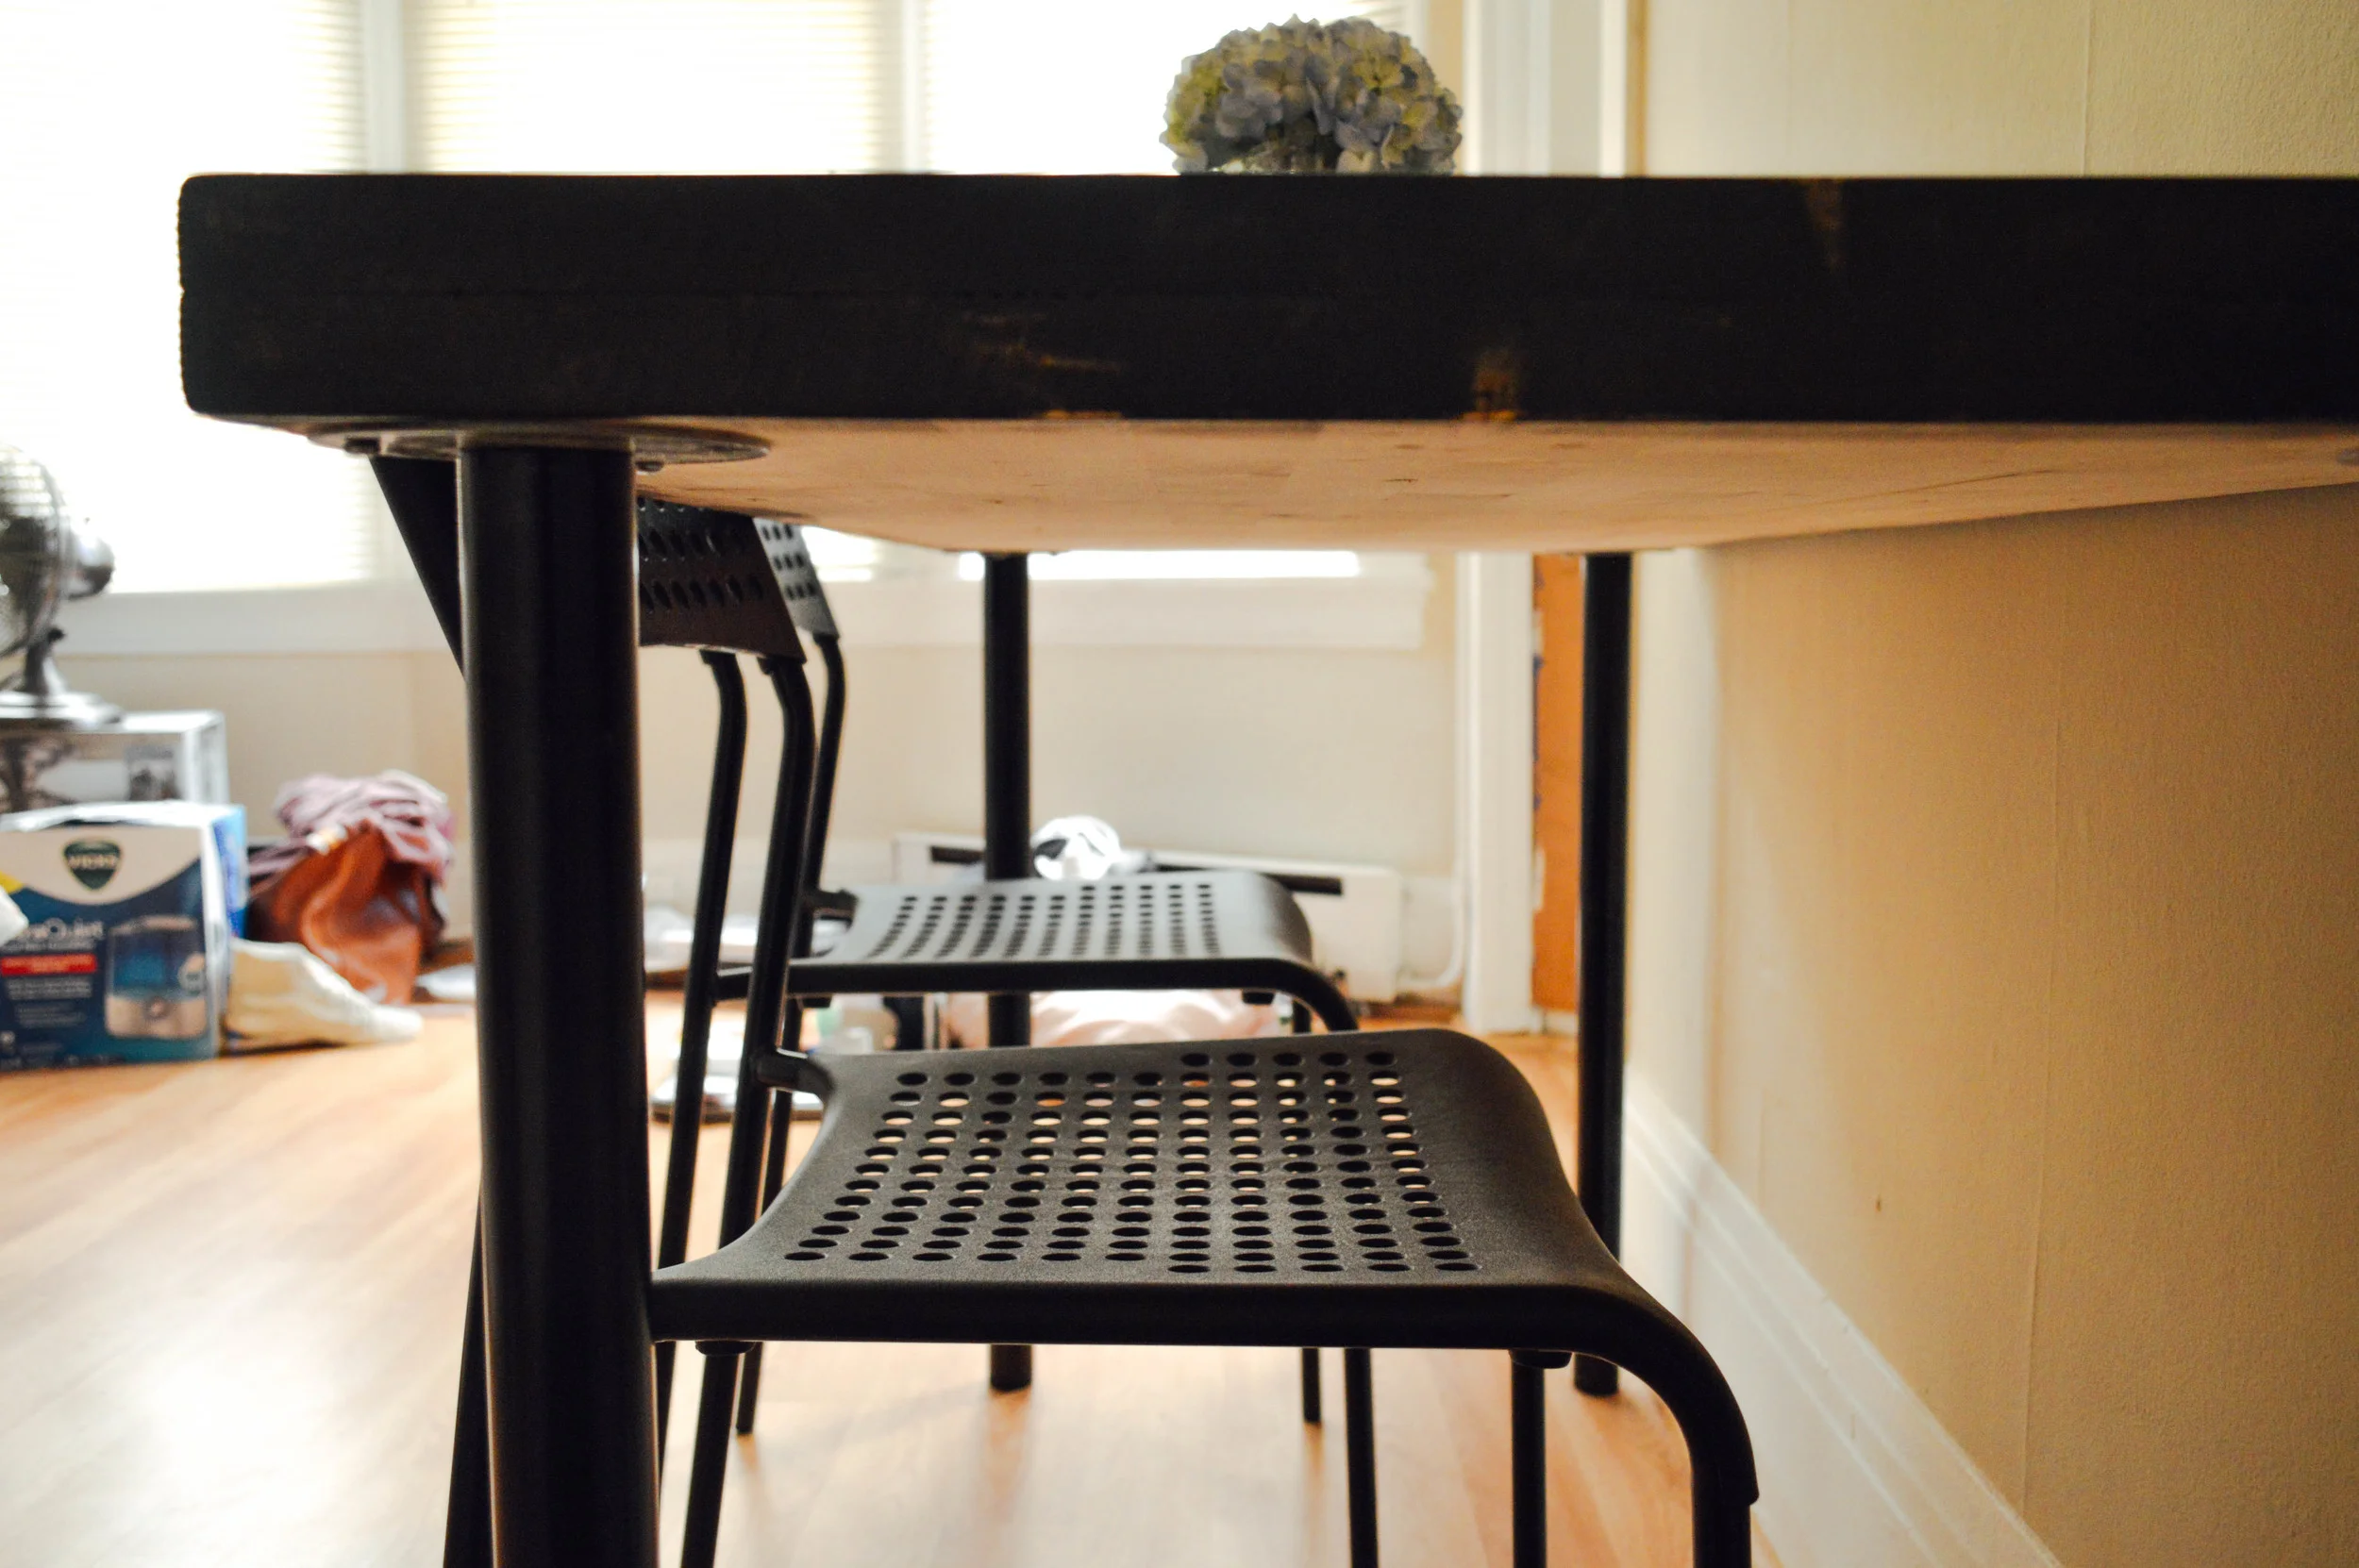
^^ blurry... it's hard to balance on a stool with your camera in the air above your head 😋

P.S. This is what the curtains used to look like.