Home

Repurposing wood scraps for under-counter storage

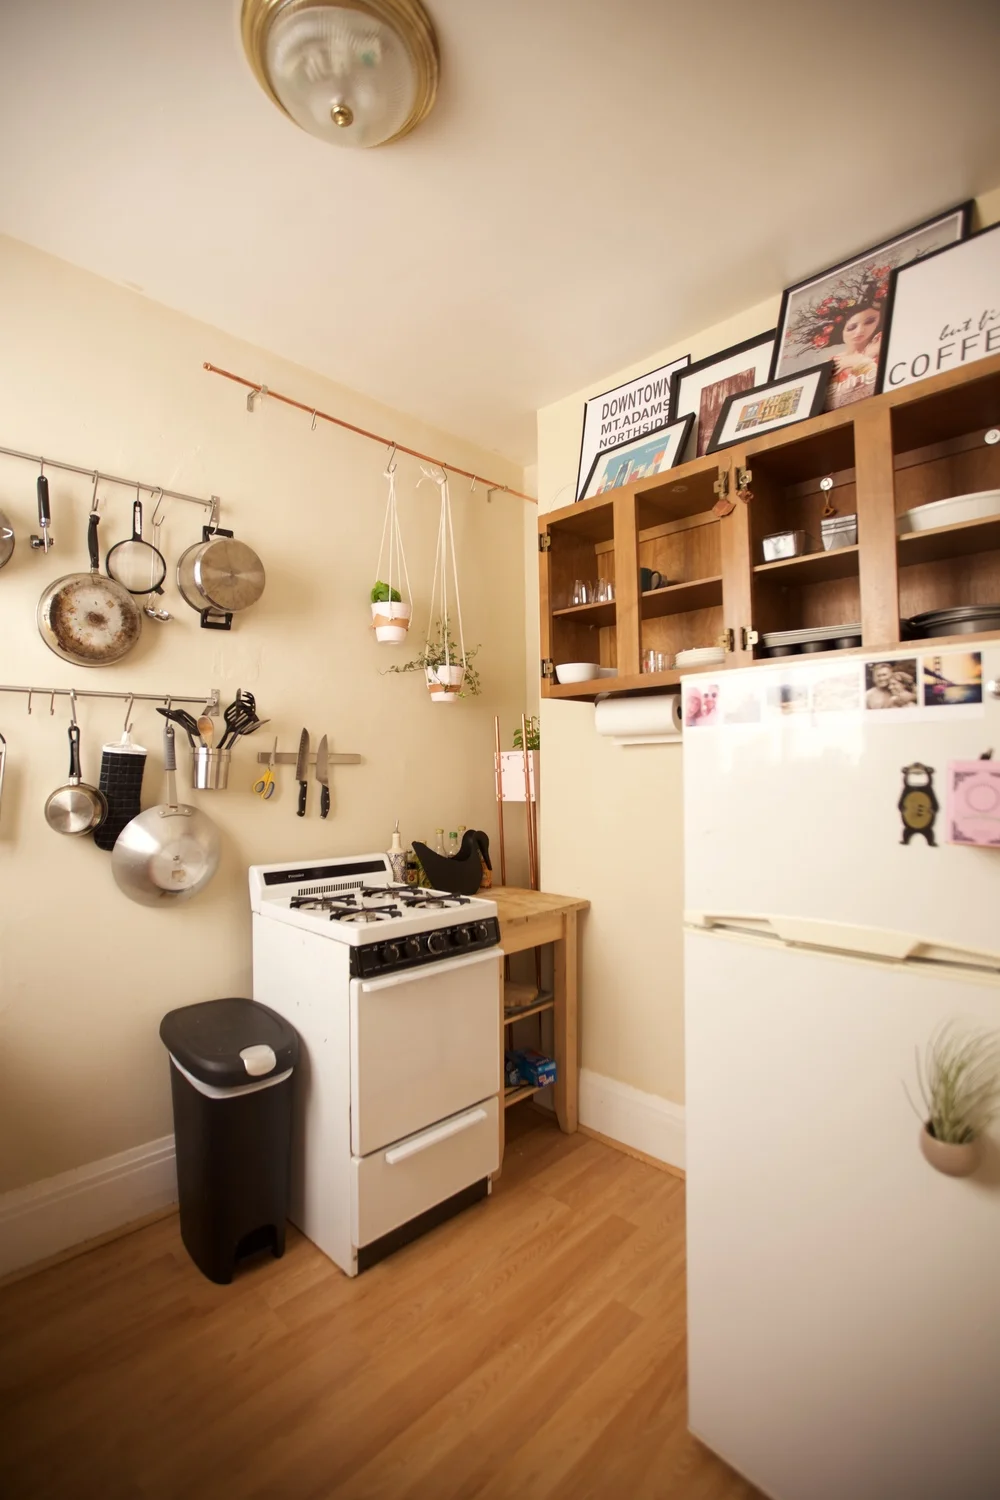
One of the big problems I have in my small SF apartment is kitchen storage. I have a few under-sink and under-counter cabinets that need to house all my food, glassware, water bottles, kitchen appliances, etc. There's a decent amount of space available, but it's all vertical. So, without shelves, I couldn't utilize it.

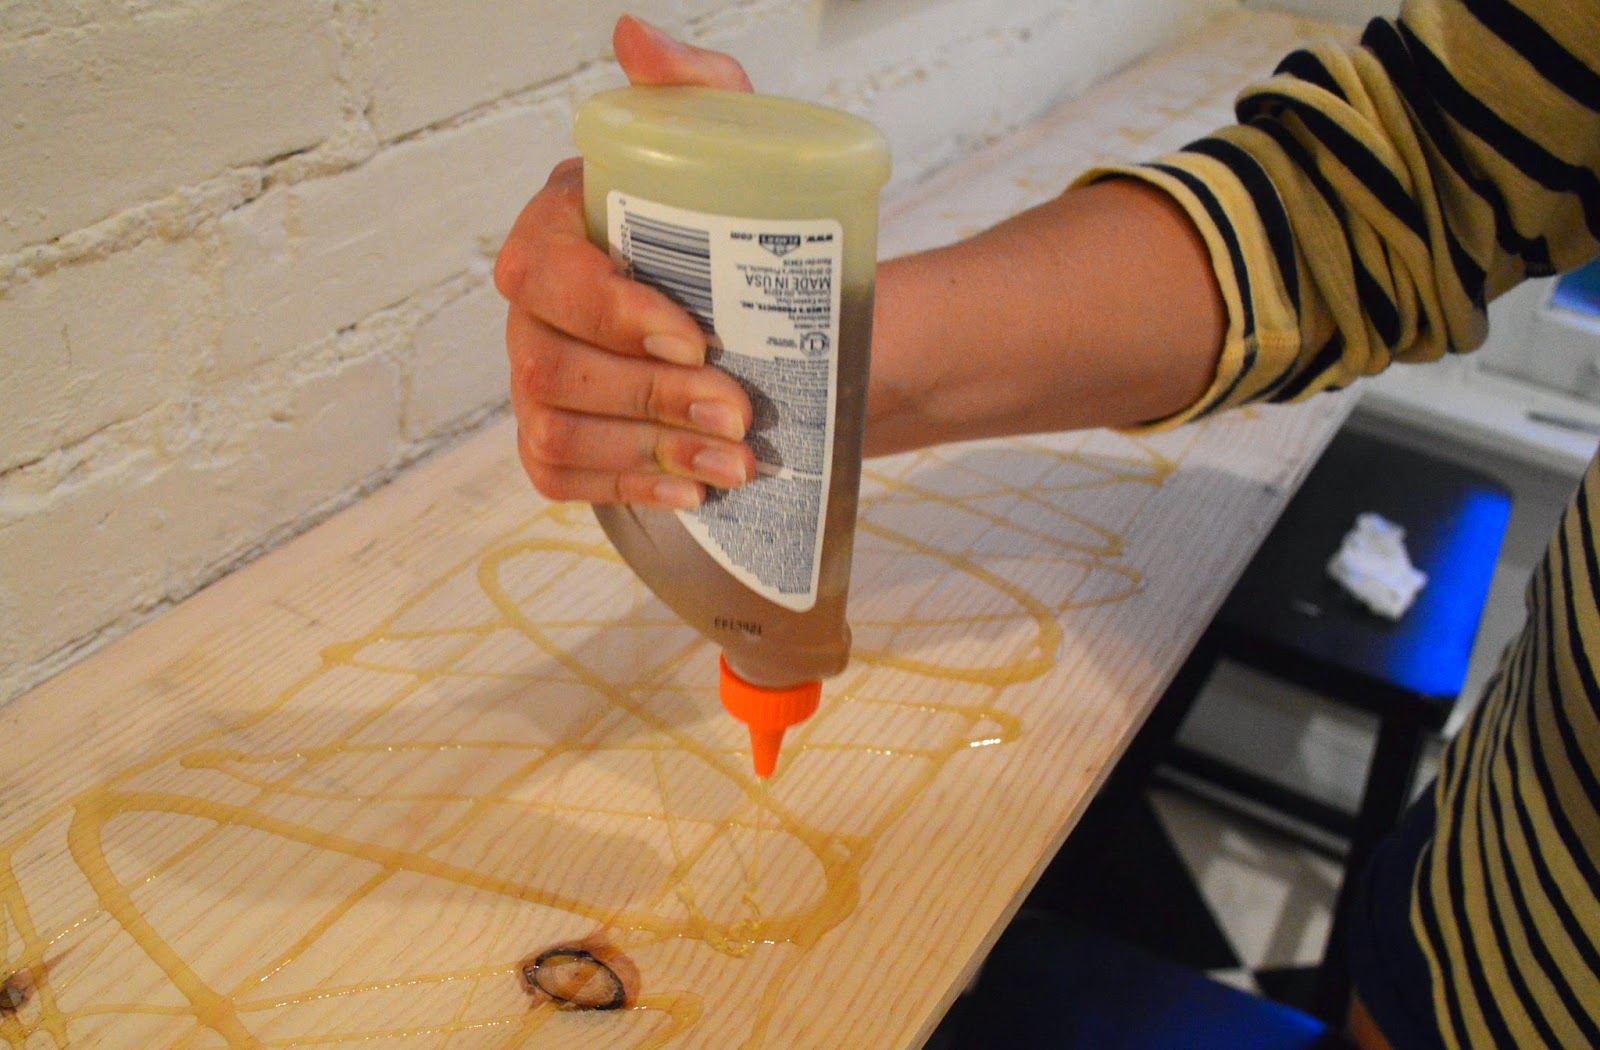
Luckily I held on to a few wood scraps left from my corner coffee bar and thought I could try my hand at some quick shelves.

Under Counter Storage
DIY Under Counter Storage

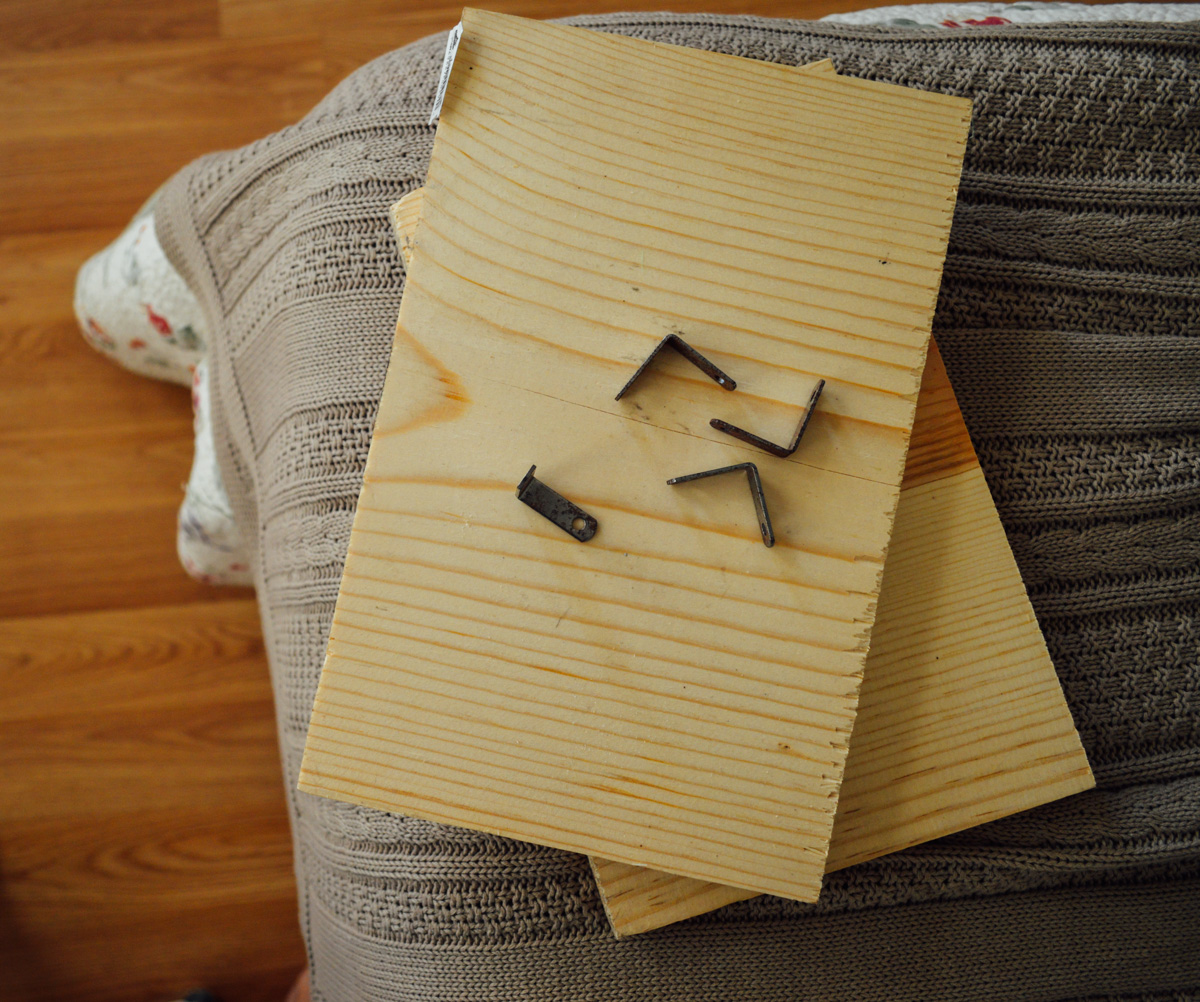
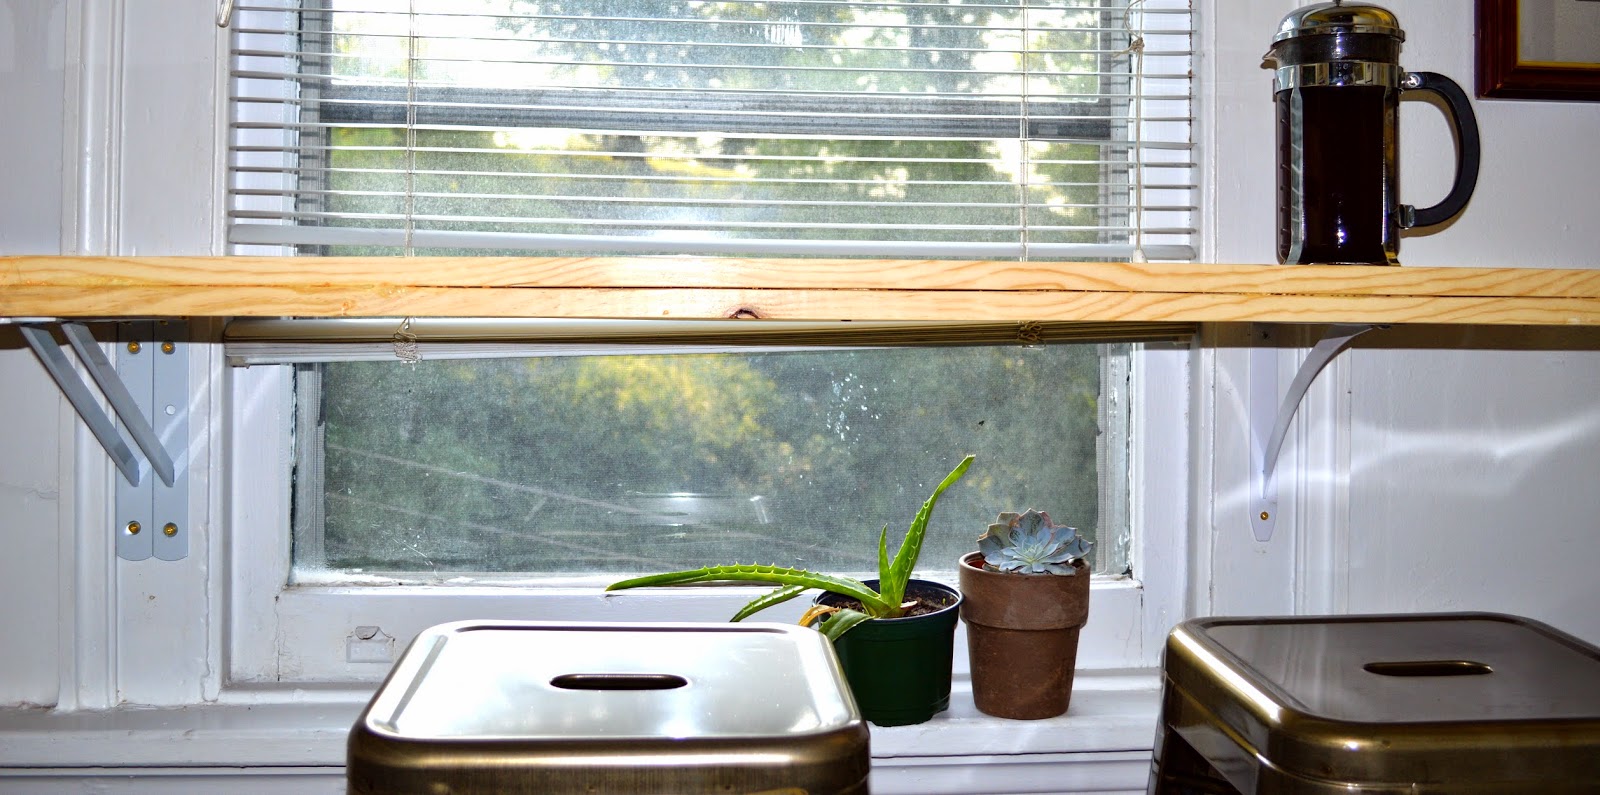
These brackets come in useful packets of four with fitted screws. I didn't know that. I found these for 25 cents each in a used box at the hardware store. Also, because my wood is not quite the size of my cabinets, I could only use three of the brackets on each shelf: two in the back corners and one on the wall-facing side (see photo below).

DIY under cabinet storage

Screw the brackets into the wood. Then use a level to screw the wood shelf into the cabinet. SIMPLE AS THAT. 

So easy. After I added this to the wall it dawned on me I could have painted the cabinet back board or, since it is an apartment, added some kind of removable wall paper or something. Whoops, that would have looked really cute. Next time :D

diy cupboard shelves

Also, I decided to add Cup Hooks for my coffee mugs. It works best to screw these in by hand after the board is hung up.. I had to remove my original hooks from the photos above to screw the shelf in, but I ended up replacing them anyway with a larger "C" for my mug handles. Happy organizing!

How to Dry Lavender

Dreamy Lavender

Years ago, my oldest sister told me about the calming powers of lavender. I was very stressed at the time, you see, and also fighting off a bit of a cold. She gave me a little bottle of lavender oil and told me to rub it behind my ears. "It will help, " she said.

And it did.

I took that little bottle with me everywhere. I traveled with it. Brought it with me to events. I used it at the office. I had it in the car. I grew to love the smell of lavender. I don't know if it's because there really are calming effects, or if it's just a wife's (or sister's) tale, but for some reason, it always worked. Lavender centered me.

Fast forward to my life in San Francisco. I no longer have that bottle of lavender, but on my first week in the city I happened upon the Farmer's Market. I came right as the market was closing, & found the booth just in time. There. I knew I could smell it.

Long story short: today I wanted to teach you how to dry lavender. It's really simple. 

You will need:

  • A hanger
  • Two Rubberbands
  • Dark, cool, dry space
How to dry lavender

Use one rubberband to bunch your lavender together, near the bottom of the stalks. Loop the other rubberband around the hanger. Then, loop the loose end of your hanger-rubberband into the lavender-rubberband and tie it in a knot. 

Essentially, you're hanging your lavender upside down. That's all you have to do. I think a paperclip would accomplish this nicely, but I didn't have one of those.

Hang your lavender in a dry, dark place for several weeks. It smells glorious, and, over time, your lavender will begin to dry. When the lavender buds feel dry, and fall easily from the stalks, you can collect the buds and store them in an air tight container (mason jar?). 

And then come join me next time, after I figure out what to do with dried lavender ;D

How to dry lavender

Photos: NikonD3200 / Edits: VSCO Filters for Lightroom

Well this is a dream come true...

It was the best weekend.

If you've spent any time with me IRL, you know I love the team at A Beautiful Mess. I've been an active reader since Feb. 2014 when my blogging (& real life) bestie sent me Emma's post On Changing Dreams. They are the craftiest, loveliest, happiest, most colorful group of  gals (& guys!) I follow.

It was the best weekend because ABM.... TOURED MY STUDIO. I know!!  So if you missed it, not to worry!  Head on over & take a read. Don't worry about me -- I'm still hyperventilating on my tiled kitchen floor :D

Now: if you've just recently found your way to Ida Street, welcome! I am so glad you're here. I hope you make a habit of stopping by because I'd love to spend some time together. Please, peruse around! Drop me a note if you'd like :D

xox

BUILDING A CORNER COFFEE BAR

I knew as soon as I walked into The Studio that it was the place for me. The only slight problem: in a world where everything is tiny, a tall-large-square kitchen table  doesn’t quite fit the bill.

Actually, it did fit. But it cut off an entire side of my U-Shaped Kitchen, creating an obstacle course to get to my morning coffee. & I don’t know about you, but I am in no condition to be doing an obstacle course before my morning coffee. None. At. All.

I’ve quickly learned since moving into The Studio, in a small space, If you can’t put it down, you need to go up!  So, the plan was to replace that hunky table with a wrap around coffee shop-type bar attached to the kitchen wall - making room for my brunch guests, but saving room on the floor.

Guys, before the Corner Coffee Bar, I had never built anything in my life. Not even an Ikea piece of furniture. That I can successfully eat breakfast while I browse the web at this corner coffee bar means 1) I danced around my kitchen doing the “OMG I'M BUILDING SOMETHING!!!!!!!” dance all along the way & 2) YOU can do this, too. If you wantJ

You will need:

  • Three 1 inch x 12 inch by 8 ft. Common Boards (hint: get the ones with the coolest “tree” designs. Mine have amazing knots that I love.) *these were the measurements I needed for my kitchen specifically, you should measure your space before you go to the Hardware Store.
  • Sand Paper
  • Wood Glue
  • C Clamps
  • Five Wall Brackets
  • Brick Screws + drillbit (did I mention my kitchen is brick?)
  • Wood screws + screwdriver
  • Level
  • Finishing Wax
  • Clean Rag/Old T-Shirt

Basically, I started with research (ever so responsibly). I have always loved this Standing Desk by A Beautiful Mess & I also found this DIY Window Cafe by Offbeat +Inspired. I used them as guidelines to build my Studio-Sized Corner Coffee Bar. It's pretty easy :)

Measure. Measure how much wood you will need for one length of the wall. I knew I wanted mine to be a foot wide (I'm working with a small space, remember. I'd go a little wider if you can). I measured the second wall (the short wall) length by hacking off a foot on one side to make what I call "an easy corner."

At this time you’ll also want to measure about how high you want your Coffee Bar. Base this on your stool height. It should be comfortable to sit, cross your legs & work at this height. Mine is 50 inches from the floor, 14 inches above the stool. Mark a line & level it out. This is also when I marked out where my brackets should go (spread evenly across the weight of the boards. NOTE: I got the biggest ones I could that didn't exceed the width of my boards. Also, I did not have to worry about finding studs, its a brick wall. Click here for tips if you're working with a non-brick wall.

Hardware Store. Guys, I went to the Hardware store three nights in a row for this DIY. No joke. (They thought I was hilarious.) Anyway, I learned you get 6 free cuts at Home Depot - so ask them to trim your two long boards to size (you’ll be stacking one atop the other). I had them cut the third board (for the short wall) straight in half.

You’re Home. Sand those babies down. Then it’s time to double layer them. Put the prettiest side of the board face down.  Layer it with wood glue, avoiding the edges by an inch because as wood glue dries it oozes & expands. Sandwich the boards. Then in two rows down the middle of the board, screw in about 15-20 screws. This is essentially extra support for the wood glue. Clamp & set aside. Repeat with the short boards.

Add the Brackets. Remember when you marked where your brackets should go? Screw them in!

Add the Boards.  Place your double layered long common board on the wall atop the brackets. LEVEL, LEVEL, LEVEL. Readjust the brackets if you need to. This step is so important. (Trust me.) (I really messed this one up at first.) (My mom had to rescue me.) Now, do the same with your short board, trying to make the corner as flush as possible. & level again. Then, screw the boards to the brackets!

Wax.  I got a Clear Finishing Wax, but you could also stain this. I happened to like the light wood look in my light kitchen. Let it dry completely before you put on another layer (don’t worry.. that only takes 15 minutes.)

& THAT’S IT!! Doesn't it look good? The best part is, now, even in a little Studio Apartment, I can still host a whole lot of Brunch :)

What do you think y’all? Are you going to try it? You can see the Before & After shot HERE.

INSTAGRAM FRIDGE MAGNETS

Instagram, VSOCAM, Pinterest, Snapchat, IPhone, Facebook, Twitter.... photos on-the-go are in.  I mean really, what better way to keep our friends & family & coworkers & crushes up with our really photogenic lives??

As you know, I'm trying to make this new (to me) 450 square foot box into my home. Step one: Plaster the space with my favorite images. When I was in college, I used to tape huge (I mean huge.. maybe, 2ftx3ft?) photos of my friends & family on my dorm room wall. Over the years, however, I've developed a taste for tinier things & better adhesives. & lucky for me, it's at that crossroad you'll find Instagram Fridge Magnets.

You need:

I read on Delightfully Tacky about a DIY just like this. There's this free app called Printic. Guys, its so cool! Through the app you can log right into your Instagram, Facebook & Mobile galleries & order as many prints as you want... directly from your phone! There's several options & I chose the "Prints." Ordered just about 30 photos for under $15! Best of all, they were mailed to me in just three days.

Next I bought a sheet of sticky magnets from Michael's. (HINT - they have tons & tons of coupons online. Just check on it before you go up & they'll scan it right from your phone.) Then, you guessed it: trace, cut, stick, trim. 

Before you know it, your apartment is going to look like home ... or at least one little corner :D

Happy DIY-ing!