Projects

DIY: METALLIC GOLD PLANTER

A few weeks ago I went down to South Carolina to visit my family & came back with two plants. One of them was the Jewels of Opar. My Grammie divided hers into several styrofoam cups & sent us each home with a section. 

The little styrofoam cup was only meant to last the car ride home, but I accidentally made it last through my trip to Siesta Key, then my trip to New York, then my trip to Baltimore. 

See I was trying to find a cute pot! Something unique, but affordable. But as my Jewels of Opar started to die, I realized I didn't have the luxury of time. I caved & bought the 97 cent standard pot from Home Depot.

then  I remembered my golden spray paint! I gave it two coats, they dried in just a few minutes!

As you can see (left) I don't have so much luck with plants. So I took a gold paint pen for a little quiet  encouragement. Moral of the story: everything looks better in gold :)

BUILDING A CORNER COFFEE BAR

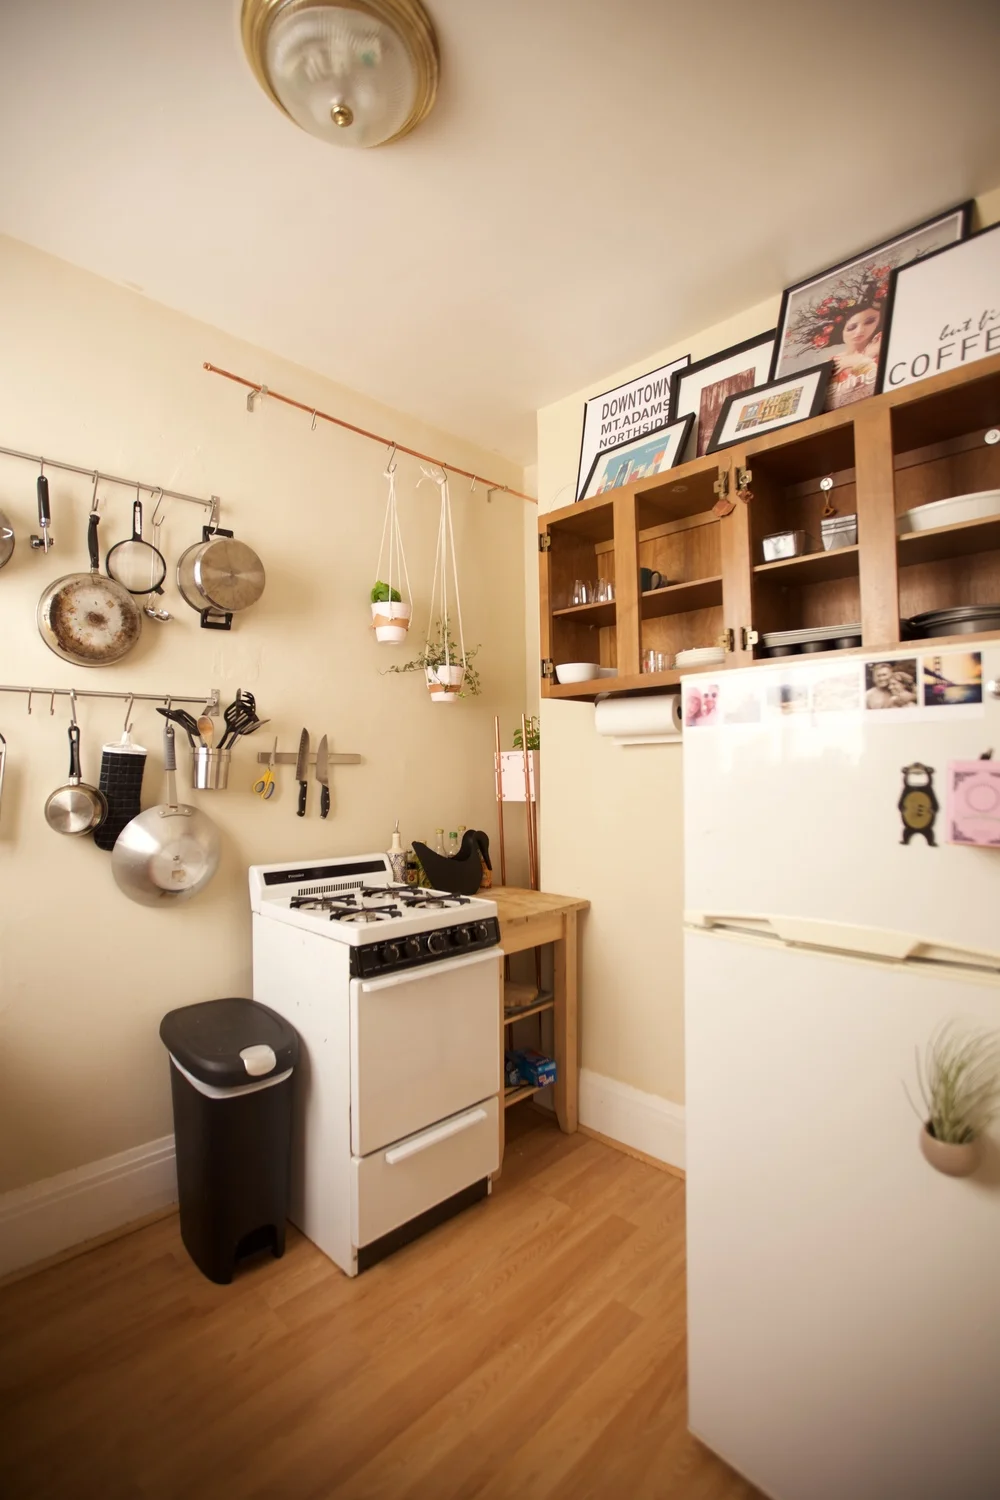
I knew as soon as I walked into The Studio that it was the place for me. The only slight problem: in a world where everything is tiny, a tall-large-square kitchen table  doesn’t quite fit the bill.

Actually, it did fit. But it cut off an entire side of my U-Shaped Kitchen, creating an obstacle course to get to my morning coffee. & I don’t know about you, but I am in no condition to be doing an obstacle course before my morning coffee. None. At. All.

I’ve quickly learned since moving into The Studio, in a small space, If you can’t put it down, you need to go up!  So, the plan was to replace that hunky table with a wrap around coffee shop-type bar attached to the kitchen wall - making room for my brunch guests, but saving room on the floor.

Guys, before the Corner Coffee Bar, I had never built anything in my life. Not even an Ikea piece of furniture. That I can successfully eat breakfast while I browse the web at this corner coffee bar means 1) I danced around my kitchen doing the “OMG I'M BUILDING SOMETHING!!!!!!!” dance all along the way & 2) YOU can do this, too. If you wantJ

You will need:

  • Three 1 inch x 12 inch by 8 ft. Common Boards (hint: get the ones with the coolest “tree” designs. Mine have amazing knots that I love.) *these were the measurements I needed for my kitchen specifically, you should measure your space before you go to the Hardware Store.
  • Sand Paper
  • Wood Glue
  • C Clamps
  • Five Wall Brackets
  • Brick Screws + drillbit (did I mention my kitchen is brick?)
  • Wood screws + screwdriver
  • Level
  • Finishing Wax
  • Clean Rag/Old T-Shirt

Basically, I started with research (ever so responsibly). I have always loved this Standing Desk by A Beautiful Mess & I also found this DIY Window Cafe by Offbeat +Inspired. I used them as guidelines to build my Studio-Sized Corner Coffee Bar. It's pretty easy :)

Measure. Measure how much wood you will need for one length of the wall. I knew I wanted mine to be a foot wide (I'm working with a small space, remember. I'd go a little wider if you can). I measured the second wall (the short wall) length by hacking off a foot on one side to make what I call "an easy corner."

At this time you’ll also want to measure about how high you want your Coffee Bar. Base this on your stool height. It should be comfortable to sit, cross your legs & work at this height. Mine is 50 inches from the floor, 14 inches above the stool. Mark a line & level it out. This is also when I marked out where my brackets should go (spread evenly across the weight of the boards. NOTE: I got the biggest ones I could that didn't exceed the width of my boards. Also, I did not have to worry about finding studs, its a brick wall. Click here for tips if you're working with a non-brick wall.

Hardware Store. Guys, I went to the Hardware store three nights in a row for this DIY. No joke. (They thought I was hilarious.) Anyway, I learned you get 6 free cuts at Home Depot - so ask them to trim your two long boards to size (you’ll be stacking one atop the other). I had them cut the third board (for the short wall) straight in half.

You’re Home. Sand those babies down. Then it’s time to double layer them. Put the prettiest side of the board face down.  Layer it with wood glue, avoiding the edges by an inch because as wood glue dries it oozes & expands. Sandwich the boards. Then in two rows down the middle of the board, screw in about 15-20 screws. This is essentially extra support for the wood glue. Clamp & set aside. Repeat with the short boards.

Add the Brackets. Remember when you marked where your brackets should go? Screw them in!

Add the Boards.  Place your double layered long common board on the wall atop the brackets. LEVEL, LEVEL, LEVEL. Readjust the brackets if you need to. This step is so important. (Trust me.) (I really messed this one up at first.) (My mom had to rescue me.) Now, do the same with your short board, trying to make the corner as flush as possible. & level again. Then, screw the boards to the brackets!

Wax.  I got a Clear Finishing Wax, but you could also stain this. I happened to like the light wood look in my light kitchen. Let it dry completely before you put on another layer (don’t worry.. that only takes 15 minutes.)

& THAT’S IT!! Doesn't it look good? The best part is, now, even in a little Studio Apartment, I can still host a whole lot of Brunch :)

What do you think y’all? Are you going to try it? You can see the Before & After shot HERE.

INSTAGRAM FRIDGE MAGNETS

Instagram, VSOCAM, Pinterest, Snapchat, IPhone, Facebook, Twitter.... photos on-the-go are in.  I mean really, what better way to keep our friends & family & coworkers & crushes up with our really photogenic lives??

As you know, I'm trying to make this new (to me) 450 square foot box into my home. Step one: Plaster the space with my favorite images. When I was in college, I used to tape huge (I mean huge.. maybe, 2ftx3ft?) photos of my friends & family on my dorm room wall. Over the years, however, I've developed a taste for tinier things & better adhesives. & lucky for me, it's at that crossroad you'll find Instagram Fridge Magnets.

You need:

I read on Delightfully Tacky about a DIY just like this. There's this free app called Printic. Guys, its so cool! Through the app you can log right into your Instagram, Facebook & Mobile galleries & order as many prints as you want... directly from your phone! There's several options & I chose the "Prints." Ordered just about 30 photos for under $15! Best of all, they were mailed to me in just three days.

Next I bought a sheet of sticky magnets from Michael's. (HINT - they have tons & tons of coupons online. Just check on it before you go up & they'll scan it right from your phone.) Then, you guessed it: trace, cut, stick, trim. 

Before you know it, your apartment is going to look like home ... or at least one little corner :D

Happy DIY-ing!

HOW TO: GALLERY WALL

My drafting table is my prized possession. So, naturally, I feel it deserves only the best kind of decor. Like a magical little corner of perfection. Whether from thrifting, or from my sister calendar (post coming soon :D), or the ones my friends have made (how cool is that Flowering Tree print?!?), or my little sister, or sometimes the one's I've even done myself... I've somehow gathered a lot of art over the years. Any who, today I'm going to show you how it all came together to give my drafting table the wall it deserves.

I grew up wanting to become a  professional collage maker.  I'm serious. I thought I could create a market for myself. (You know, collages are at such  a high demand!) While I found myself a different profession, my collage-making skills came in very handy for this project. It started here (& stayed here for almost a year). 

Then, I found this post about Building a Standing Desk & this one on 20 Easy Wall Hanging Ideas byA Beautiful Mess. Suddenly, I knew my drafting table deserved so much more! So I pulled my extra frames out from under the bed, & ripped a few months out of my sister calendar. For a few weeks we had this:

Still, I was stalling, hoping for the perfect centerpiece. & I found it! 

Inspiration HERE (seriously love these) - but I recreated to fit my light + airy theme & feature my fave Cincy neighborhoods :D. Funny story, I accidentally made this 5ftx7ft tall! Luckily, Staples in Hyde Park was able to shrink down to the size I wanted. & then it was time to put my collage skills to use :D

GALLERY WALL | YOU WILL NEED

  • Art & Frames
  • Phone Books & Paper Grocery Bags (or maybe wrapping paper?)
  • Scissors (I kind of want to spray paint mine gold...)
  • Marker
  • Tape
  • (Bright Pink) Hammer
  • Nails that will support your Art

No need to eyeball the sizes anymore, you can trace!

Even better: mark the nail hole so that after you tape everything into order, you can just nail through the paper. 

Nail. Remove paper. Hang frame. Repeat. 

& soon you'll have a gallery wall :)

Easy Peasey, right? I adjusted mine a tiny bit at the end.. decided to go for a non symmetrical look (Top Photo). What do you think guys??

A Magical Makeover

The magical world of a move can come with a few hefty price tags. So it's wise to cut costs everywhere possible.

Thus I present: the magical makeover! From chair on the left (a hand me down from the neighbors) to the very Annie chair on the right: it took a can of white spray paint, a clearance patterned fabric, staples and a staple gun, and a little extra stuffing from the basement. What do you think!?