How to Dry Lavender

Dreamy Lavender

Years ago, my oldest sister told me about the calming powers of lavender. I was very stressed at the time, you see, and also fighting off a bit of a cold. She gave me a little bottle of lavender oil and told me to rub it behind my ears. "It will help, " she said.

And it did.

I took that little bottle with me everywhere. I traveled with it. Brought it with me to events. I used it at the office. I had it in the car. I grew to love the smell of lavender. I don't know if it's because there really are calming effects, or if it's just a wife's (or sister's) tale, but for some reason, it always worked. Lavender centered me.

Fast forward to my life in San Francisco. I no longer have that bottle of lavender, but on my first week in the city I happened upon the Farmer's Market. I came right as the market was closing, & found the booth just in time. There. I knew I could smell it.

Long story short: today I wanted to teach you how to dry lavender. It's really simple. 

You will need:

  • A hanger
  • Two Rubberbands
  • Dark, cool, dry space
How to dry lavender

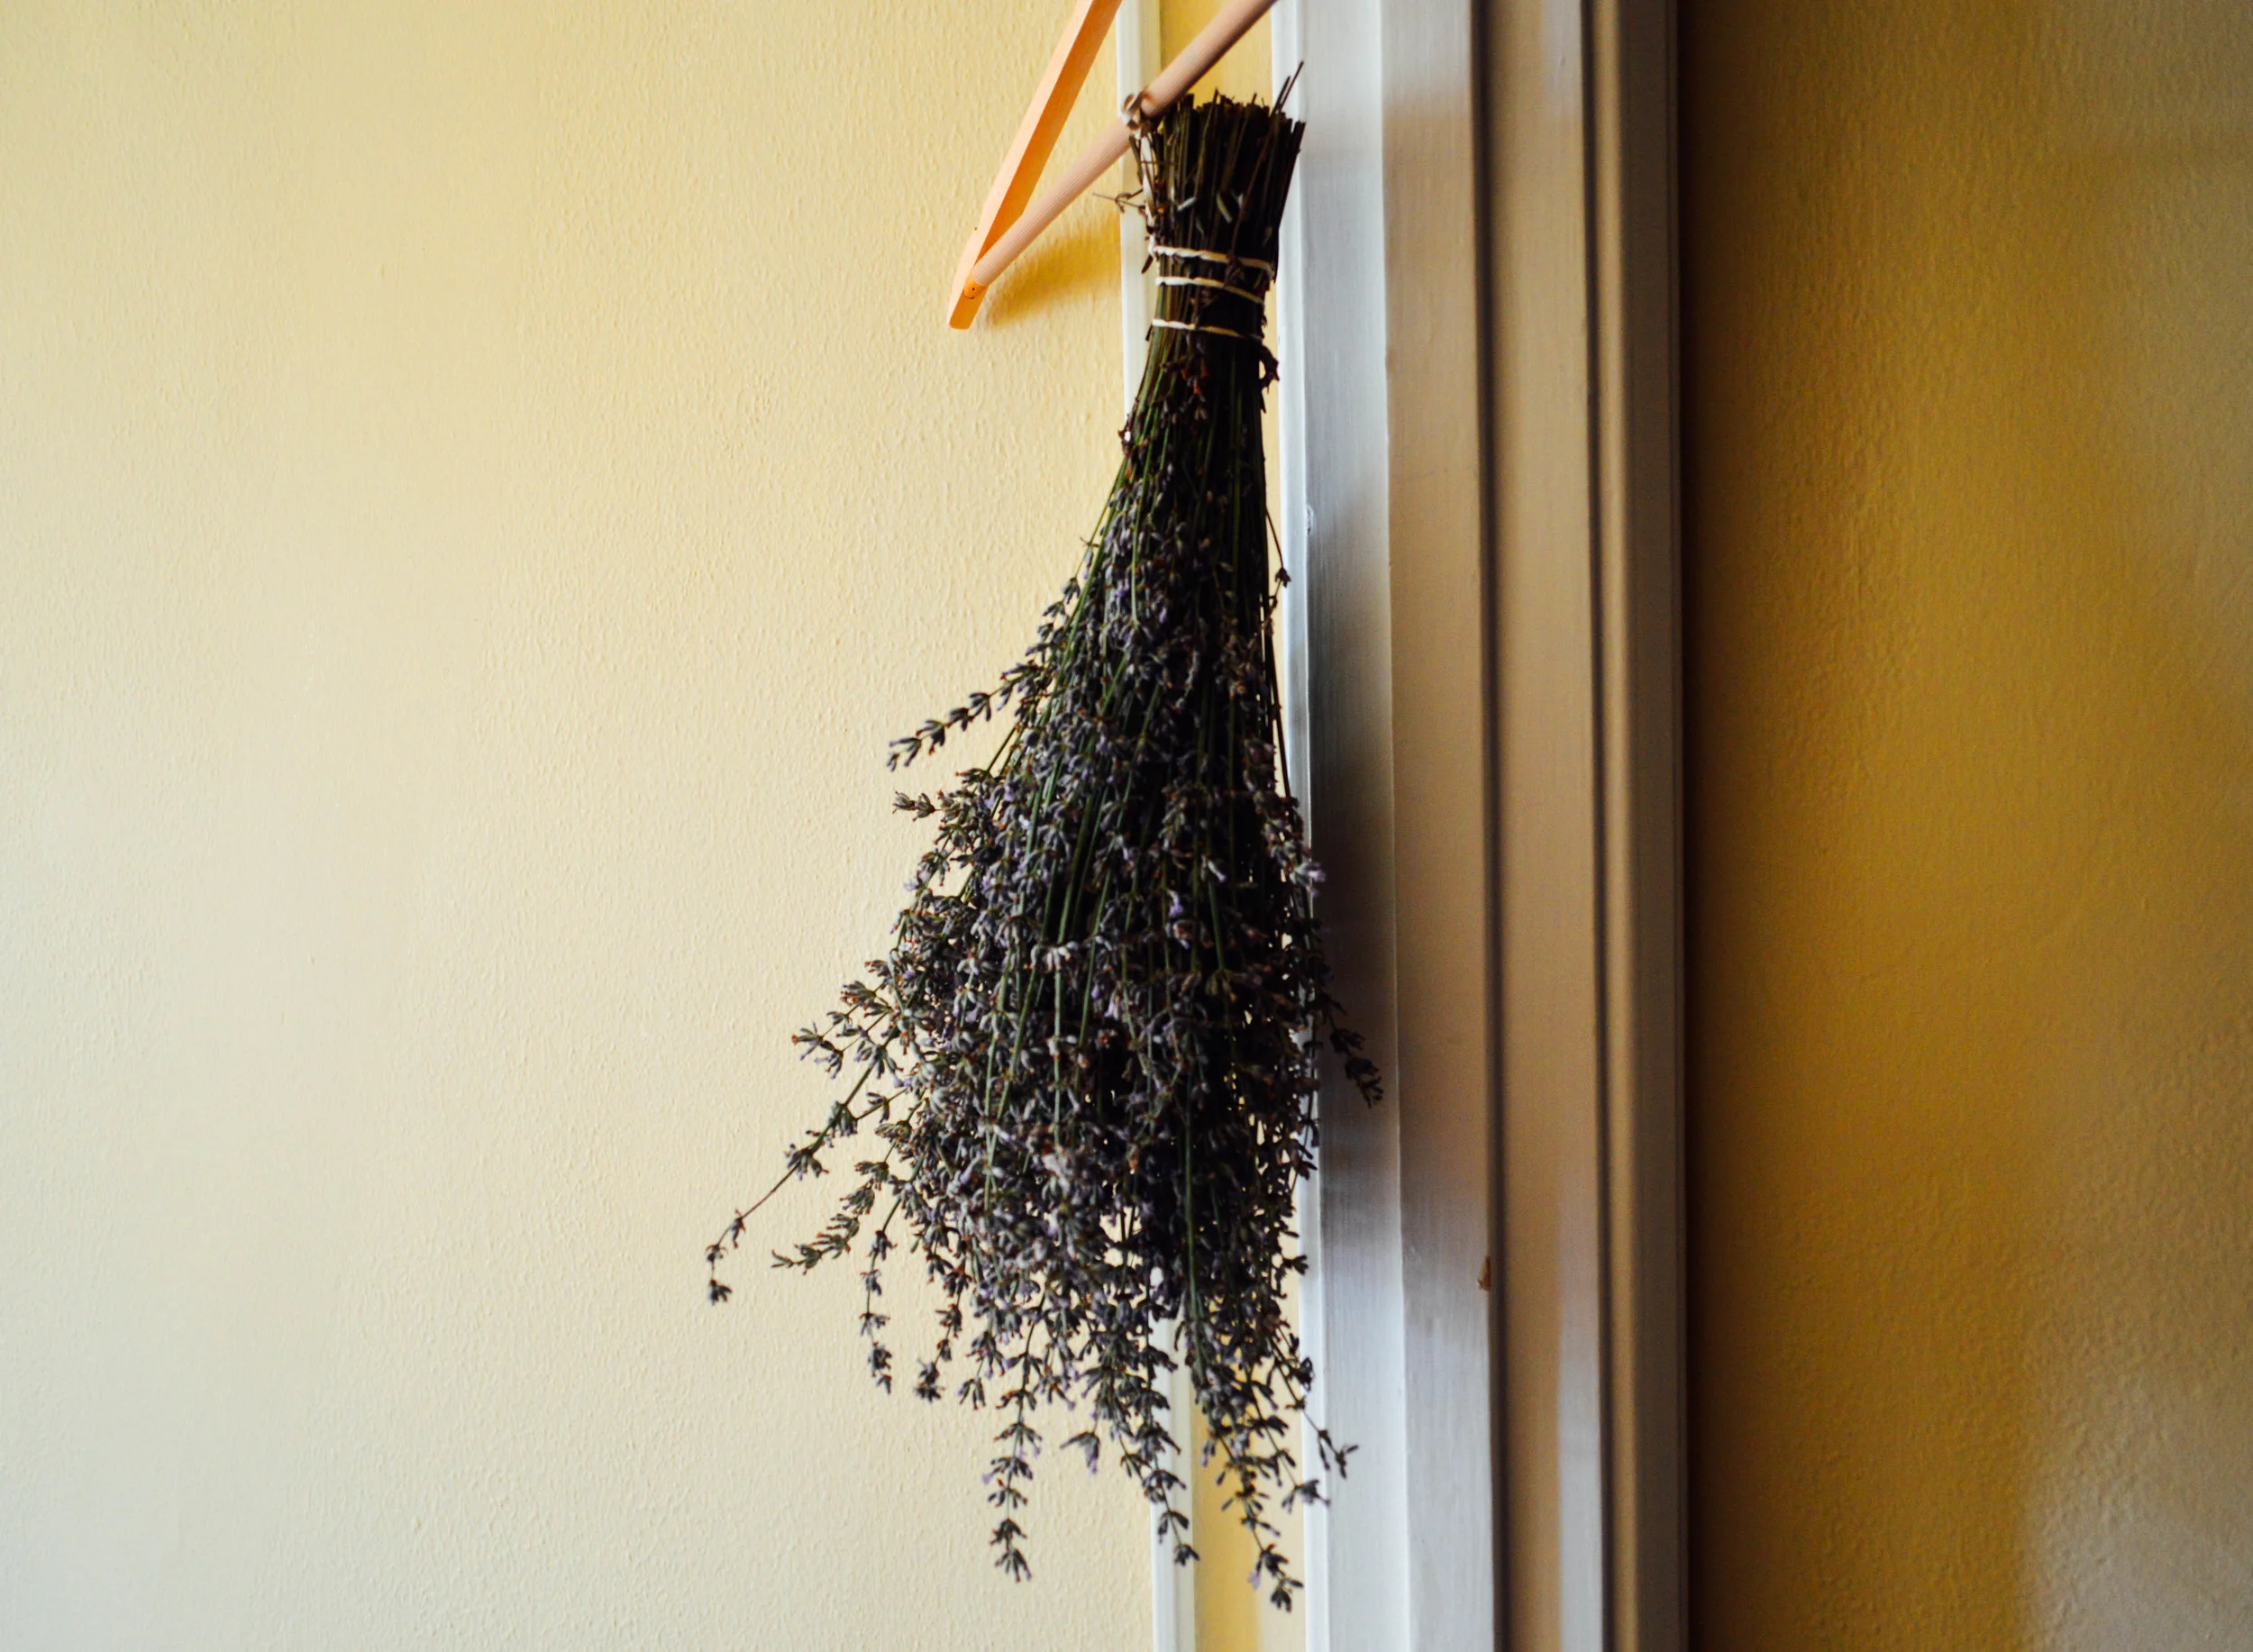
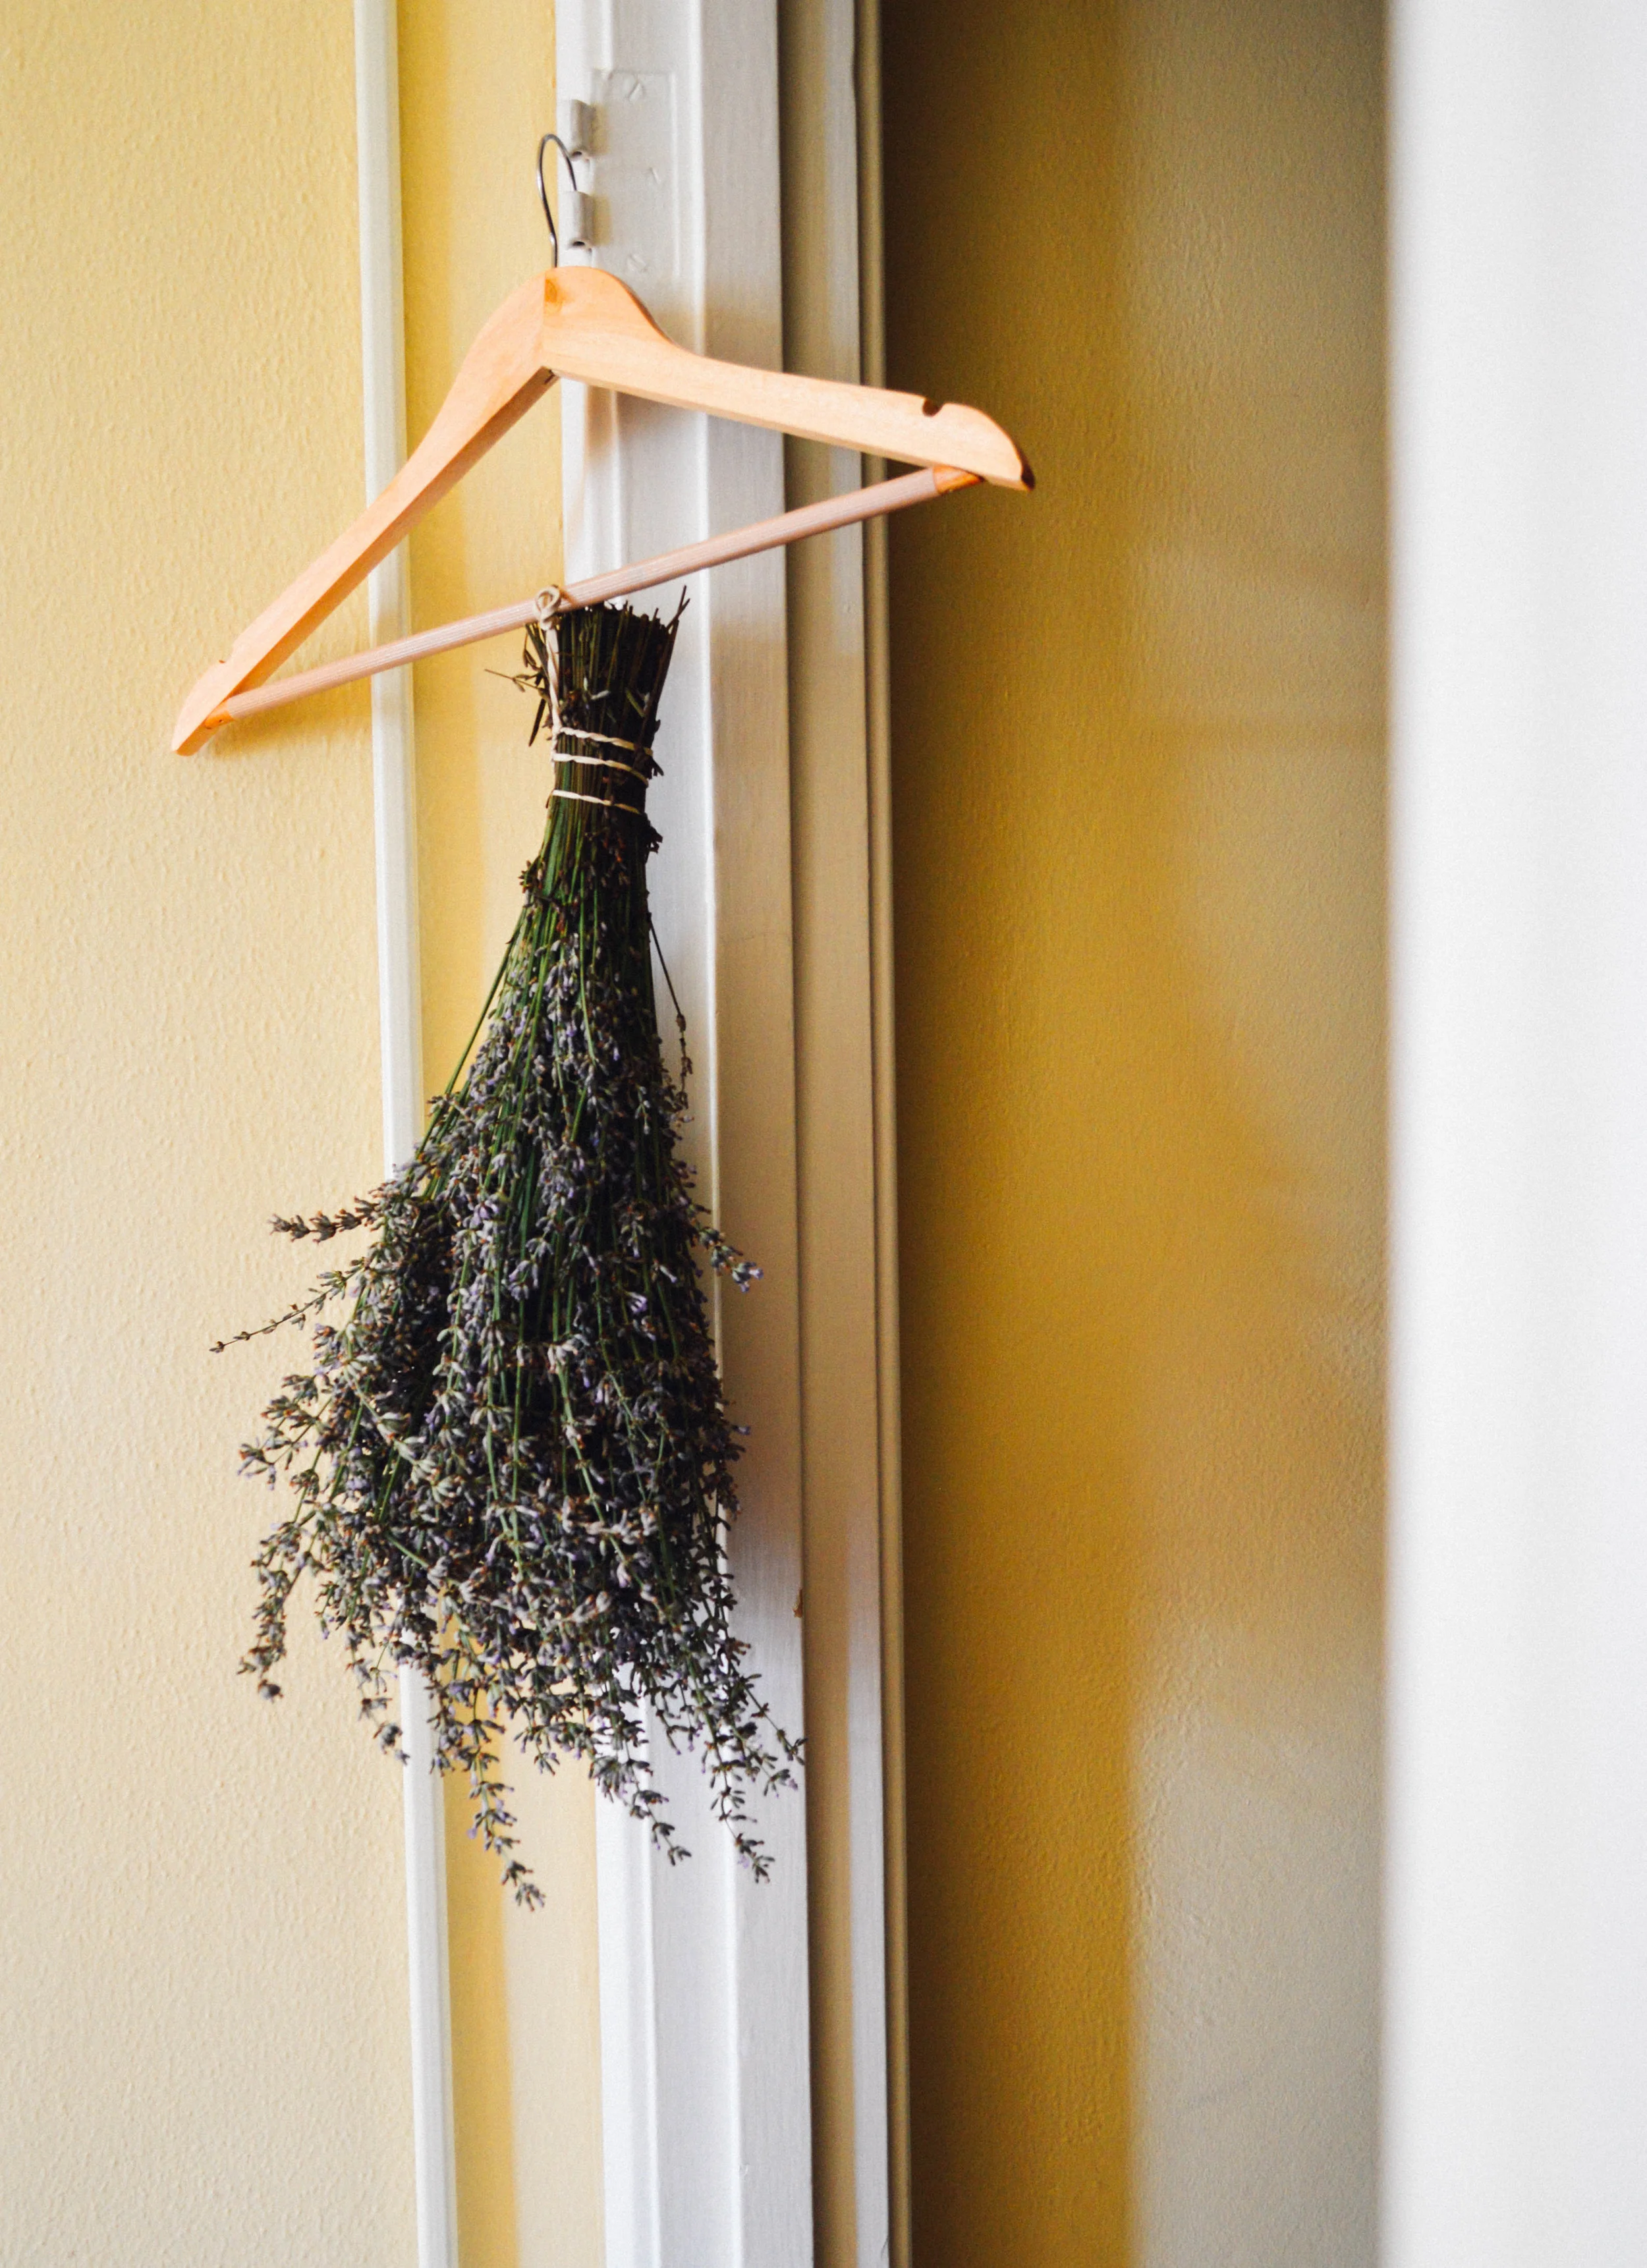
Use one rubberband to bunch your lavender together, near the bottom of the stalks. Loop the other rubberband around the hanger. Then, loop the loose end of your hanger-rubberband into the lavender-rubberband and tie it in a knot. 

Essentially, you're hanging your lavender upside down. That's all you have to do. I think a paperclip would accomplish this nicely, but I didn't have one of those.

Hang your lavender in a dry, dark place for several weeks. It smells glorious, and, over time, your lavender will begin to dry. When the lavender buds feel dry, and fall easily from the stalks, you can collect the buds and store them in an air tight container (mason jar?). 

And then come join me next time, after I figure out what to do with dried lavender ;D

How to dry lavender

Photos: NikonD3200 / Edits: VSCO Filters for Lightroom

On Change and Haircuts

Shake it off

Someone once told me you can expect big things on the horizon when a woman cuts her hair.

Long, blonde, curls. A lion's mane. From childhood through adulthood, my hair has always identified me. Often, it was the first thing people noticed about my outward appearance. About four years ago, in the summer of 2011, I cut and donated 14 inches of my curls. It was the year before I graduated college and, let's just say, I was finding the transition from student to non student difficult.

Things settled down though, eventually, and I started a painstaking journey back to my old self: long, blonde, curly Annie. The Annie I recognized. The Annie I knew. The place where I was comfortable. 

Being comfortable is really, really lovely... but, your comfort zone is not where you grow. I think it's called a leap of faith. Sometimes, you just have to push. It's the only way to reach for the great things writ in your stars.

I cut my hair again this summer, a few days before I moved to San Francisco. I came without a job, without an apartment. In fact, the only thing I did have was two jammed suitcases and this little voice that kept saying "try." 

For me, California has been a big change. I've never been so on my own: forced independence, new people, new places, new public transportation. Apartment gates that don't open for FedEx. Bed frames that need to be carried seven blocks uphill because you didn't know about the gate. Lumber on the Bart.

It's not always easy.
And that's what I told my friend and mentor, Tom. 

You have completed phase one of your journey through life, he wrote me. And like those rockets that are sent into space you have simply jettisoned your youth. Phase 2 is where it gets really exciting. You are becoming more superb as the individual you will want to be. And in addition you will emerge as a great woman that you knew you would become.

I rarely curse, but, damn.

They say you can expect big things when a woman cuts her hair. It means change is on the horizon. And when you keep your eyes wide, change can take you places you never thought you'd go. Changing the status quo doesn't mean you were unhappy with life before, comfort is a lovely thing... but what will you miss if you refuse to try?

You might find yourself 2,000 miles away, standing on the edge of an ever-inching comfort zone, itching to see what shape the domino takes next.

Enjoy the ride... and, if you ever end up back where you started, thank your hairdresser,  


Photo by Tory Putnam at the Portrait Pop-Up
Shout out to my hair dresser Nikki, who, when we were both two decades younger, was my favorite babysitter as well.

Making Coffee Popsicles

Welcome, welcome, welcome!! To the very first blog post from my new apartment! It seemed only fitting that while my entire life (read: the few things I brought with me from Cincy during my trial vacation that turned into a full time life + few things I picked up at the thrift store since I've been here + few things I carried home from Target, Bed Bath & Beyond & Ikea on the Bart) lay in boxes around me, I should get to know the local coffee brands. 

I've been trying to buy locally to get familiar with my new part of the country & this bag of beans came from the boutique (yes, boutique) grocery store down the street: Real Food Co. I'm a sucker for good coffee, but, sometimes, even I have extra. I've tried coffee ice cubes & cold pressed coffee alternatives, but when I saw this Buzz Feed video, I knew immediately there was going to be a new type of iced coffee in my life:

CHOCOLATE CHIP COFFEE POPSICLES. Holler at me.

Making Coffee Popsicles

You will need:

  • Chocolate Chips
  • Condensed Milk
  • Wooden Coffee Stir
  • Freezer
  • Shot Glasses
  • Tinfoil
  • Coffee


One of my first purchases for the new place was shot glasses, specifically with this post in mind. BUT, If you'd like to learn about ManMosas, give me a shout and I can use them again! Teaser: beer + shot + oj = very delish. Interestingly these shot glasses were $1.50 at the thrift store and only $2 at the hardware store. So glad I invested the extra fifty cents. I'm sure, Matt and Alyssa had a lovely wedding here in SF three years ago, but I don't need the memorabilia myself;D 

Anyway, here we go! Pour your extra coffee into the shot glasses, don't fill it up all the way - we will be adding a few things.

Making Coffee Popsicles

Use your wooden coffee stir (I picked up three at a local coffee shop -- after I bought a cup of coffee, of course!) to stir in a bit of condensed milk to the shot glass. This gives the popsicle a more creamy, dessert like consistency.

Making Coffee Popsicles

Drop in a few chocolate chips to each!

Making Coffee Popsicles

Use the tinfoil to position your coffee stir in the middle of the popsicle. Freeze for two+ hours (I think I did six hours).

Making Coffee Popsicles

Remove from the freezer and run under warm water to loosen your popsicle. Andddddd.... ENJOY a jolt of energy with this low guilt dessert :D

Coffee Popsicles

Photos: Nikon D3200
Edits: VSCO filters for Lightroom

Dear Cincinnati:

A love letter to Cincinnati

Dear Cincinnati,

I'll always love you.

I'll love you for twenty five years of memories, and I'll love you for your ice cream. I'll love you for all my closest friends. I'll love you for my amazing apartments: numbers one, two and three. I'll love you for your hip restaurants, bars and neighborhoods. I'll love you for your people: quick to smile, laugh and hug. Cincinnati, I'll love you for loving me.  

But, a few weeks ago, I used all my credit card points to buy a one way ticket to San Francisco. I wasn't sure if I was going to stay. I wanted to explore, take a chance, push my own boundaries. Somewhere along that process, I accepted a job. 

So, Cincinnati, now I love you even more: for testing my limits, for prepping me well. I'm excited. Afraid. Anxious. Happy. Humbled. Surprised. 

You will always be home, Cincinnati.
But, the things that scare us are the reasons we grow. 

Expect a few changes around here, sure. But, Cincinnati, you gave me Ida Street as a place to grow. I'm still growing. So, I think I'll bring this web space along.

Cincinnati, I'll always love you.
But for now, I'll be doing it from the west coast.

xox

Annie


Photo: Lydia Phillips | Mintwood Photo Co.

For the Love of the Transport Tote

Sure, I've always loved my Madewell Transport Tote.  I had it saved in my digital cart for months before I unwrapped the beautiful bag on Christmas morning (you're the best, mom & dad!)  & squealed like a little girl. Originally, I thought the bag would be my "look professional while you're traveling" tote. You know? So I didn't have to bring my backpack with me to business meetings.

Here's the pleasant surprise: this bag was made to grow with me. Like, for example, at this exact moment: I have no need to look professional while traveling. I'm in California. Things are super casual. 

There's a bag tax here, though. Did you know? Not big, just 10 cents. But if the goal is to make me think twice about using bags: successful. That's how I suddenly became acutely aware of how amazing this tote is. It literally can carry. it. all.

Example? Sure! My first week in SF:

  • Day two: Clipper card, lipstick. Chips, beer. Candle, measuring cups. Water Bottle. Thermos.
  • Day three: lavender. 
  • Day four: tomatoes, mozzarella block, mint, limes, arugula, bottle of wine.
  • Day five: Computer, notepad, sunglasses = trip to the library. 
  • Day six: Clothes. I found Crossroads Trading Co...

You get the idea. I feel like Hermione Granger cast an undetectable extension charm on this thing! Clearly, I've really come to appreciate my carry all tote lately. Do you guys have any bags like this? Staples that have stood the test of time? Pieces that have transferred into new positions as you needed it? I'd love to hear your stories :D


p.s. Transport Tote look familiar? That's because you've seen it here before :) Photos are links to original blog posts.


Header Photo: Nikond3200 / Edits: VSCO filter for Lightroom