It took me months to decide what I wanted to display above my bed. My studio is tiny. The bed, as the biggest piece of furniture, is the default focal point. Whatever I put above it was going to get a lot of attention.
For a while, I thought about temporary wallpaper. I photoshopped a bunch of different options into the space... and didn't love any of them. I turned my attention to engineering prints of mountain photos. That's like so specific, isn't it? & fraudulent, too. I really only pretend to be outdoorsy. Anyway, I eventually stumbled on this ABM post where Elsie transforms her dining room into a half wooden wall. I thought it was so perfect. The one problem was, since I rent my space, I really couldn't drill all those boards into the plaster walls. It would destroy them.
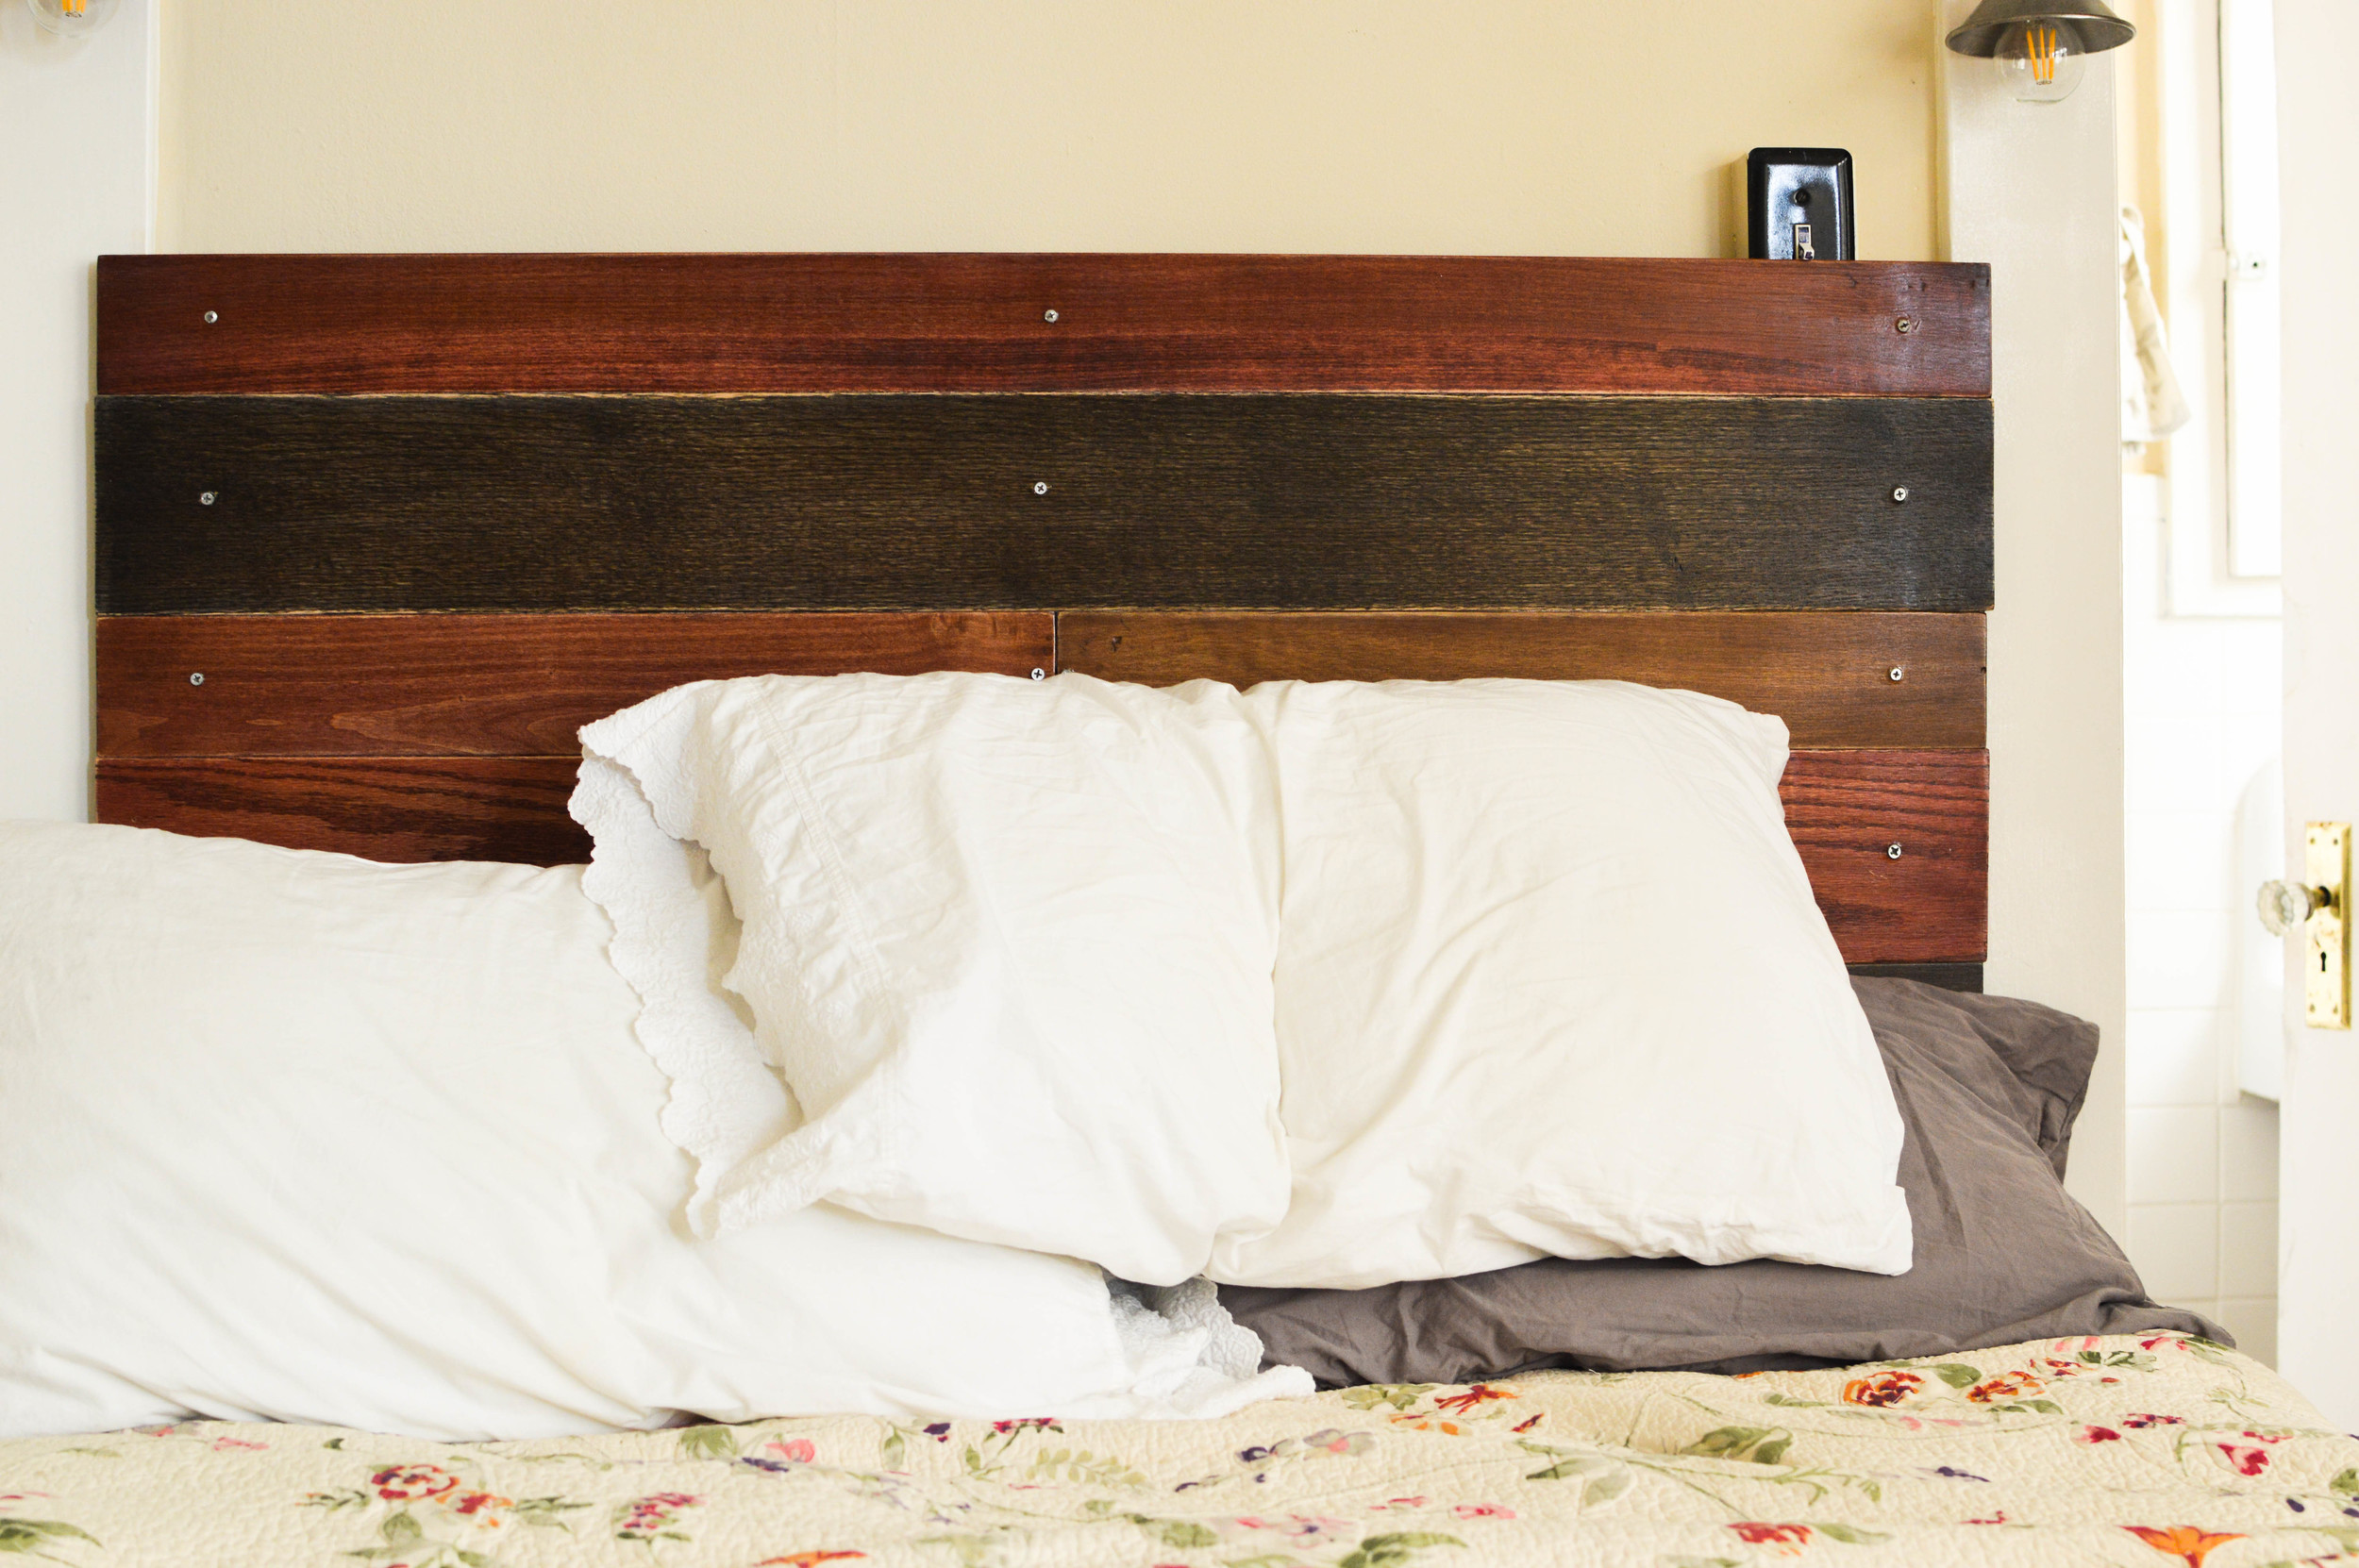
I decided to go for a similar effect by building the half-wooden-wall as a separate piece and hanging it above my bed to look like a headboard.


To start out, I measured my space. You need to know the total width and height of your final headboard. Then head out to the Hardware Store (a big one, like Lowe's or Home Depot), where you will visit two sections.
- First, lumber section. I bought three 2x4's and cut them to the height I wanted my headboard. Then I found seven very thin boards, I think they might be panels. I got them in varying widths & woods & even cut a few in half, just for aesthetics. Cut these boards to the width you want your headboard. I even laid them out in the shape of my headboard on the floor of the hardware store and measured the width and height to make sure it was right.
- Second, hardware section. In the picture framing area (it usually has a sign), I bought six large frame hangers and six safety hangers.
- Optional, paint section. If you need stain, polyurethane, sandpaper or brushes, this is the time to do that. I already had those things :)
You're going to spend a few days with the panel boards. First: sand each one down with a coarse paper, then a fine. After they're nice and smooth, apply your stain. I decided to use a compilation of all the stains I had in my closet (left over from my DIY dining table, tree slice side table, a desk we built for Jake, and a few other projects). I applied one coat of stain to each board, front and back, and let that dry for two days. After another light sanding, I applied one coat of a matte polyurethane and let that dry another day.
Now the fun stuff: Lay your three 2x4s vertically on the floor in a row. Each 2x4 should be several inches apart. Then lay your stained boards horizontally across the top of the 2x4s and screw them in, one wood screw in each panel into each 2x4. I forgot to take a pictures, so here's a weird drawing to help visualize this.
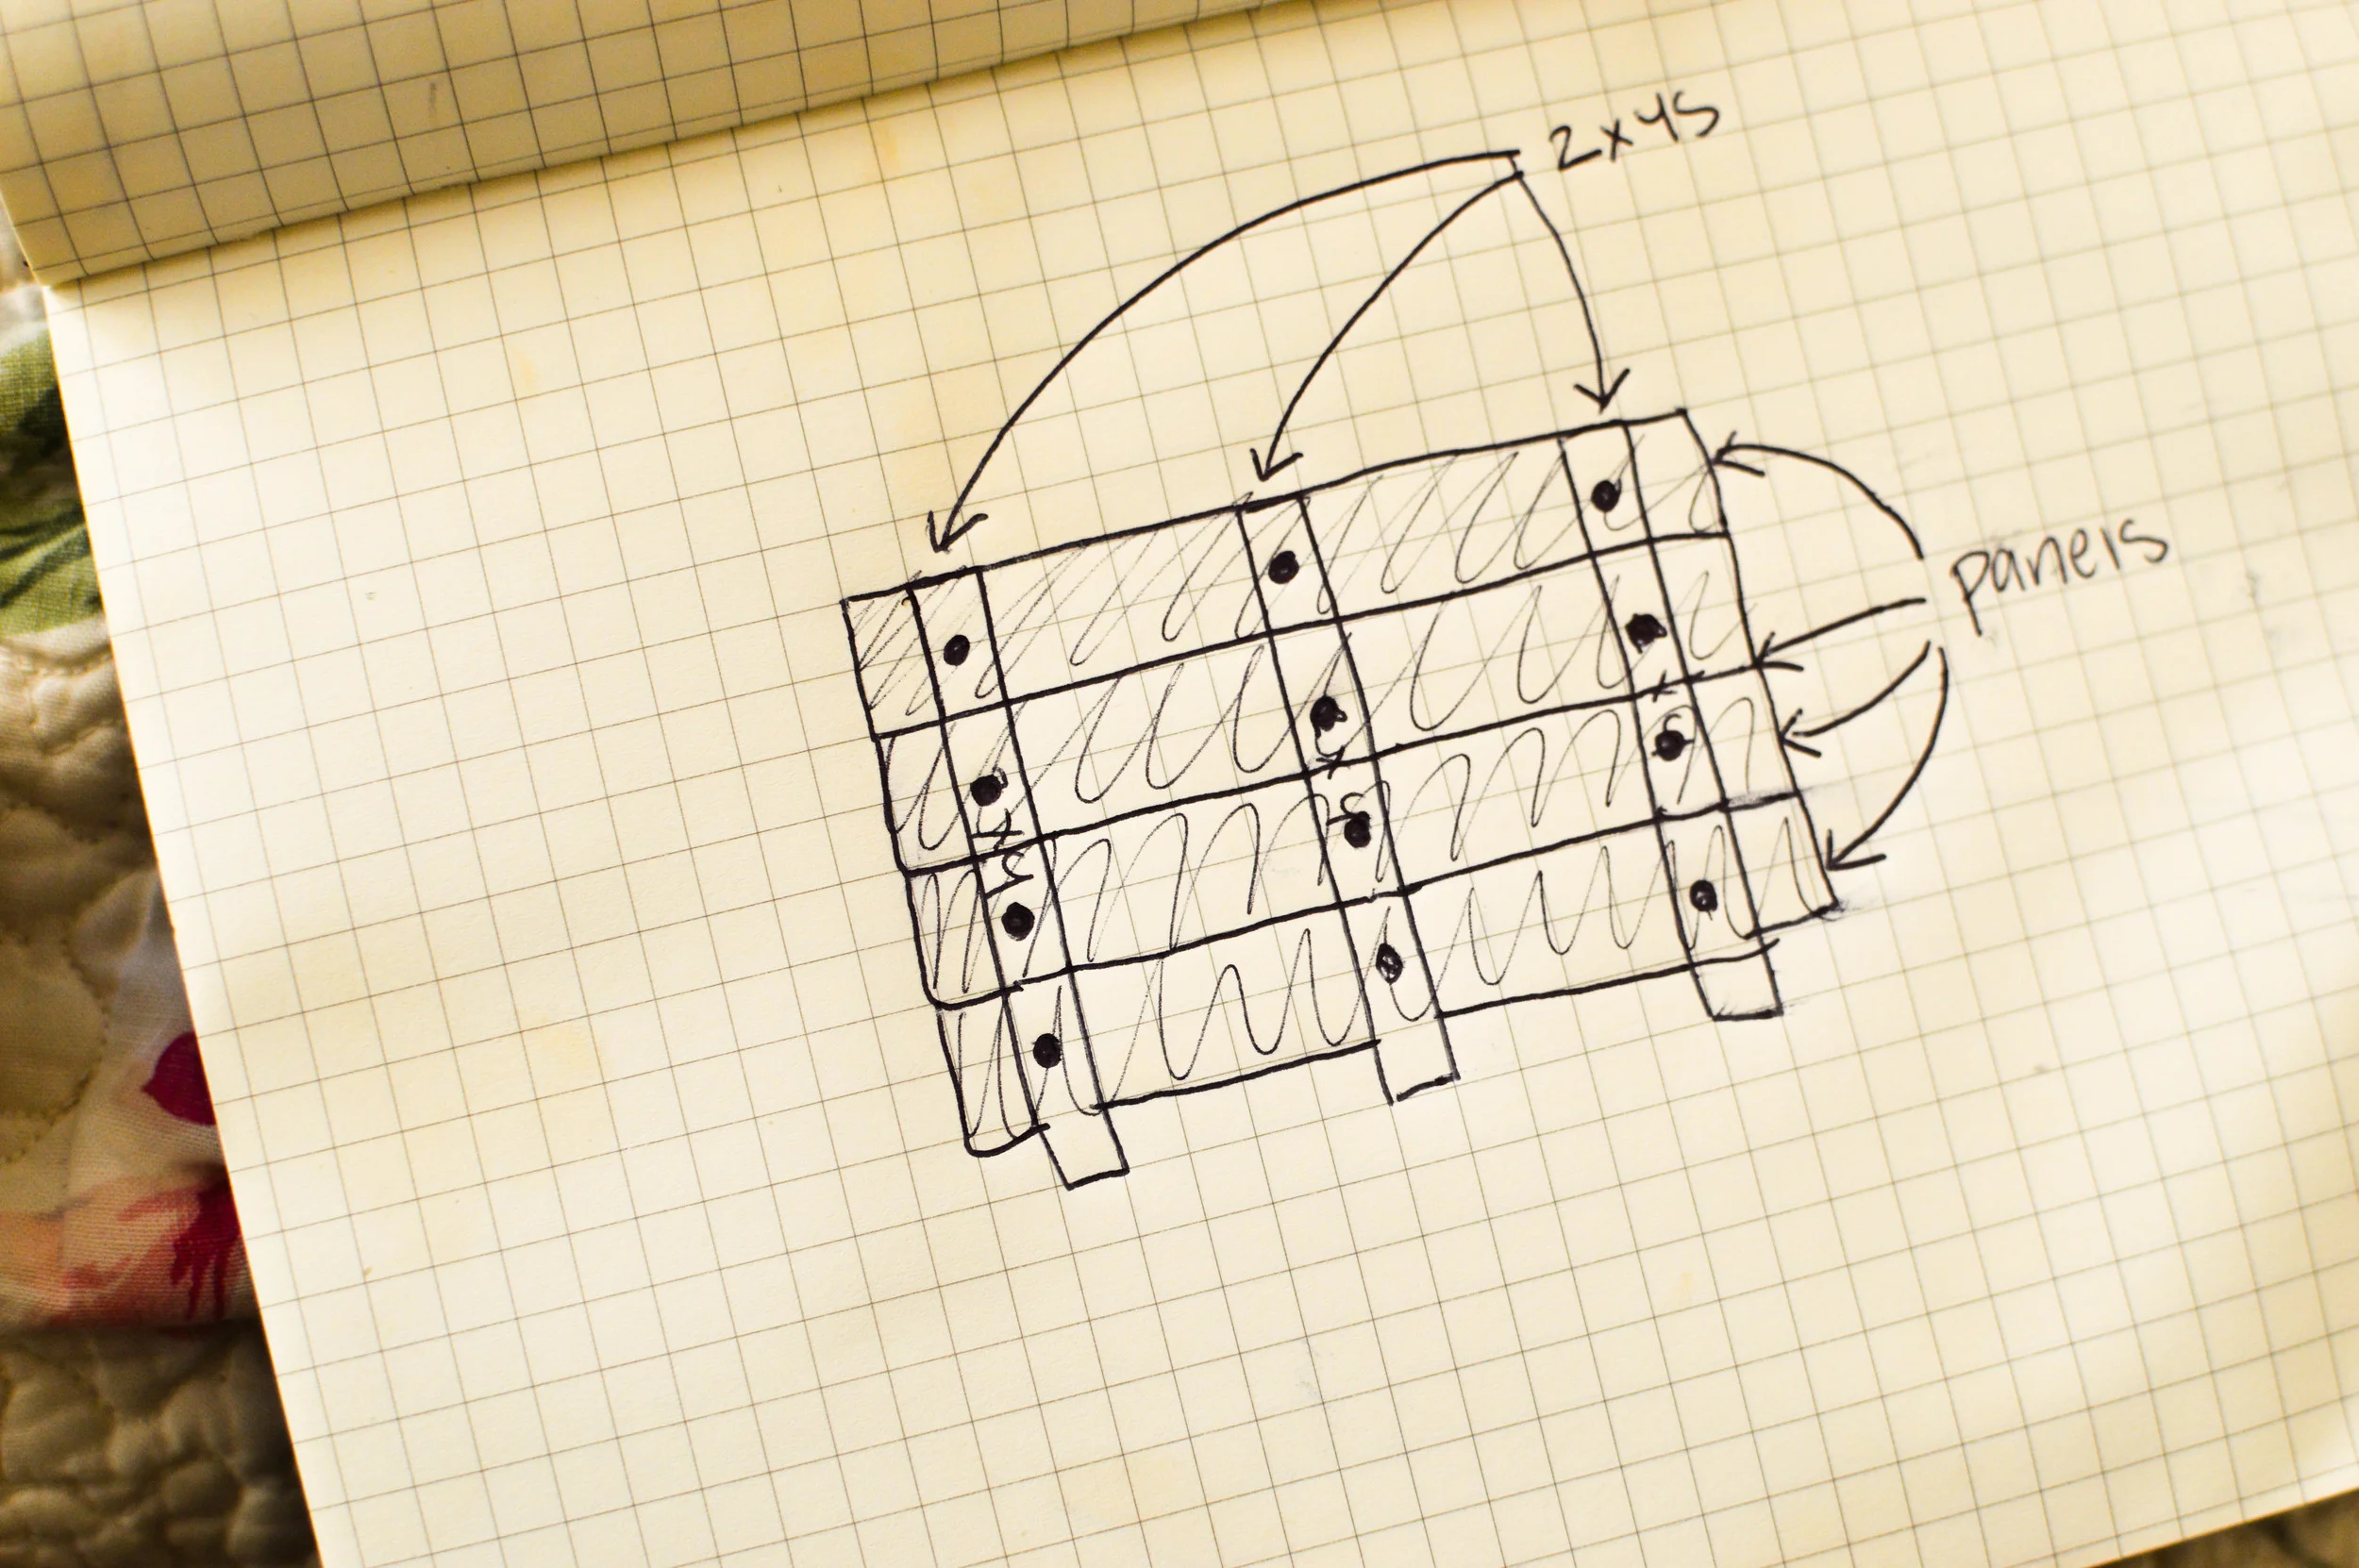
In the end, each stained, horizontal panel will have three screws in it (one on top of each 2x4). After this is done, sand the whole thing down and apply two more coats of polyurethane to the top of your (now large) pallet, a few hours apart. Let it dry for another day.
Once the poly is fully cured, flip your pallet over, so the three 2x4s are exposed. Attach all six frame hangers, two on each 2x4, in a row.
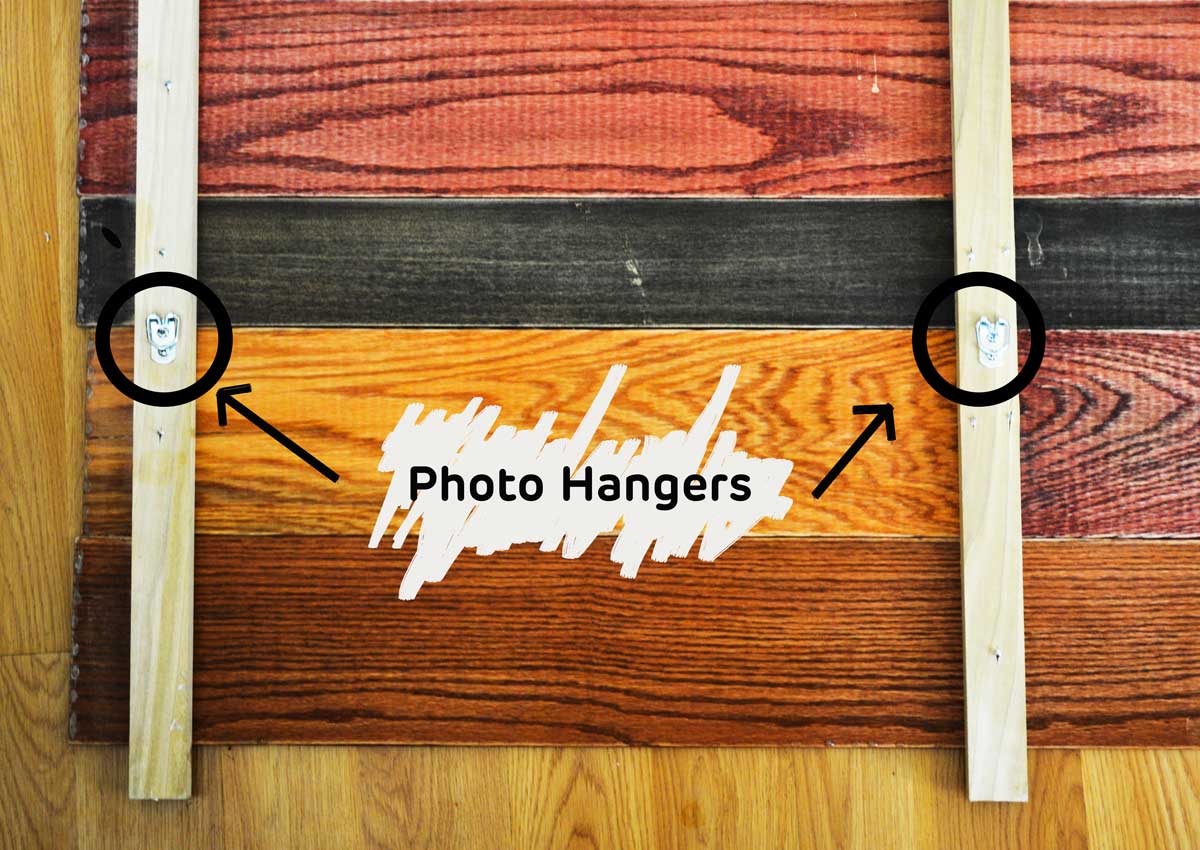

Now you're essentially hanging a picture frame! So, I'm just going to walk you through the same instructions I did back when we hung a gallery wall :D
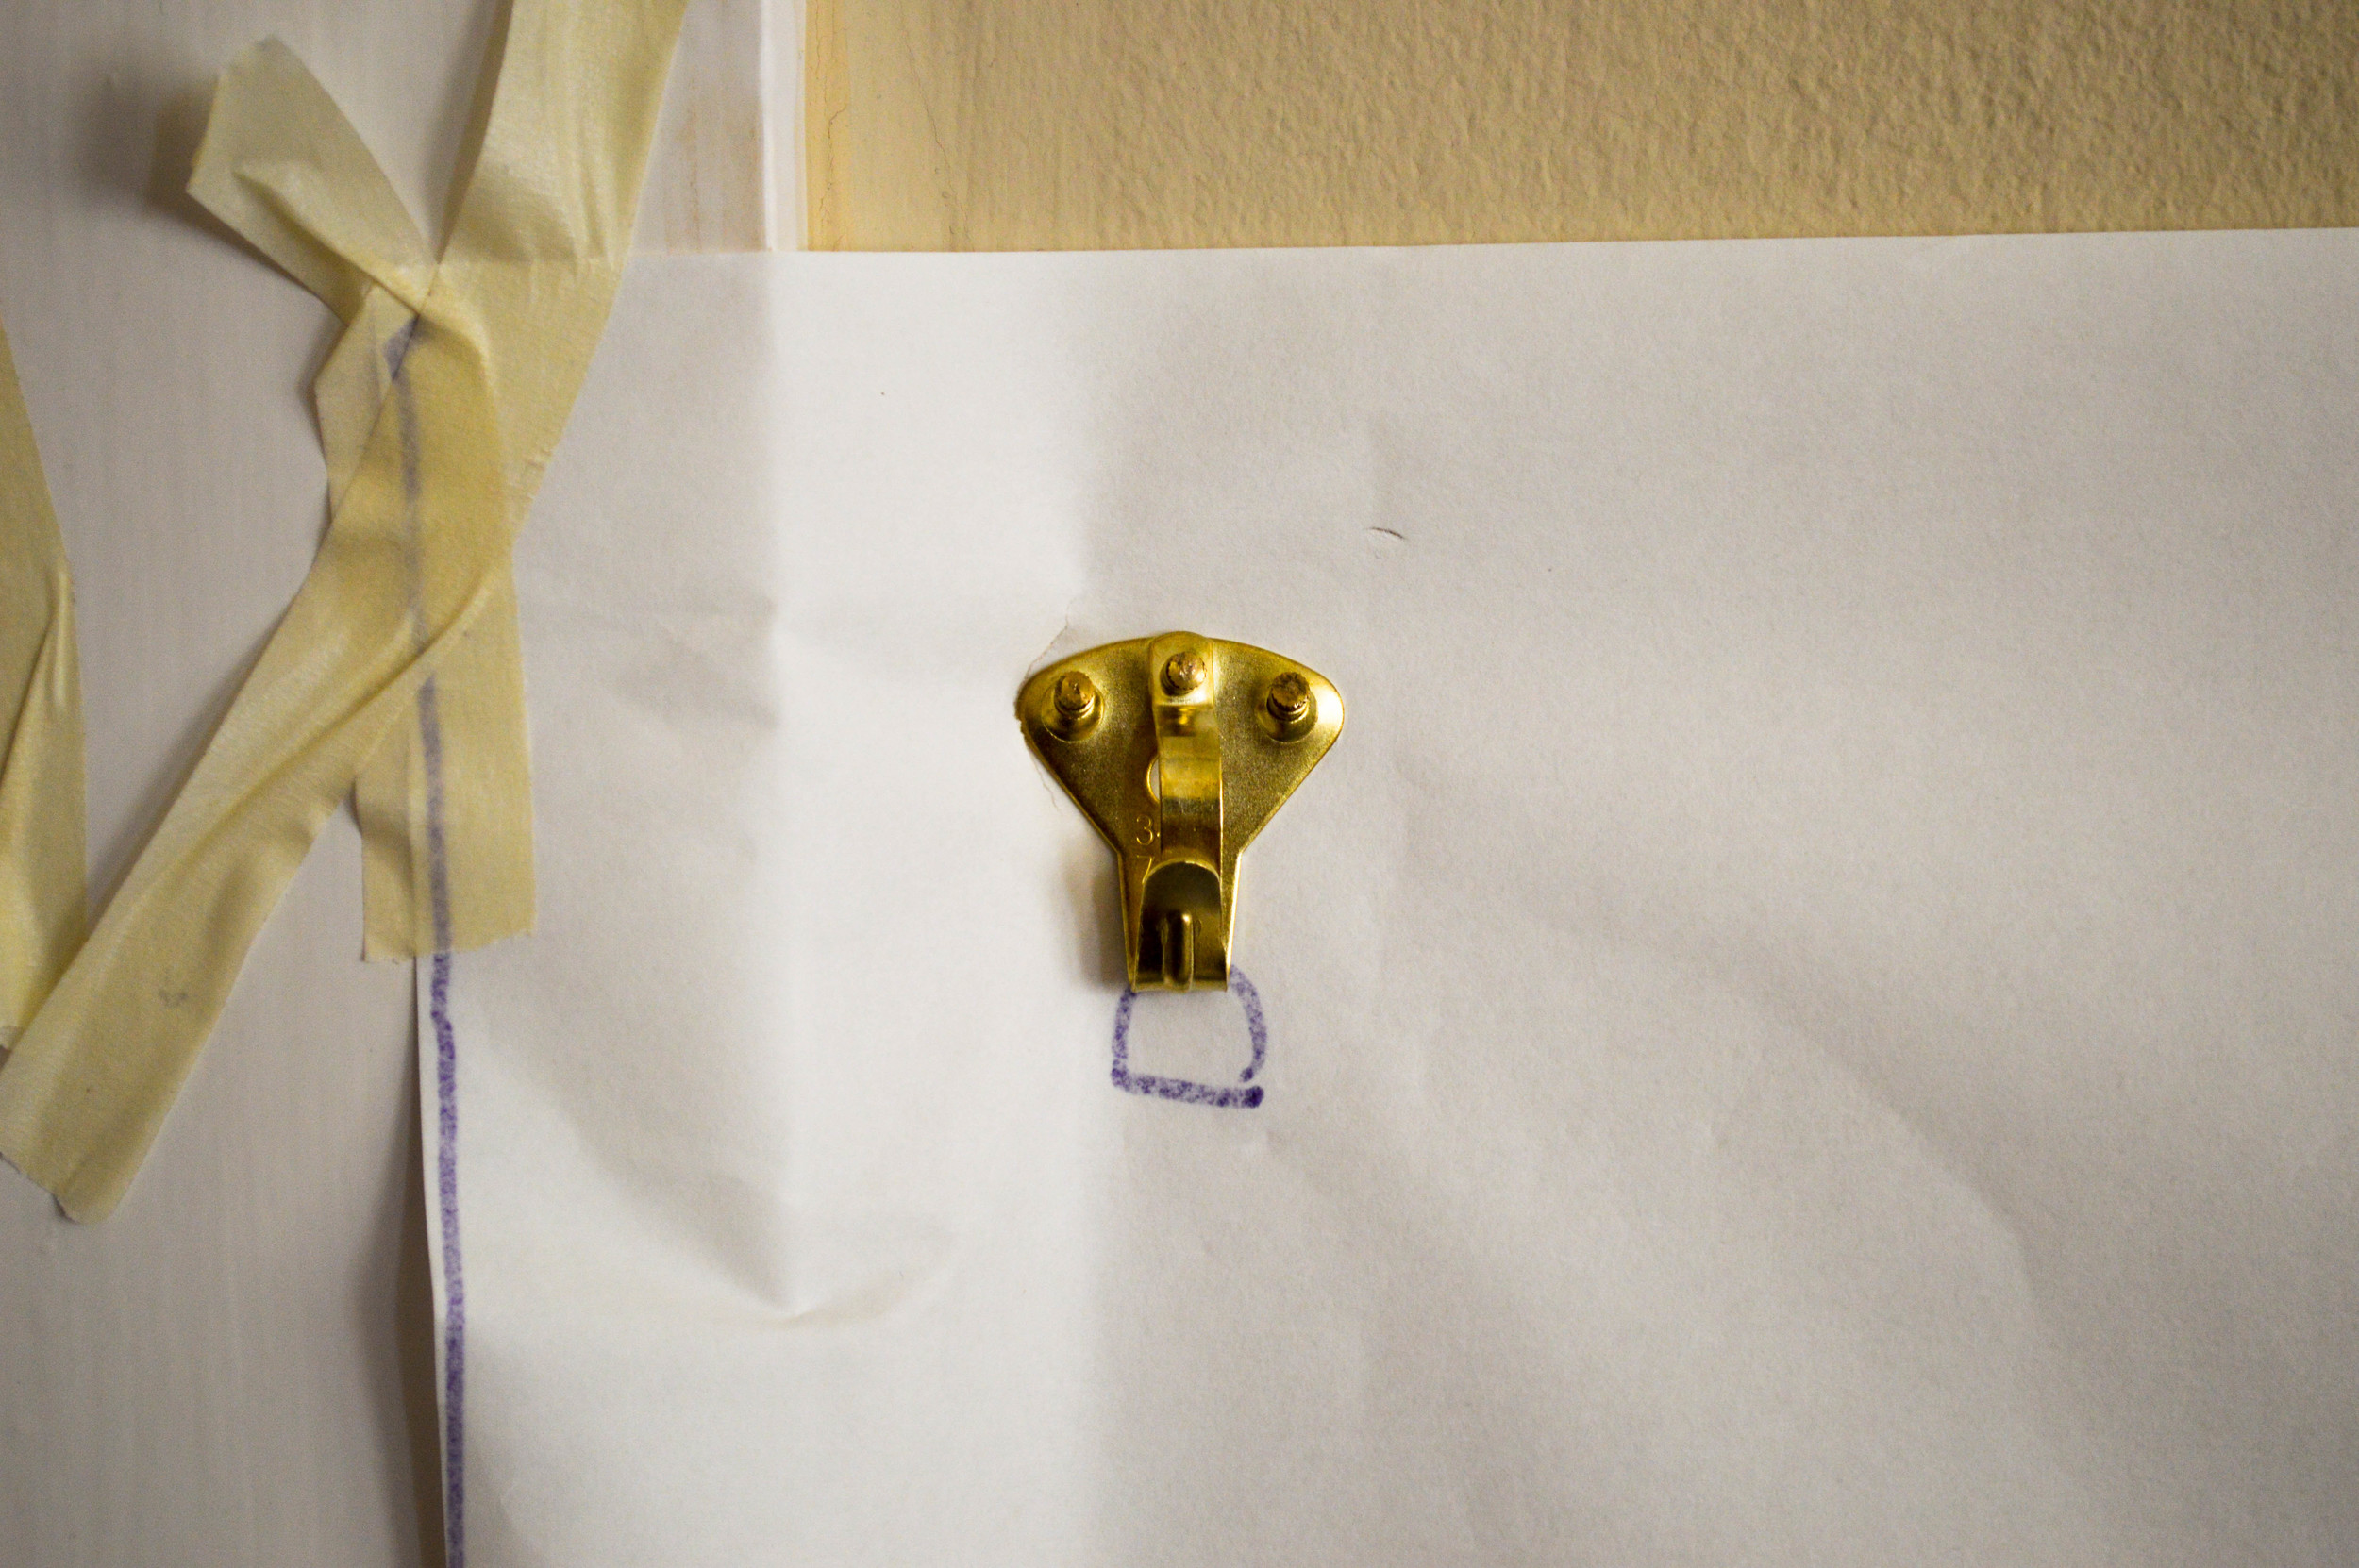
Roll a large piece of kraft paper across the back of your frame and trace the hangers.

(Remember this is the reverse of your board, so you have to turn the kraft paper over before you hang it onto the wall). With painter's tape and a level, hang your kraft paper onto the wall so you can visualize where the headboard will hang.

Nail your safety hangers to the wall right where you traced the photo hangers on your paper. You can nail them in right on top of the kraft paper.

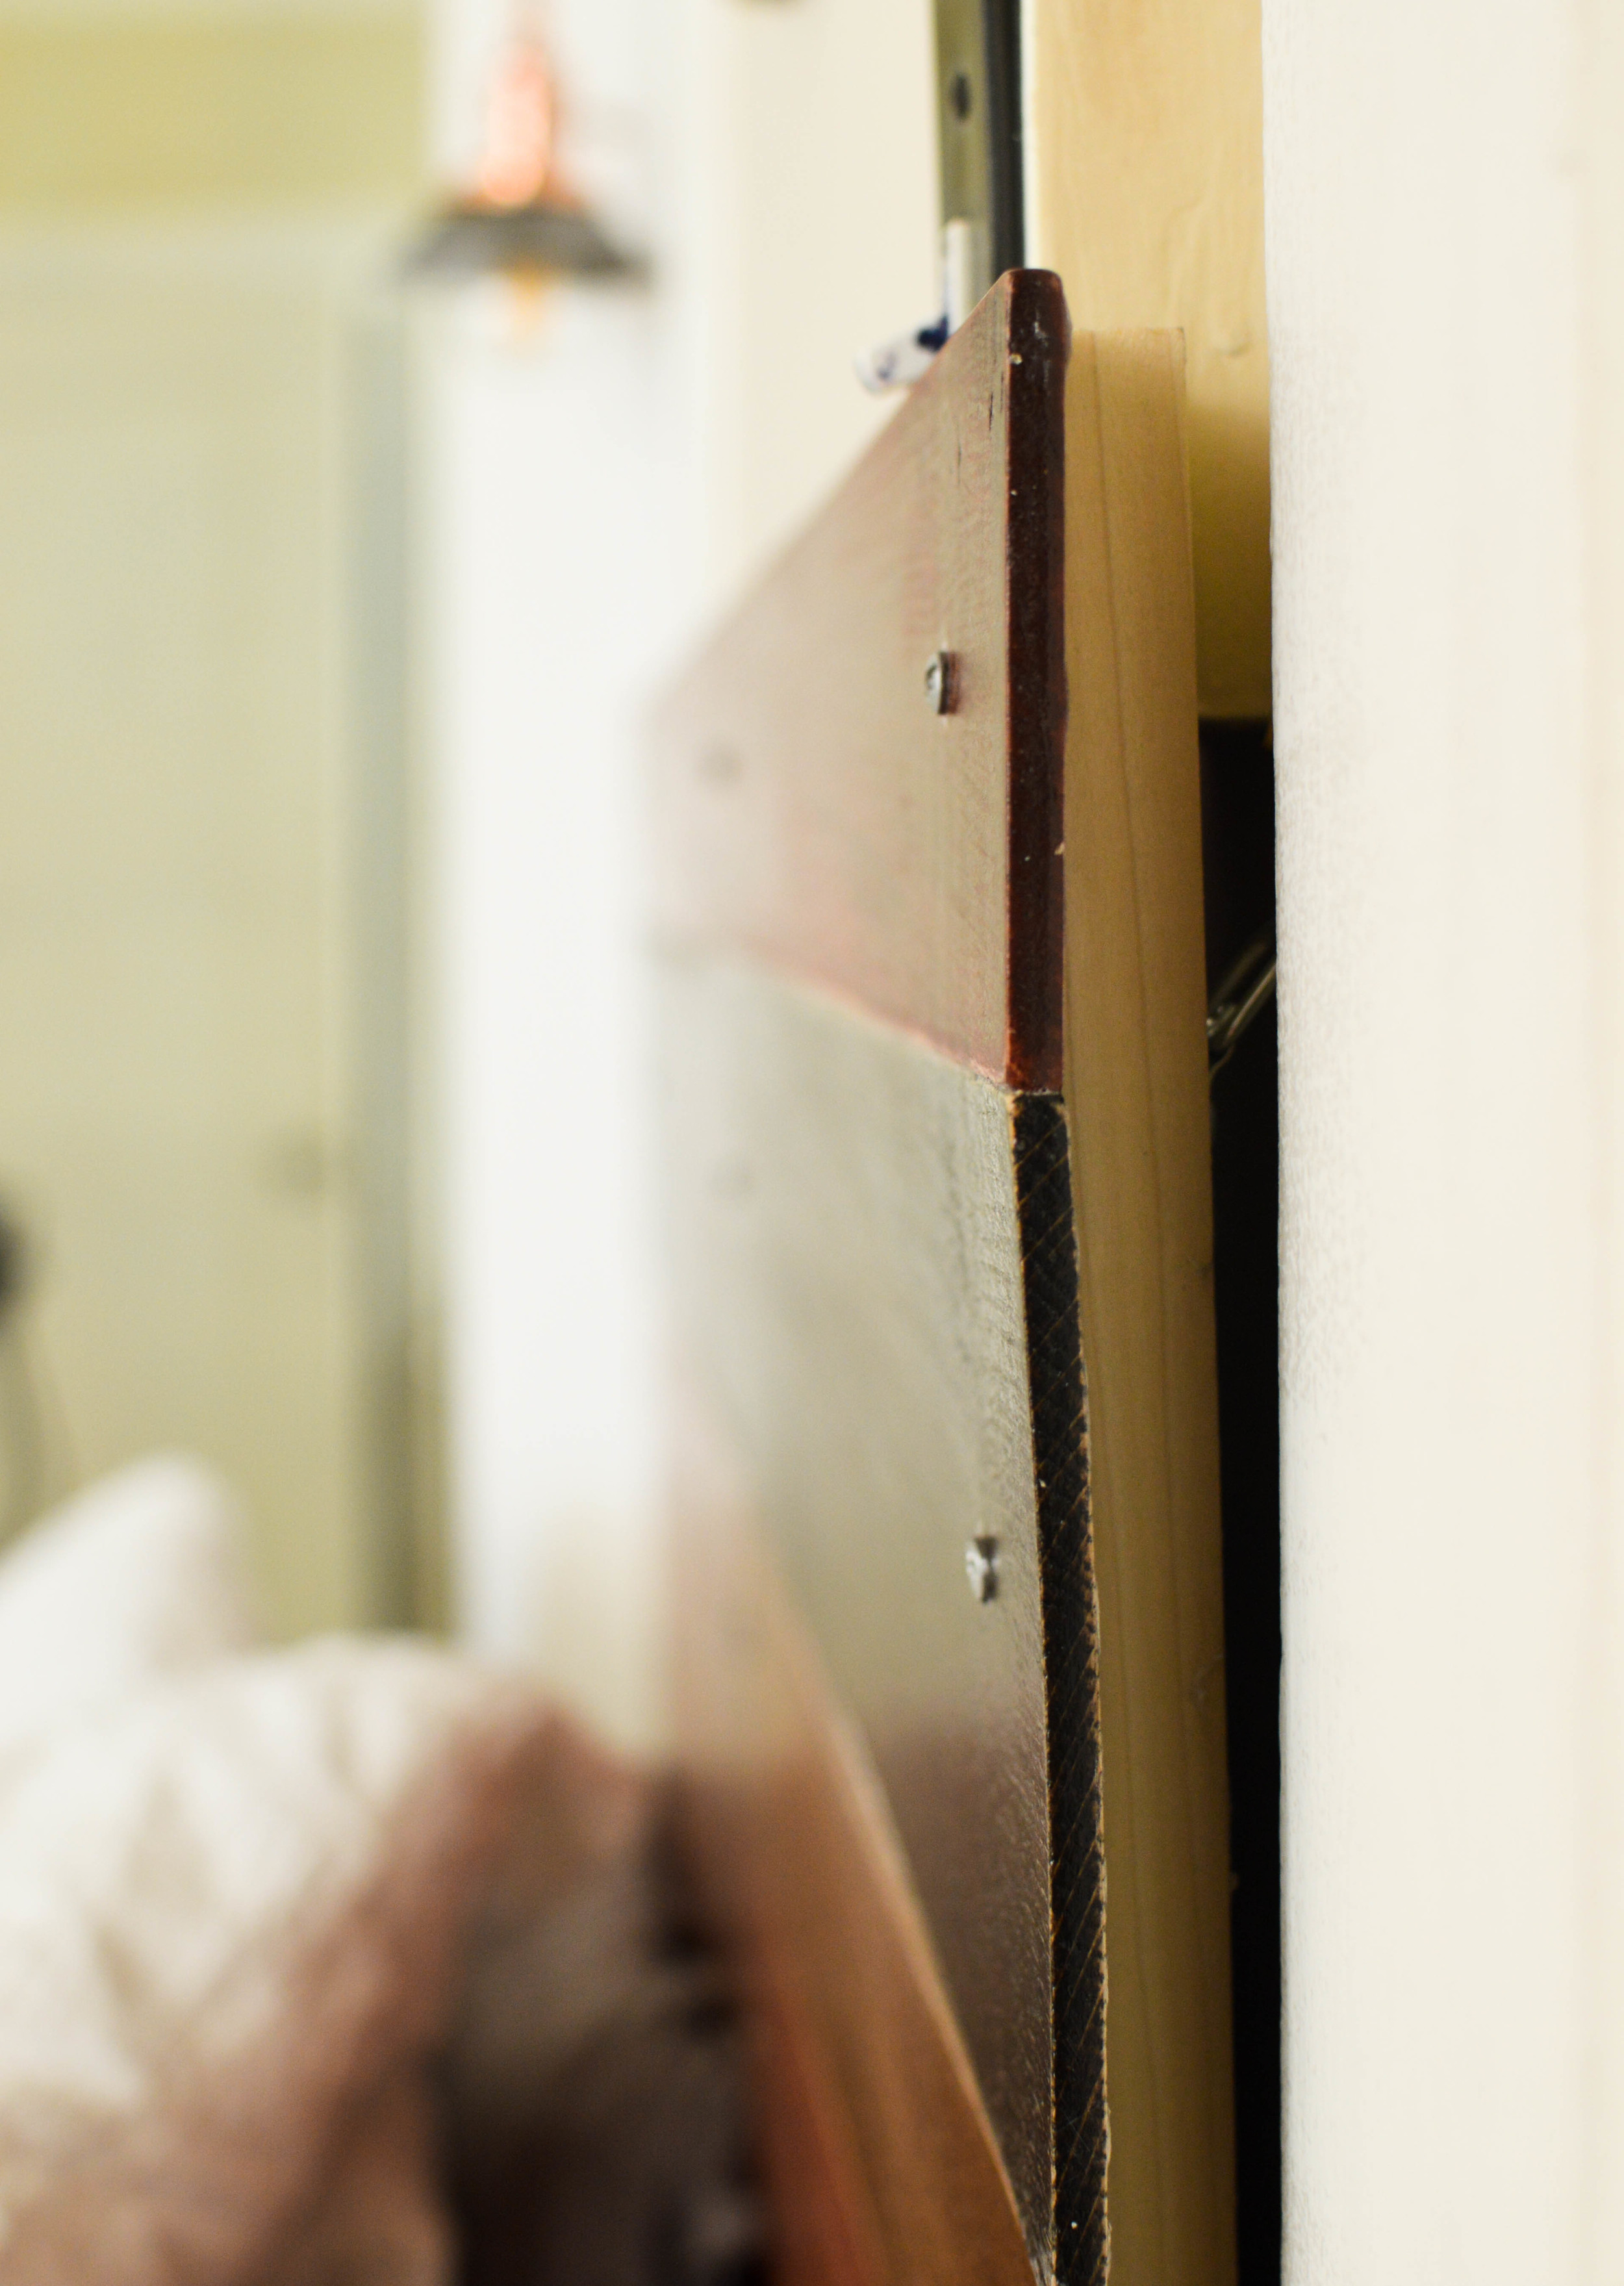
Tear down the paper....


& then hang your headboard!


7 paneling boards, cut to length of your headboard (Lowe's): $80
3 two by fours, cut to height of your headboard (Lowe's): $12
Sand Paper (coarse and fine): Had
Wood Stains: Had
Polyurethane: Had
Brushes: Had
21 wood screws: Had
6 large frame hangers (Lowe's): $5
6 safety hangers (Lowe's): $12
Kraft Paper (Miachael's): Had
Total: $109
Photos: Nikond3200 35mm and Kit Lens / Edits: Adobe Lightroom and Photoshop