5 years ago...

What were you doing five years ago today?
You might have been in college, like me, studying for finals.
Or, instead of studying, starting a blog.

in-thekitchen.jpg

Yep. I've been blogging for five, whole, crazy, entire years. For better or worse, every embarrassing memory, style of writing, emo fashion post, and a little random poetry, are documented in this site. Much of it is buried, thank God, but you can still find it. It's a matter of searching the right terms in my search bar. (Lucky for you, I linked some of my most embarrassing ones at the end of this post 🙈.) 

So let's see, where was I five years ago? Well, I was 20 years old. I was at the end of my third year of undergrad. & I thought certainly, life was as complicated as it would ever get.

HA.

That's one really neat thing about blogging. Every year, I get to look back at my old posts, use a time warp (that I will hopefully find by next year) to smack myself in the face for thinking homemade filters were a good photo edit, and revel in the fact that I've grown up.

I barely recognize the girl I was when I started this blog five years ago. 
So, I guess that's the lesson I want to share: everything changes.

Including this blog!  Feast your heart out on the embarrassing posts of my youth. & from the bottom of my heart, thank you for taking the time to visit me here for these past five years. It's been a true honor to travel this journey with you.

girl baking
girl baking
  • When I was into rhyming, and I guess, really loved the beach. Here
  • Then, for a little while, haikus. Here.
  • My second ever fashion post, also around the time I stopped using capitalization. Here.
  • Then I started to draw. Here.
  • & omg my first power tool. Here.
  • When I thought I was finally an adult.... because I did my laundry at the laundromat. Here.
  • I pretended to care about sports: here, here, here and here.
  • I confessed a crush on ee cummings (what?! ya big weirdo) here.
  • Then I decided to write and illustrate my own children's novel. Here & here.
  • I got all emo about graduating here.
  • & then I actually graduated here.
  • I kept on drawing here.
  • I went back to Miami University as an alum, here.
  • I took ridiculous photos in front of construction sign here.
  • I posed in front of the side of a house here....
  • & in a parking lot behind my office here.
  • I used wrapping paper for a background (and it looked horrible) here.
  • & then told you guys all about my embarrassing posts... HERE!

I love you so much. Thanks for five tremendous years. xox


Photography: Jake Heath, Nikond3200 35mm and Kit Zoom Lens / Edits: Adbobe Lightroom and Photoshop


DIY: Hanging Side Table

Easy DIY hanging Shelf

Hi my name is Annie and I hang things from the walls. 
Hiiii, Annie. 

This is how my imaginary addiction class scene goes when I play it in my head, because guys I am addicted to hanging things. It's an age old rule that in a small space you need to make use of vertical height. But in all my small spaces, I've never been quite so into it as I am now.

Anyway, this DIY hanging side table is the simplest project I've ever shared.

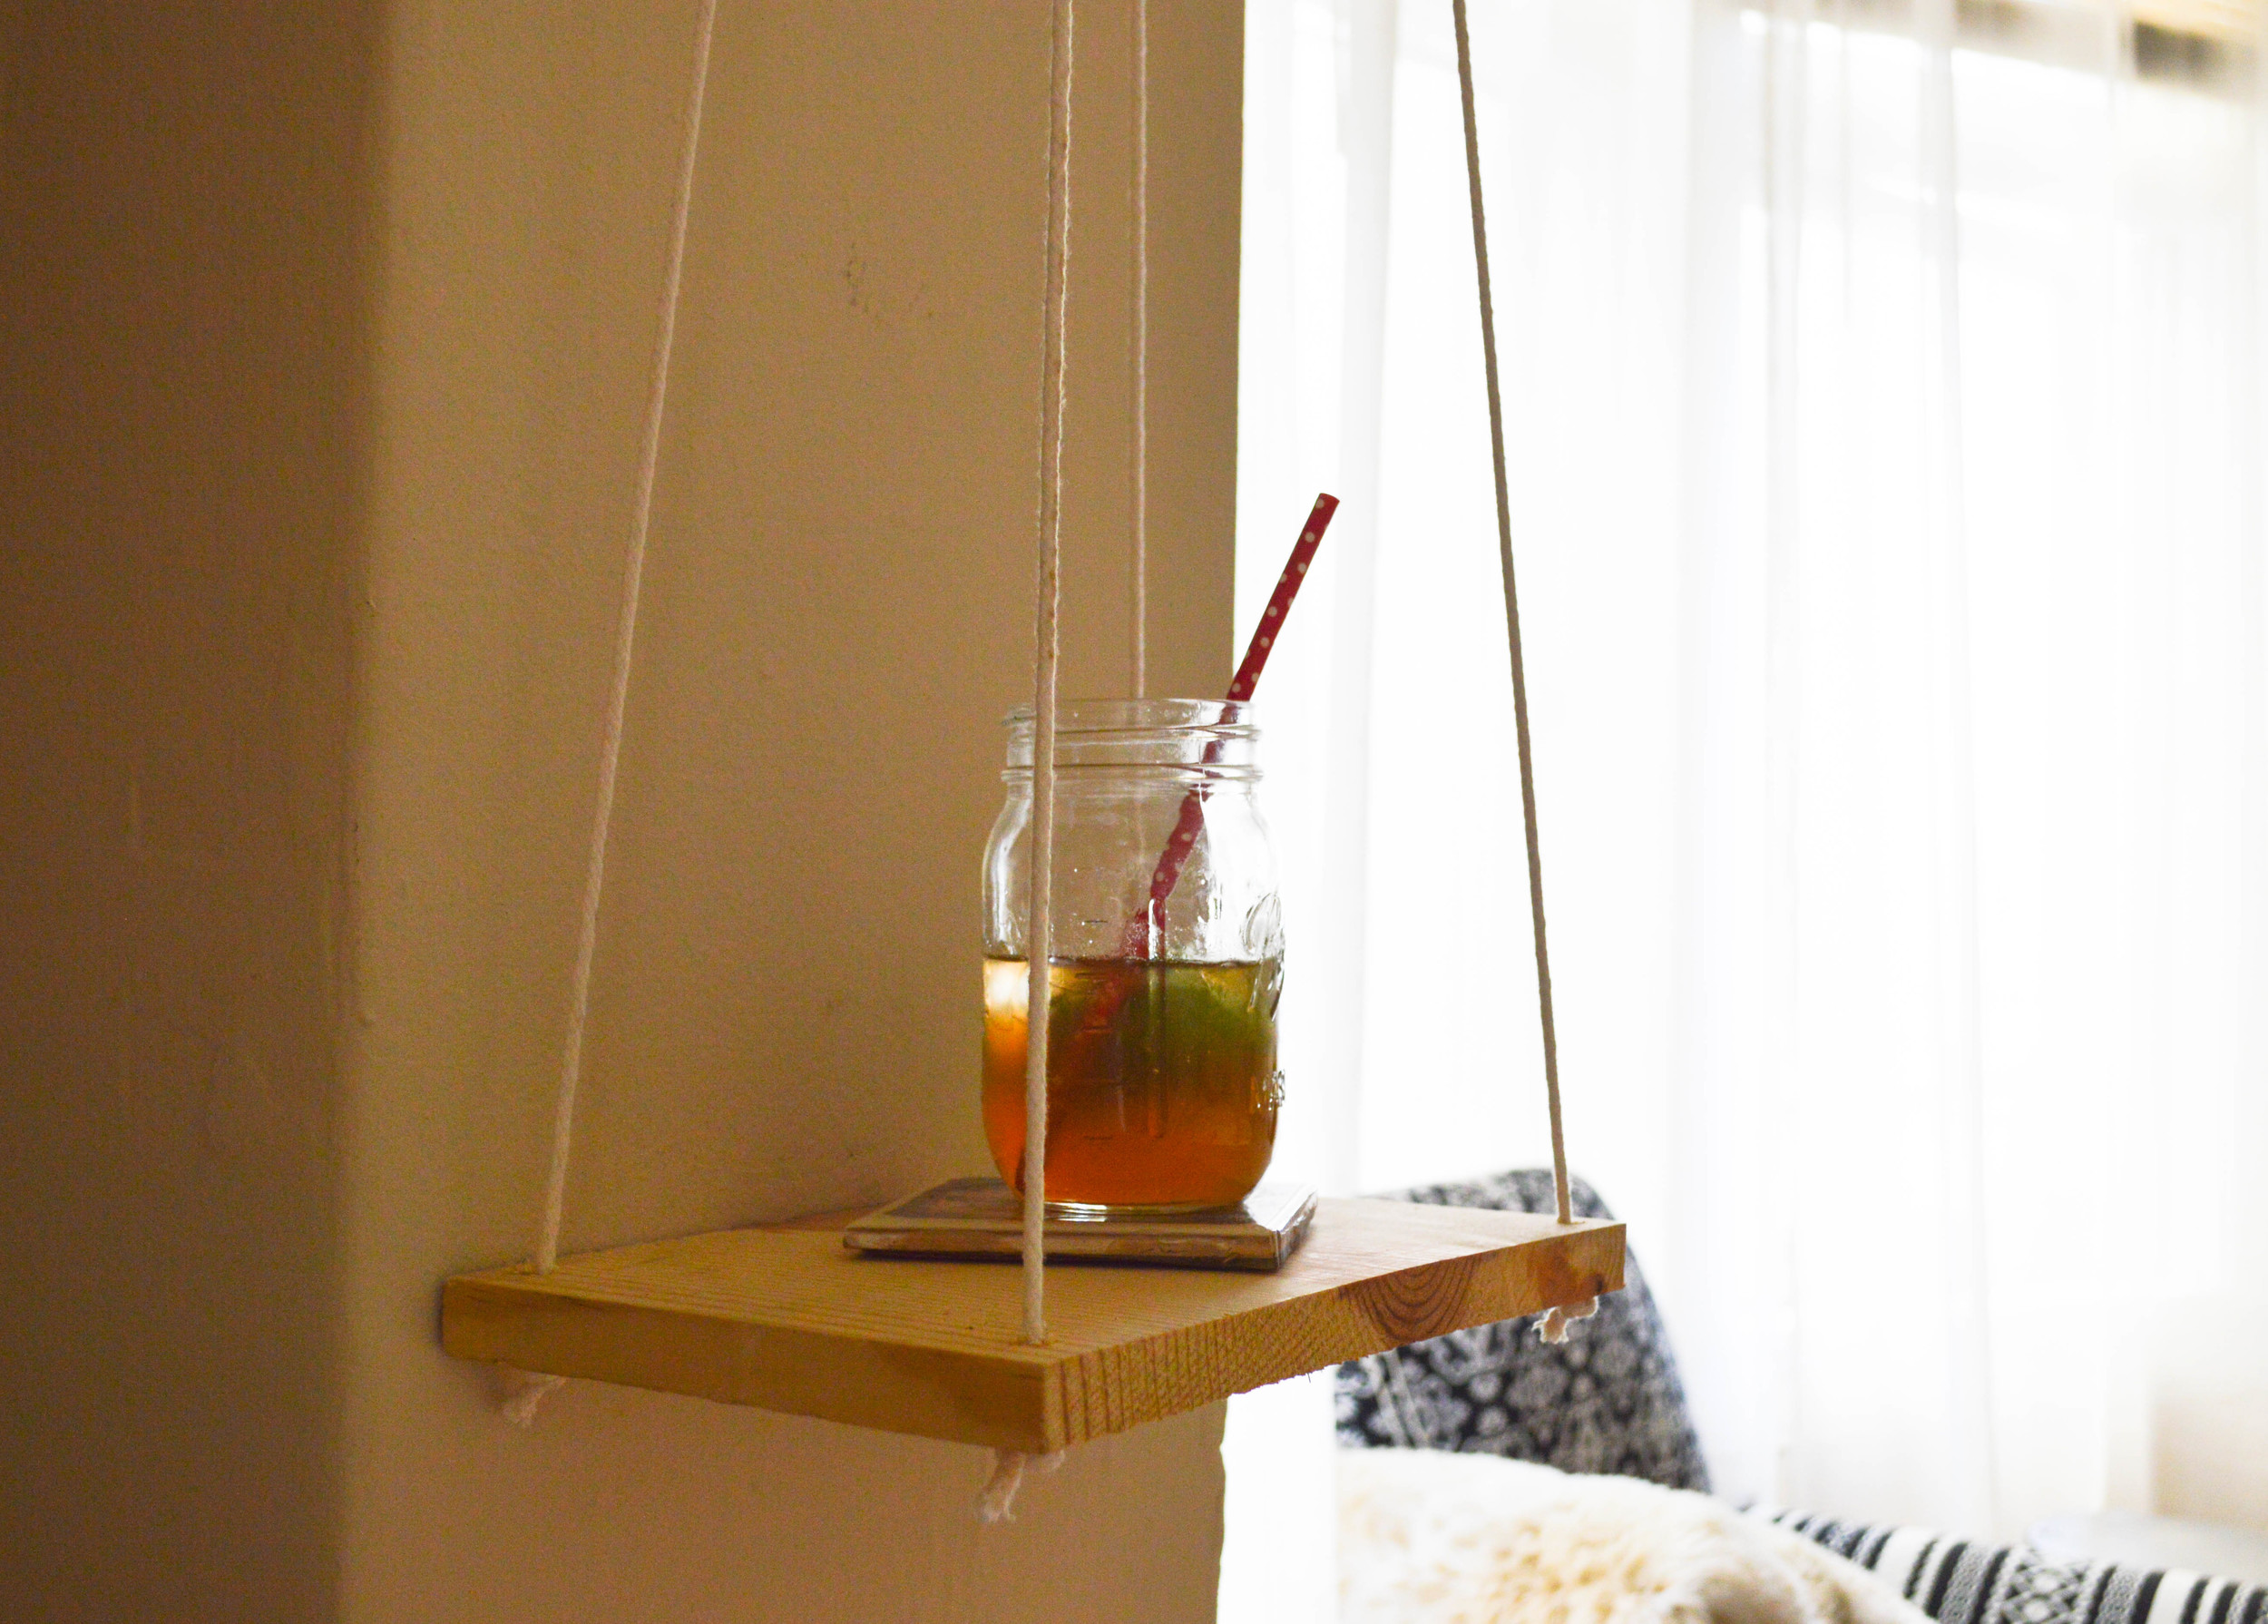
Find yourself a piece of wood scrap. Got it? Good. Now use a power  drill and bit to drill a hole in all four corners. Cut four very long pieces of rope and feed one end through each hole of your board. Tie a knot on the ends to keep the board in place.  Using a  level, gather the other ends of your rope and tie them to a cup hook in your wall. Done.

Confession: I decided to do this one night after my sister and I did a nice number on a bottle of wine. Yea. I did this entire thing in about 10 minutes, while I was tipsy. That's how easy it is. 

Wood Scrap: Had
Rope: Had
One Cup Hook: Had
Total: Free! 
Or if you're starting from scratch, about $10

Easy diy hanging shelf
Easy diy Hanging Shelf
DIY hanging shelf

Annie's Studio: Before

Got 20 seconds? I'll take you on a tour of my apartment!

Annies Small SF Apartment
Annies New Small Apartment

Okay, there it is. Haha. Small, huh? I stood inside one closet to take the first picture, and the opposite closet to take the second. These are from "before." Before I walked down the street and bought a mattress; carried a bed frame six blocks uphill; built my kitchen table; and recreated the standing desk.

When it's empty like this, you can really tell how little it is!

I won't lie to you. It sucked at first. As a homebody, one of my life rules is this:  fall asleep in a space where you feel comfortable and everything else will work itself out. I was not super comfortable when I first moved in this space. I was living in a brand new city, had just sold or donated all of my belongings, and was facing a pretty major culture shock. 

I found out pretty quickly I was going to have to grow some thicker skin. There's a lot of noises that go on outside my window at night. A. LOT. I thought by living and working downtown Cincinnati I had been exposed to a fair amount of homelessness and/or mental illnesses. Not true. It's extremely heartbreaking and still upsetting every time I pass a woman or man sleeping in front of my building.

It was a big change, and it was hard. I really wanted to give up, but I didn't. And one day, after several months -- well, I ended up making this space a real home. 

I love my apartment now. You've seen a lot of the updated space through my other blog posts, but I'll write up an official documentation soon. And don't worry, in the end I did get that thicker skin. I've got mad street cred now. Well, more street cred than when I moved in, at the very least 😏.


Photos: Nikond3200 Kit Lens/ Edits: Adobe Lightroom

DIY: 4ft Copper Accent Planter

Copper Accent Modern Planter

So I fail at taking "process photos" & I'm sorry! To be honest, I wasn't sure this would end up being a DIY I wanted to share with you guys. They don't always work, you know!!! (For example, yesterday I tried to make a hanging-mason jar-coffee bean-candle-thing. Yea, had to blow that one out when I started smelling burning paper instead of the vanilla cappuccino I envisioned. Whoops!)

But, I actually really love this planter, and it was relatively easy. So I'll try my best to explain what I did. 

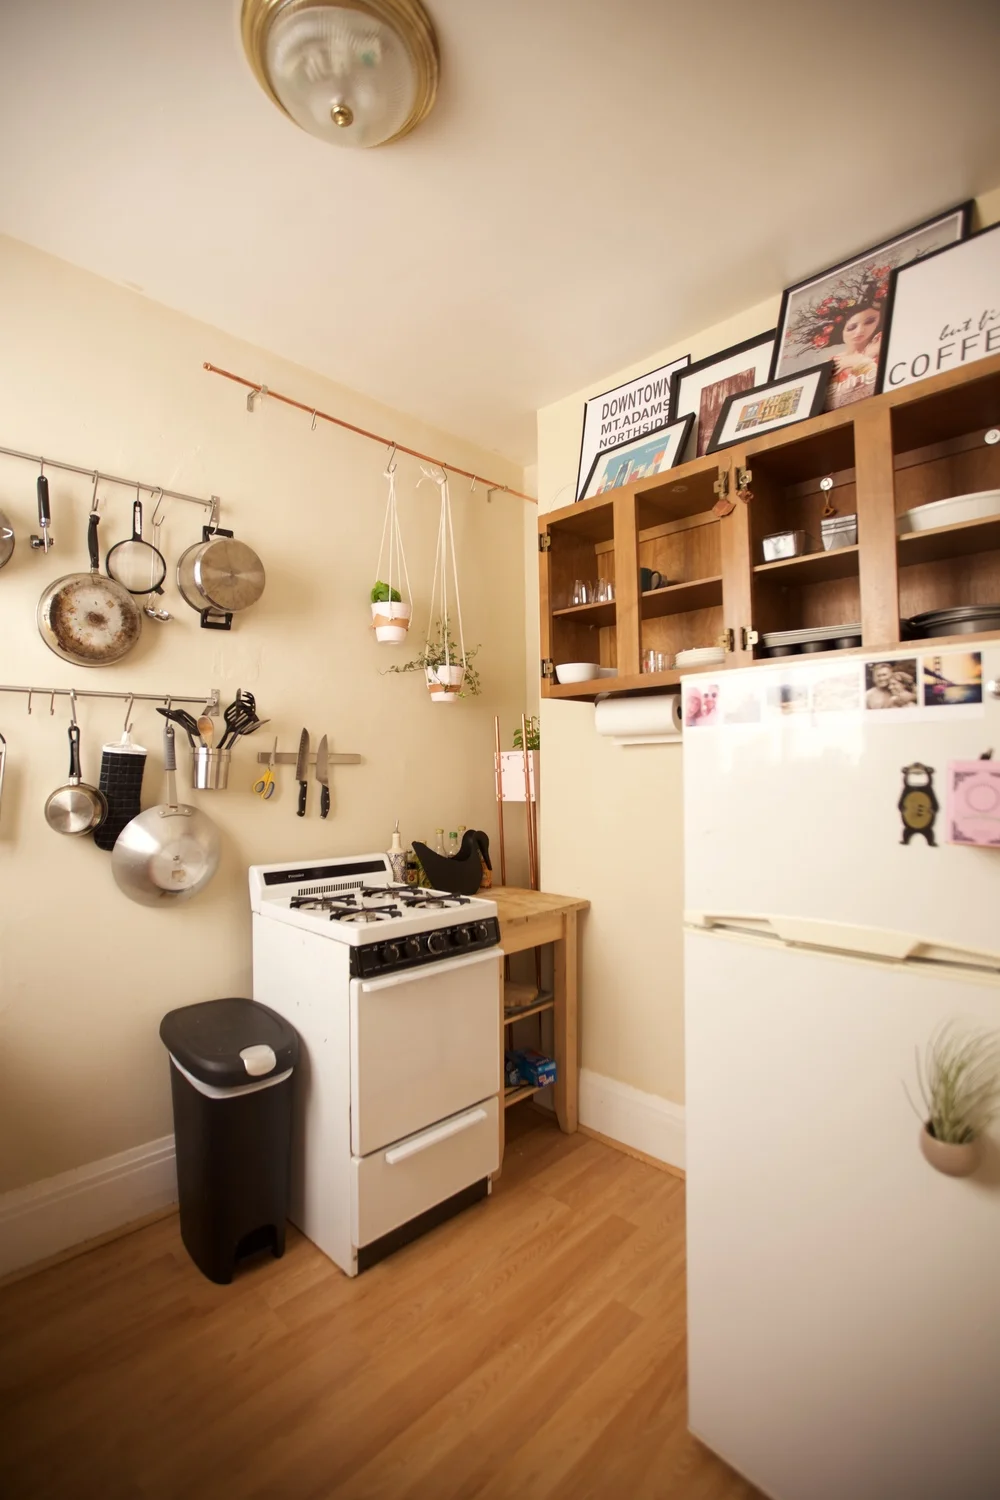
Like most of my blog posts, this one started with a problem. See, the only place plants can get light in my apartment is the kitchen. And my  windowsills are maxed out with succulents. Que Laura's cute pink window box planter from ABM! I knew I would need one taller (four feet to be exact - to lift my plants over the stove), and skinnier (to fit into a random weird corner in my kitchen), but still this idea seemed like a solid solution. 

So... To Michael's I went! I found a plywood box that was the perfect size for my little corner (8x8inches). It so happened to have a bunny face on it, gotta love that Easter clearance! The bunny face made painting this box kinda sad -- and difficult, ha! It took three days and three coats of paint to get that face covered!

But when it was dry, I bought four 4ft x 1/2inch copper pipes from Lowes (these are in the plumbing section). Across the aisle were matching copper brackets (actually called "pipe straps") that fit over the pipes (meaning, they were also 1/2 an inch). I got 12 of those and carried my loot home on Bart.

Using four c-clamps and a level, I clamped my pipes to the box and stood the whole thing up to find the height I wanted. While the pipes were still clamped on, I used a piece of masking tape to mark each pipe A-D and added corresponding tape on the corners of the box. STILL clamped and standing, I took a permanent marker and drew two lines on each pipe, marking where the top and bottom of the box should be in relation to the pipe.  

Finally, time to make those pipes into legs! I unclamped everything and took Pipe A and matched it with Corner A. With the box on it's side, and using the lines I drew on the copper pipe to measure where I needed to place it, I laid pipe straps on top of my pipe and used a power drill to drill right through the holes of pipe strap#1 and into my box. I screwed bolts into the holes and secured it with a nut to hold that first pipe strap in place. Then I followed this process for pipe straps #2 and #3, alternating between drilling holes and screwing in the bolts. Woohoo! One leg down, three to go! 

Once all the legs/pipes were screwed in place, I stood the planter up to make sure it was still balanced. According to my level, it was a little off. So I took a hammer and kinda, tapped the box into place (remember, we haven't actually screwed through the pipes at all, so this method works!).

Later, I added floor scratch pads to the bottom of each of the pipes. I've since found out about "end caps" and may look into this to top of my copper pipes.

Finally, to make this into a real planter, I stopped at Lowes again. There I bought a plastic garden pot that would fit inside my box (meaning the pot was under 8 inches tall). I brought that home and painted it to match my box (which has handle holes, since it was an Easter Basket in a previous life 😁). After the paint dried, I dropped the plastic pot into my Bunny Box and Voila! A modern looking, copper accent 4-ft planter!

I planted mint in this pup because mint apparently doesn't need a ton of sun and it's fairly hard to kill. I had big dreams of my apartment smelling like mint every time I opened the door, but so far... nothing to report. Still though, I can't wait to make mint adorned drinks all summer :D

Four 4ft x 1/2 inch Copper Pipes: (Lowes) $52
Twelve 1/2 inch Copper Pipe Straps: (Home Depot) $7
One 8x8inch Plywood Box: (Michaels) $12
24 nuts/bolts: (Amazon) $7
One Plastic Pot: (Lowes) $2
Felt furniture pads: Had
Paint: Had
Sweet Mint: $2
Potting Soil!: (Lowes) $5
Total: $87

^^ My DIYs always end up costing so much more than I think they will. I can't really compare this price to a "store bought" version, because I honestly haven't seen anything like it! I guess that's my favorite part about DIY-ing, you always end up with something one-of-a-kind :D

Cute Modern Planter DIY
Cute DIY Planter
Custom DIY Modern Planter

Photos: Nikond3200 35mm / Edits: Adobe Lightroom

No-Stitch Skirt Repair

You have an amazing skirt. You wear it out on the town 4 or 5 times. Then, you pull it out of your closet and the thing is TORN. This was the fate of my fave off white skirt from these posts (throwback!) when I pulled it off my skirt rack a few days ago. I was devastated. But I wore it anyway with a long black shirt so you couldn't tell 😉

But I want to keep this skirt in rotation, so I decided to try my hand at mending it with stitch witchery.

how to repair a broken skirt without sewing

Long story short, it worked. I took some of the extra stitch witchery I had from lengthening my curtains, placed it between the torn layer and the built in slip beneath, dampened a cloth and patted with the steam setting on my travel iron. 

no sew skirt repair

I mean, I wouldn't say it's "good as new," but I totally will wear it this way without fear of increasing the tear and/or getting called out. 

Of course, this method only works on clothes that are made of two layers. But if you find yourself owning a skirt, shirt, etc that fits the bill, I'd definitely encourage you non-sewers to try it out!

no sew skirt repair
no stitch skirt repair
no sew skirt repair

Photos: Nikond3200 kit and 35 mm lenses / Edits: Adobe Lightroom