Home

AT HOME: IN MT. ADAMS

Hi guys! Guess what? I'm finally home :)  For the past ten days I've been semi-homeless (kinda). My Roomie4Life & I moved out of our house in Columbia Tusculum the last Friday of June. & in natural Annie-Style, I miscommunicated my move-in date with my new landlord & moved straight into a storage unit. Then, as you may know, my sweet Papa passed & we all high-tailed it down to South Carolina to celebrate his life. So, though I moved my possessions into Ida Street on Tuesday the First... it was essentially a dump&go. Fast forward to Sunday the Sixth, when about half way home (again, in perfect Annie-style) I realized my keys were sitting idle in my sister's glove box. That sister was scheduled to return with our mom on Tuesday. So my dad was stuck with me for yet another few nights. 

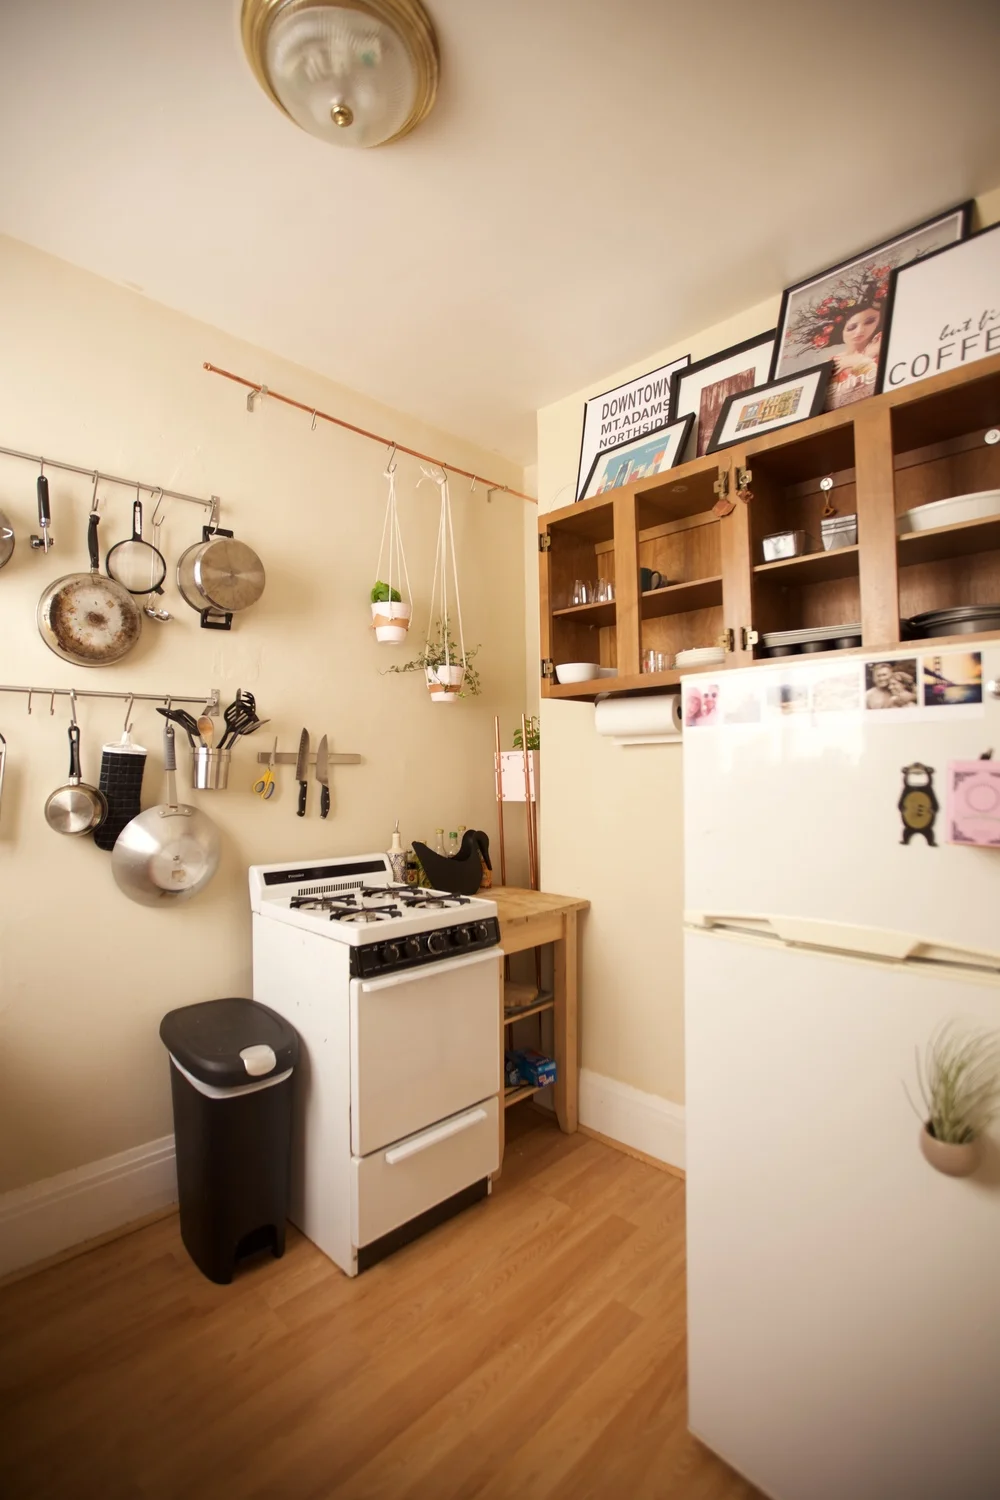
But as of YESTERDAY, the Eighth... I am finally  home. There are boxes everywhere. I ate peach pie for dinner  (with my hands, because I don't have silverware). It's an absolute disaster... but it is my disaster. I cannot wait to grow & live & love in my adorable little studio in Mt. Adams. Get ready, guys. I have a lot of fun projects coming your way. 

Until next time, Annebelle.

Photog: Jackie Butler.
Dress: Old Navy via Gabriel Brothers (old)
Fedora: Nordstrom Rack
Shoes: Madewell

AT HOME: IN COLUMBIA TUSCULUM

I didn't tell you all, but I moved! In May of 2013 (back when Magical Simplicity was under repair), my roommates and I moved from the house on Tusculum to a house just around the corner... & up one extremely steep, steep hill.

You may know Columbia Tusculum is the oldest neighborhood in Cincinnati. What you may not know is that it's also one of the highest. This winter was one major challenge for my little civic. I've showed you one of my favorite corners  of the house already. But my roomies have just finished their grad program at UC (hizzah!) & our future is yet again unclear. So I thought I better show off the rest of our little house - in case I'm running out of time!

Welcome to our home!

There is a kitchen & living room, obv.. but I don't spend as much time in those.. (one of these days!) What I love most about this place is the back deck. It's perfect for bonfires & picnics. & those woods belong to the beautiful Alms Park. Yes, sometimes we get stray hikers. & a ton of deer.

I live in the attic, lovingly referred to as the cocoon.  I'd say the ceiling hits 6 ft at its highest, & slopes to two feet at its lowest. It's perfectly Annie-Sized.

Best part? I have a bathroom. & the shower head comes straight out of the ceiling. Also, there is a skylight above the toilet. So that's fun.

I had to do a lot of thrifting to get furniture up here that fit - like a floor desk (how amazing is that butcher block? I rested it upon an old cupboard from my mom's basement, final height: perfect for crossed legs). 

& the dresser, tucked away at a vintage furniture store in Loveland. Just waiting for me.

We've loved every second in this house & in our first Painted Lady, too. I don't think we could have even imagined a better neighborhood to ease into adult life. Columbia Tusculum: you will always, always  hold a place in my heart.

HOW TO: GALLERY WALL

My drafting table is my prized possession. So, naturally, I feel it deserves only the best kind of decor. Like a magical little corner of perfection. Whether from thrifting, or from my sister calendar (post coming soon :D), or the ones my friends have made (how cool is that Flowering Tree print?!?), or my little sister, or sometimes the one's I've even done myself... I've somehow gathered a lot of art over the years. Any who, today I'm going to show you how it all came together to give my drafting table the wall it deserves.

I grew up wanting to become a  professional collage maker.  I'm serious. I thought I could create a market for myself. (You know, collages are at such  a high demand!) While I found myself a different profession, my collage-making skills came in very handy for this project. It started here (& stayed here for almost a year). 

Then, I found this post about Building a Standing Desk & this one on 20 Easy Wall Hanging Ideas byA Beautiful Mess. Suddenly, I knew my drafting table deserved so much more! So I pulled my extra frames out from under the bed, & ripped a few months out of my sister calendar. For a few weeks we had this:

Still, I was stalling, hoping for the perfect centerpiece. & I found it! 

Inspiration HERE (seriously love these) - but I recreated to fit my light + airy theme & feature my fave Cincy neighborhoods :D. Funny story, I accidentally made this 5ftx7ft tall! Luckily, Staples in Hyde Park was able to shrink down to the size I wanted. & then it was time to put my collage skills to use :D

GALLERY WALL | YOU WILL NEED

  • Art & Frames
  • Phone Books & Paper Grocery Bags (or maybe wrapping paper?)
  • Scissors (I kind of want to spray paint mine gold...)
  • Marker
  • Tape
  • (Bright Pink) Hammer
  • Nails that will support your Art

No need to eyeball the sizes anymore, you can trace!

Even better: mark the nail hole so that after you tape everything into order, you can just nail through the paper. 

Nail. Remove paper. Hang frame. Repeat. 

& soon you'll have a gallery wall :)

Easy Peasey, right? I adjusted mine a tiny bit at the end.. decided to go for a non symmetrical look (Top Photo). What do you think guys??