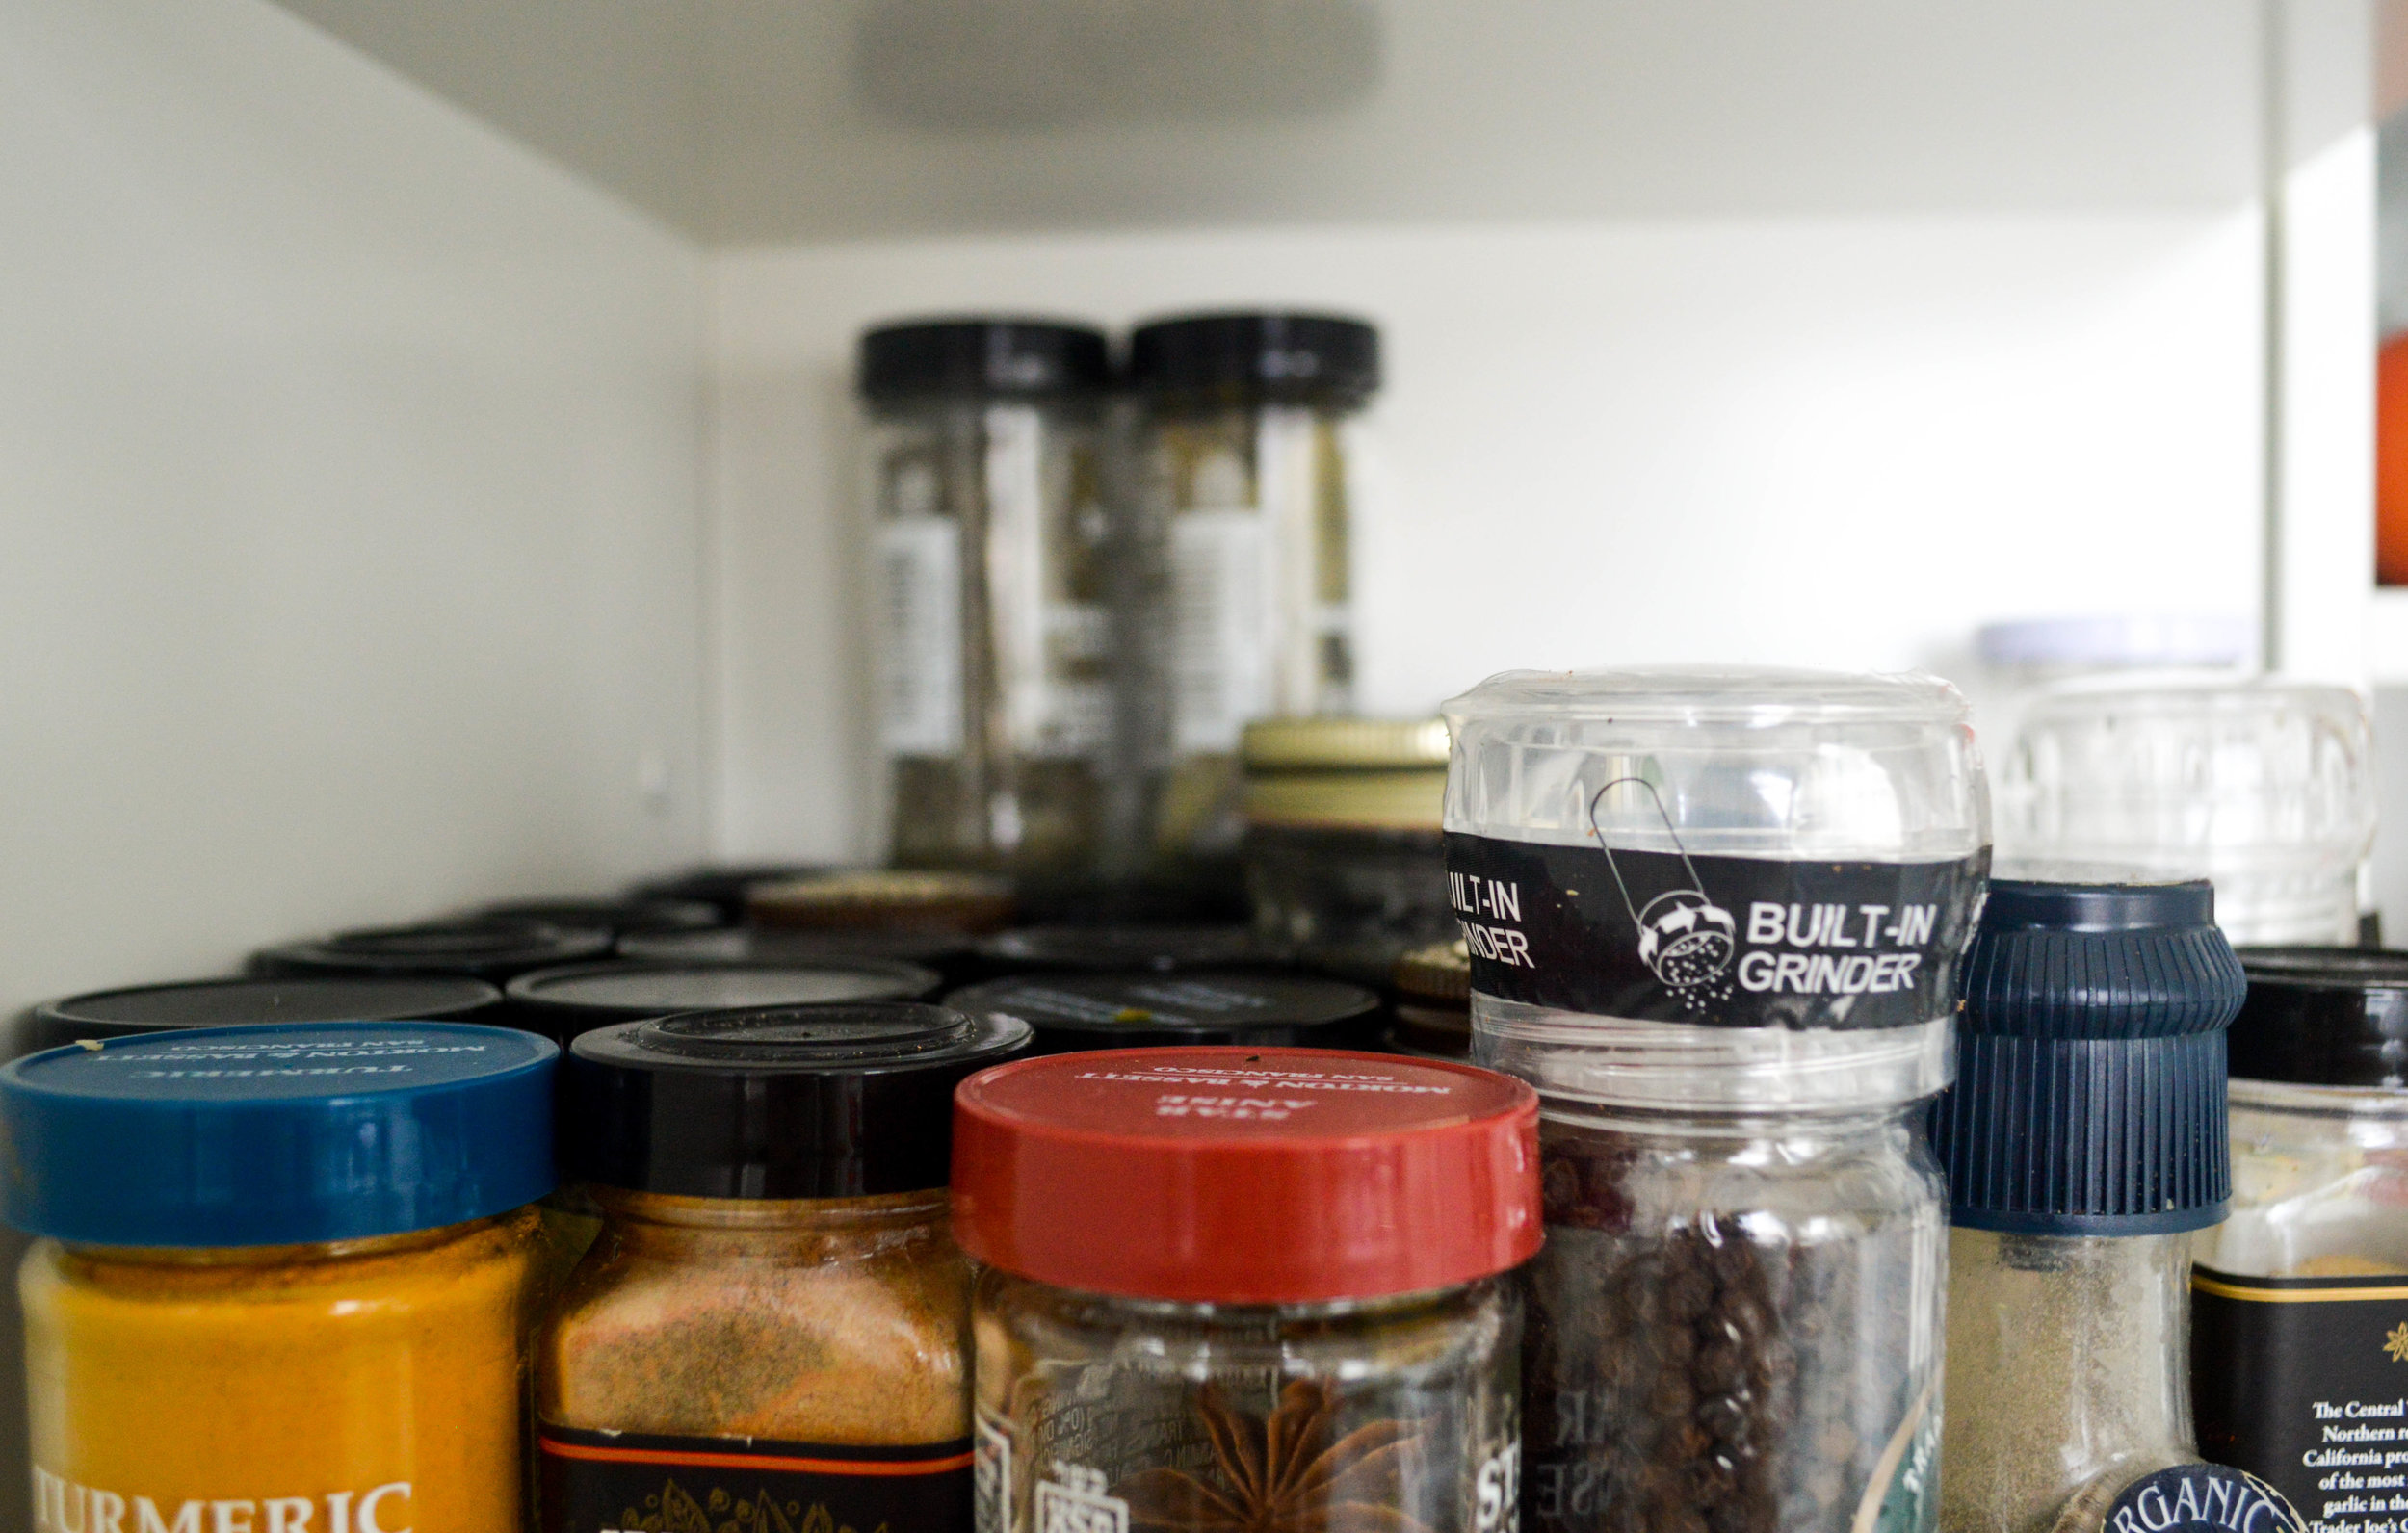
SPICES. Kind of hate to love them. Oh, I mean, spices totally make or break a meal. But good LORD - does anything get you more peeved than trying to retrieve a spice from the back of your cupboard?
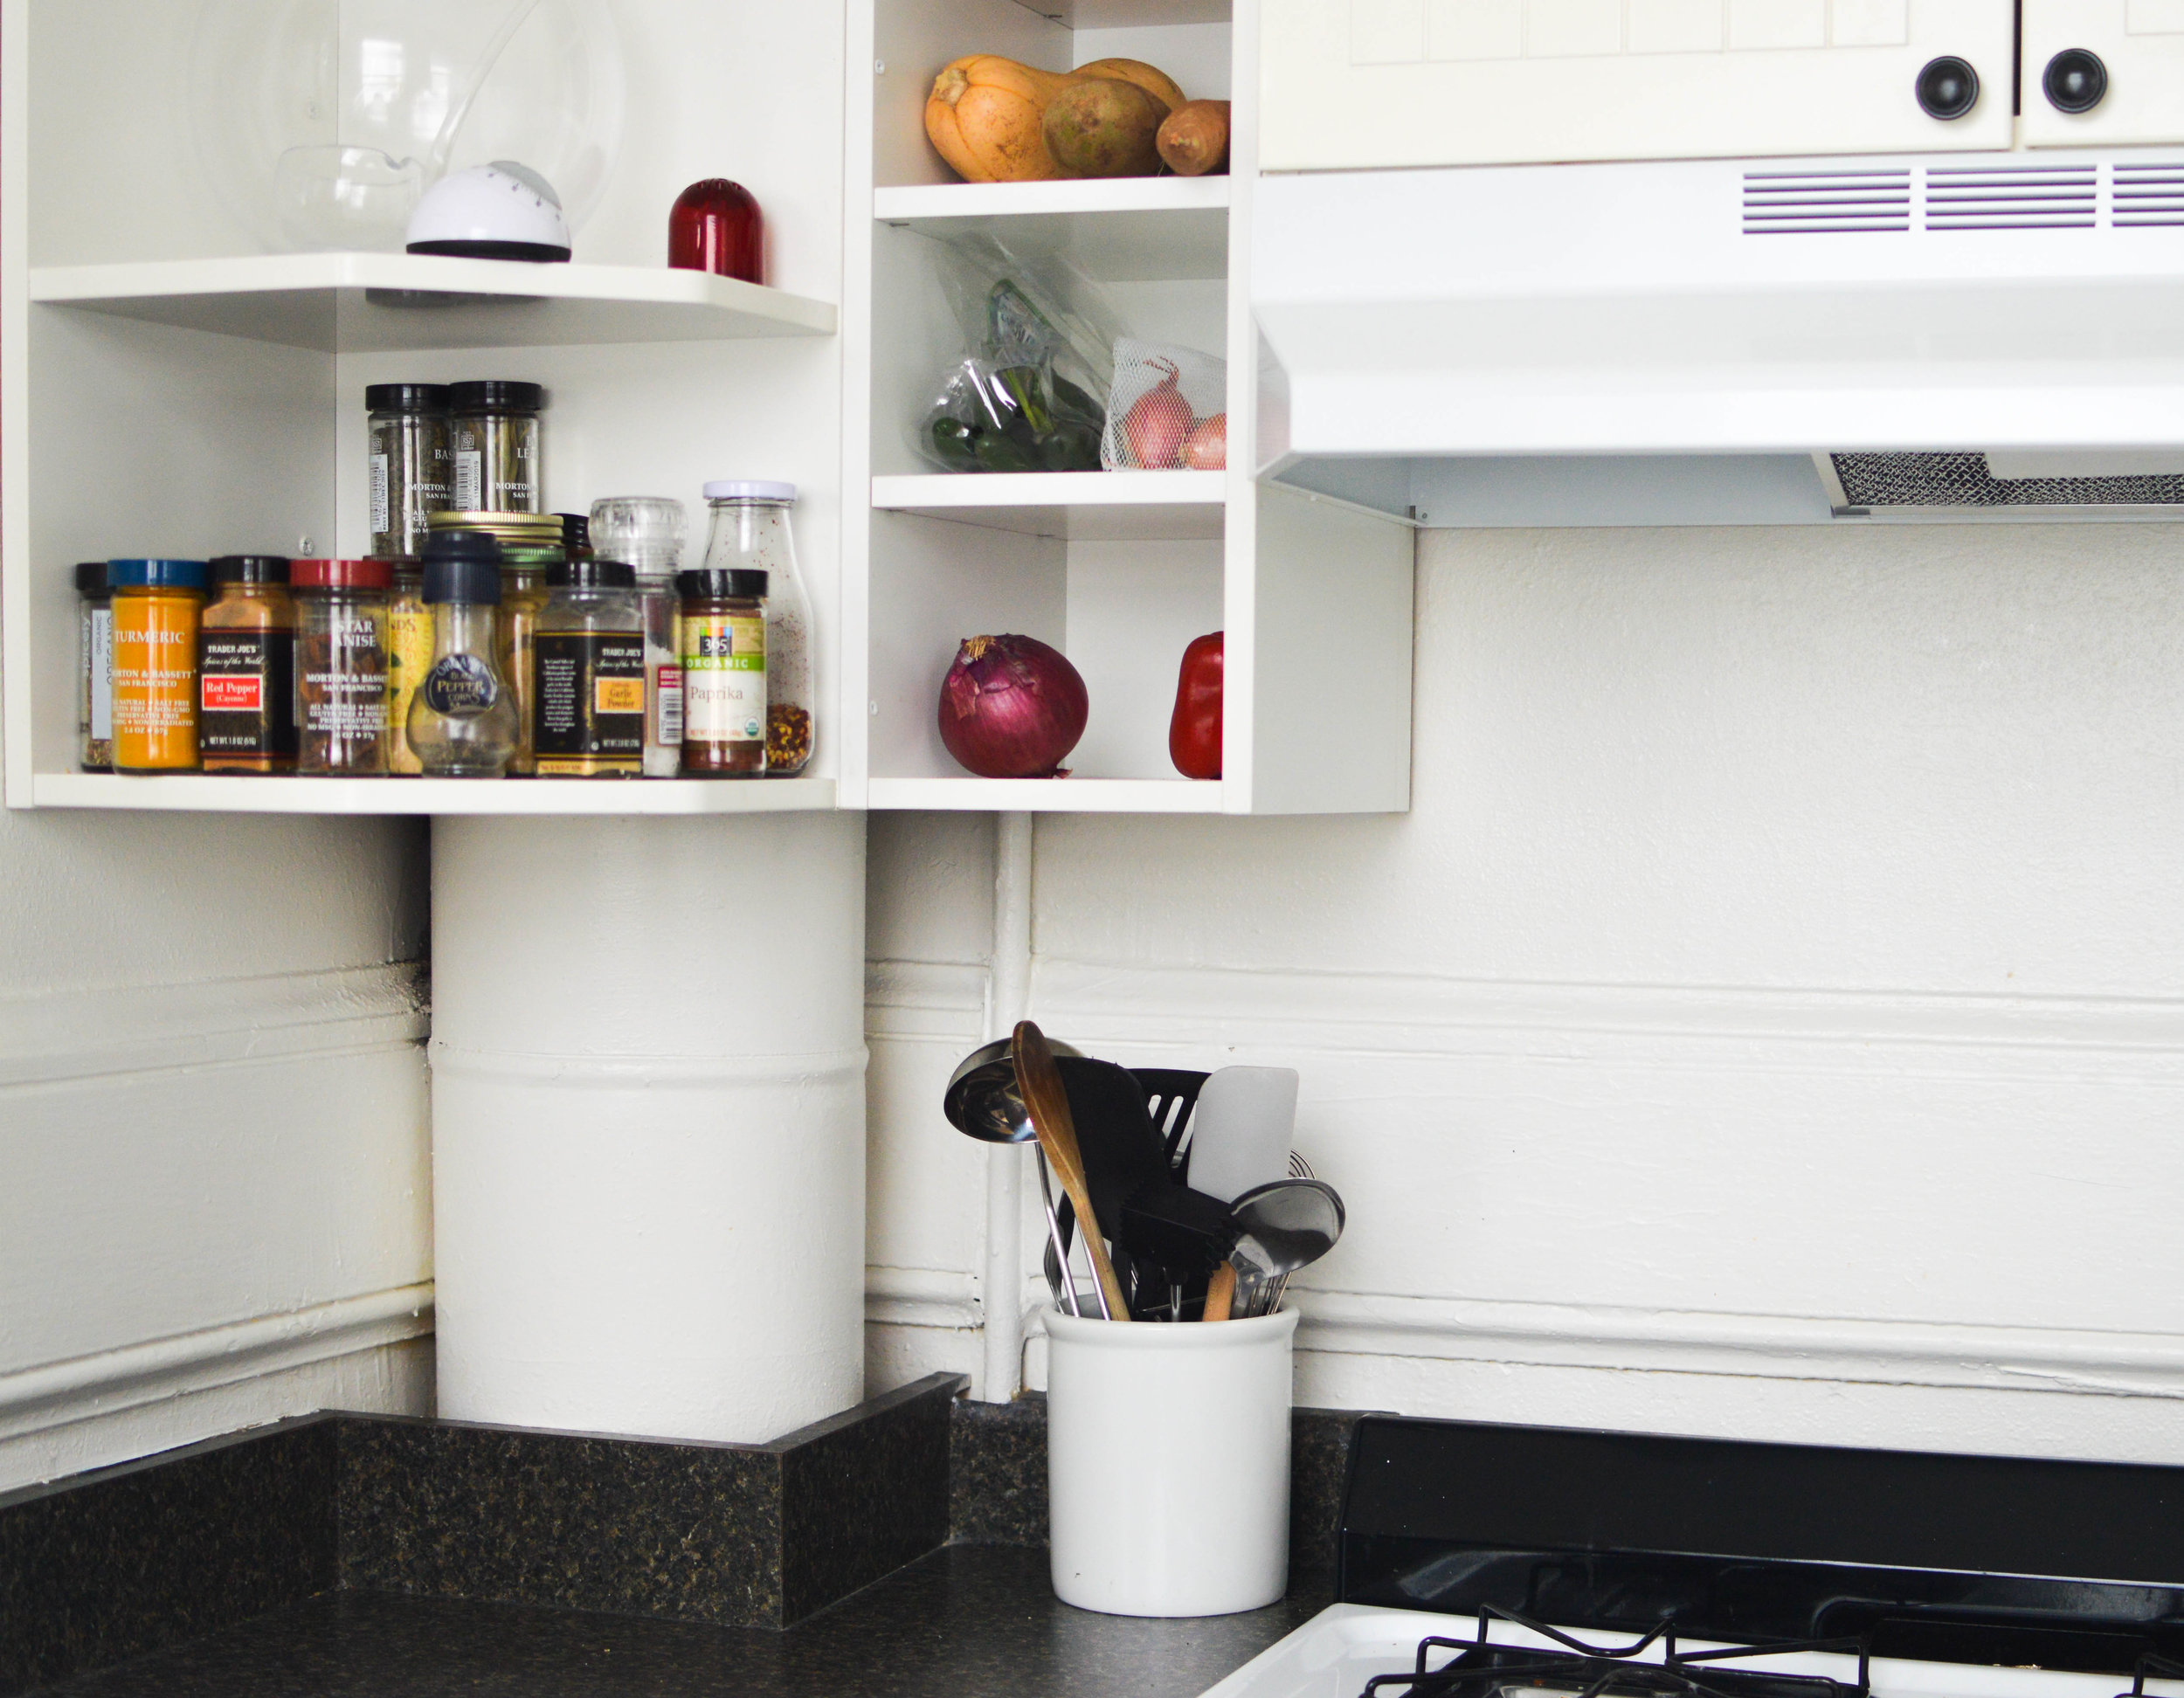
At my old apartment in the TenderNob, I kept my small amount of spices on the windowsill above my sink. I've since moved in a with a roommate who actually knows how to cook, so, combined, our spice situation was out of control. Neither of us were happy, so we brainstormed a solution: utilize the weird above stove space as a home for our many bottles of spice. Like the single file nature of my window sill, a skinny shelf would make our spices easier to see, plus, bonus, easy access while we cooked!
I used:
- Two (2) 38in x 3.5in pine project boards
- Two (2) 38in x 2.5in pine project boards
- Four (4) C-clamps
- Wood Glue
- Level
- Power Drill
- Two (2) brackets
- Sand paper
- Goat hair brush
- Polyurethane
- 22 screws
So, this is what we were dealing with....
Here's what I did:
Step one: Sandwich the Project Boards
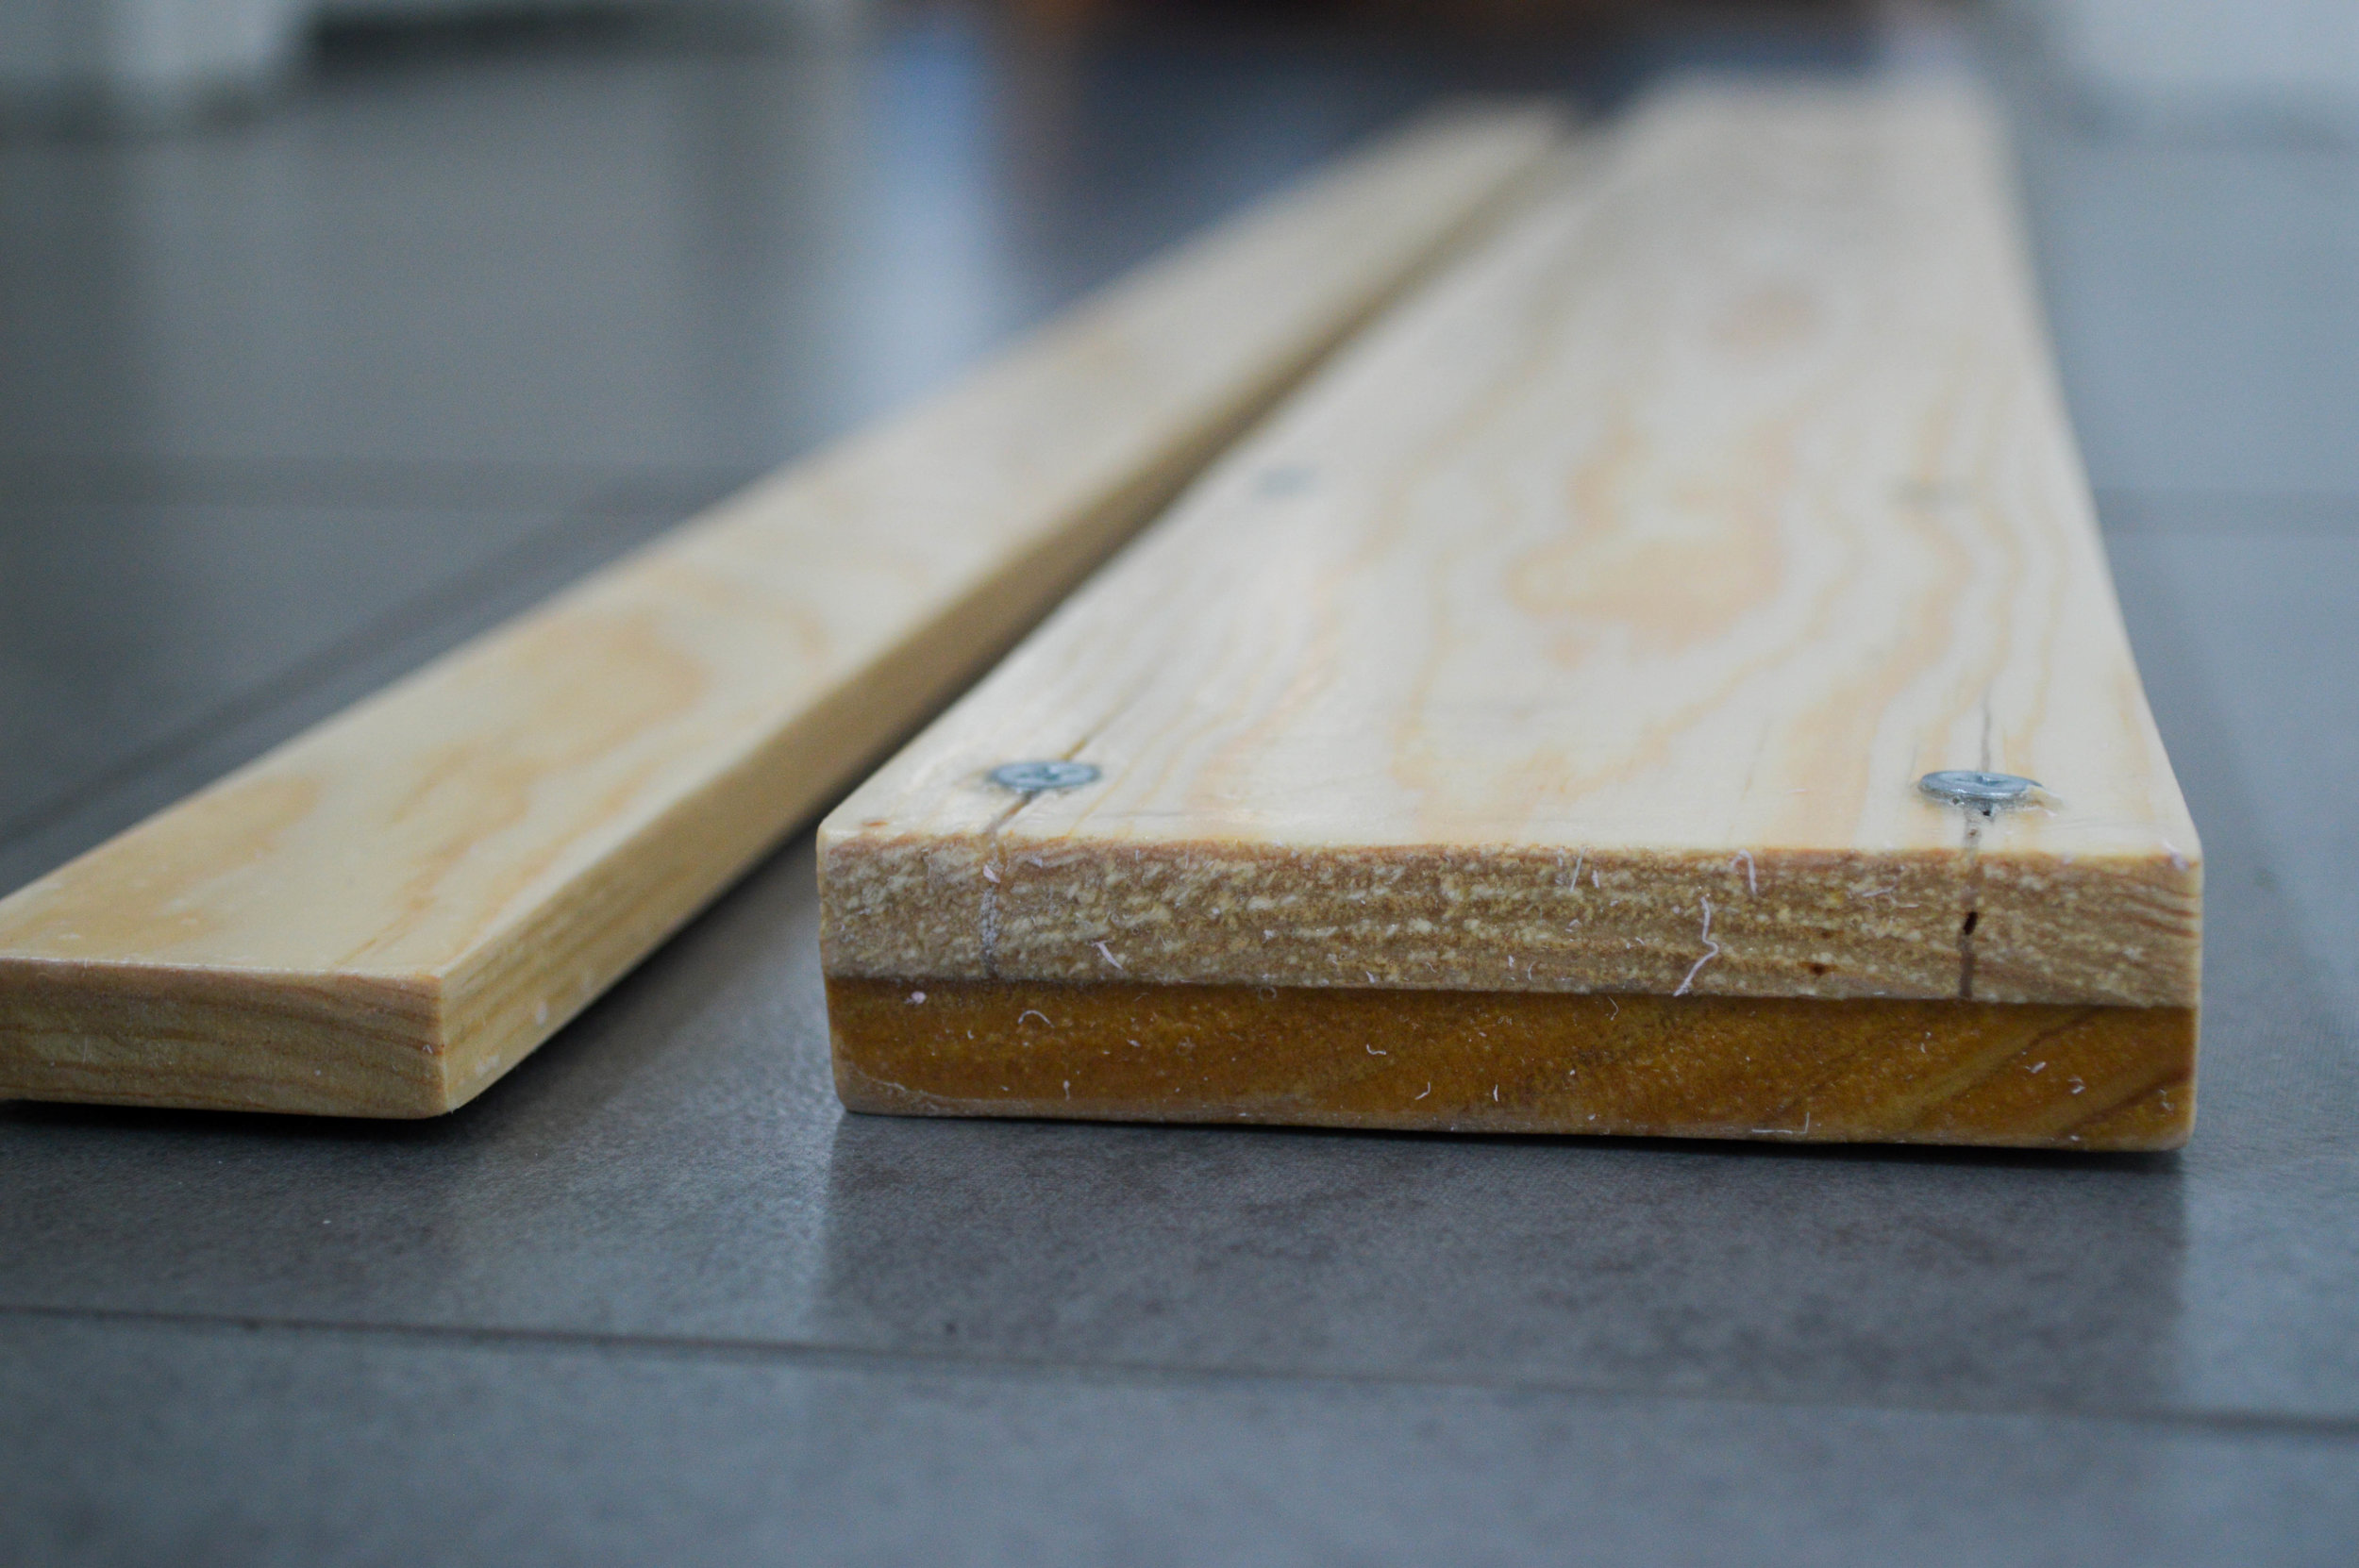
Project board is very thin and flimsy by nature. Alone, I was worried it wouldn't be able to hold the weight of our spices. I decided to sandwich the two wider project boards to make it a bit more sturdy. Using wood glue, I placed one board directly on top of the other. With four c-clamps I secured it for drying. Then, while the wood glue was still wet, I used a power drill to secure ten screws into the project-board-sandwich, to aid the c-clamps. If you do this step, be sure to choose screws that are long enough to reach both levels of the project board, but not long enough to break through the top.
Here's a picture of the finished sandwich :)
Step two: Sand and Polyurethane
After 24 hours, my wood glue was dry. I removed the c-clamps and sanded the sandwiched, thicker board. At this point, I also grabbed the two thinner boards and sanded them as well. Following the directions on my can of polyurethane, I applied two coats to each side of all the boards with a goat hair brush, several hours apart. This step is important because, at its spot above the stove, the shelf will be exposed to water, steam and other liquids. The polyurethane should prevent warping.
Step three: Build the shelf
When everything was dry, about two days later, it was time to build the shelf! The base of our shelf is the wider, sandwiched project board. Using three screws, I attached the skinnier project board to the front of this piece at a 90 degree angle. My intent was to make a "wall," so the spices could not easily fall off of the base. I did the same to the back side with the second skinny project board.
I don't like this picture because the brackets aren't flush (I readjusted before hanging), but this will help demonstrate what you're doing....
Step Four: Attach the brackets to shelf
Flip your new shelf over, so the bottom is in the air. Screw the brackets, flush, to the bottom of your project board. Again, be sure to use screws that aren't long enough to break through the top board.
Step Five: Screw Shelf to Wall
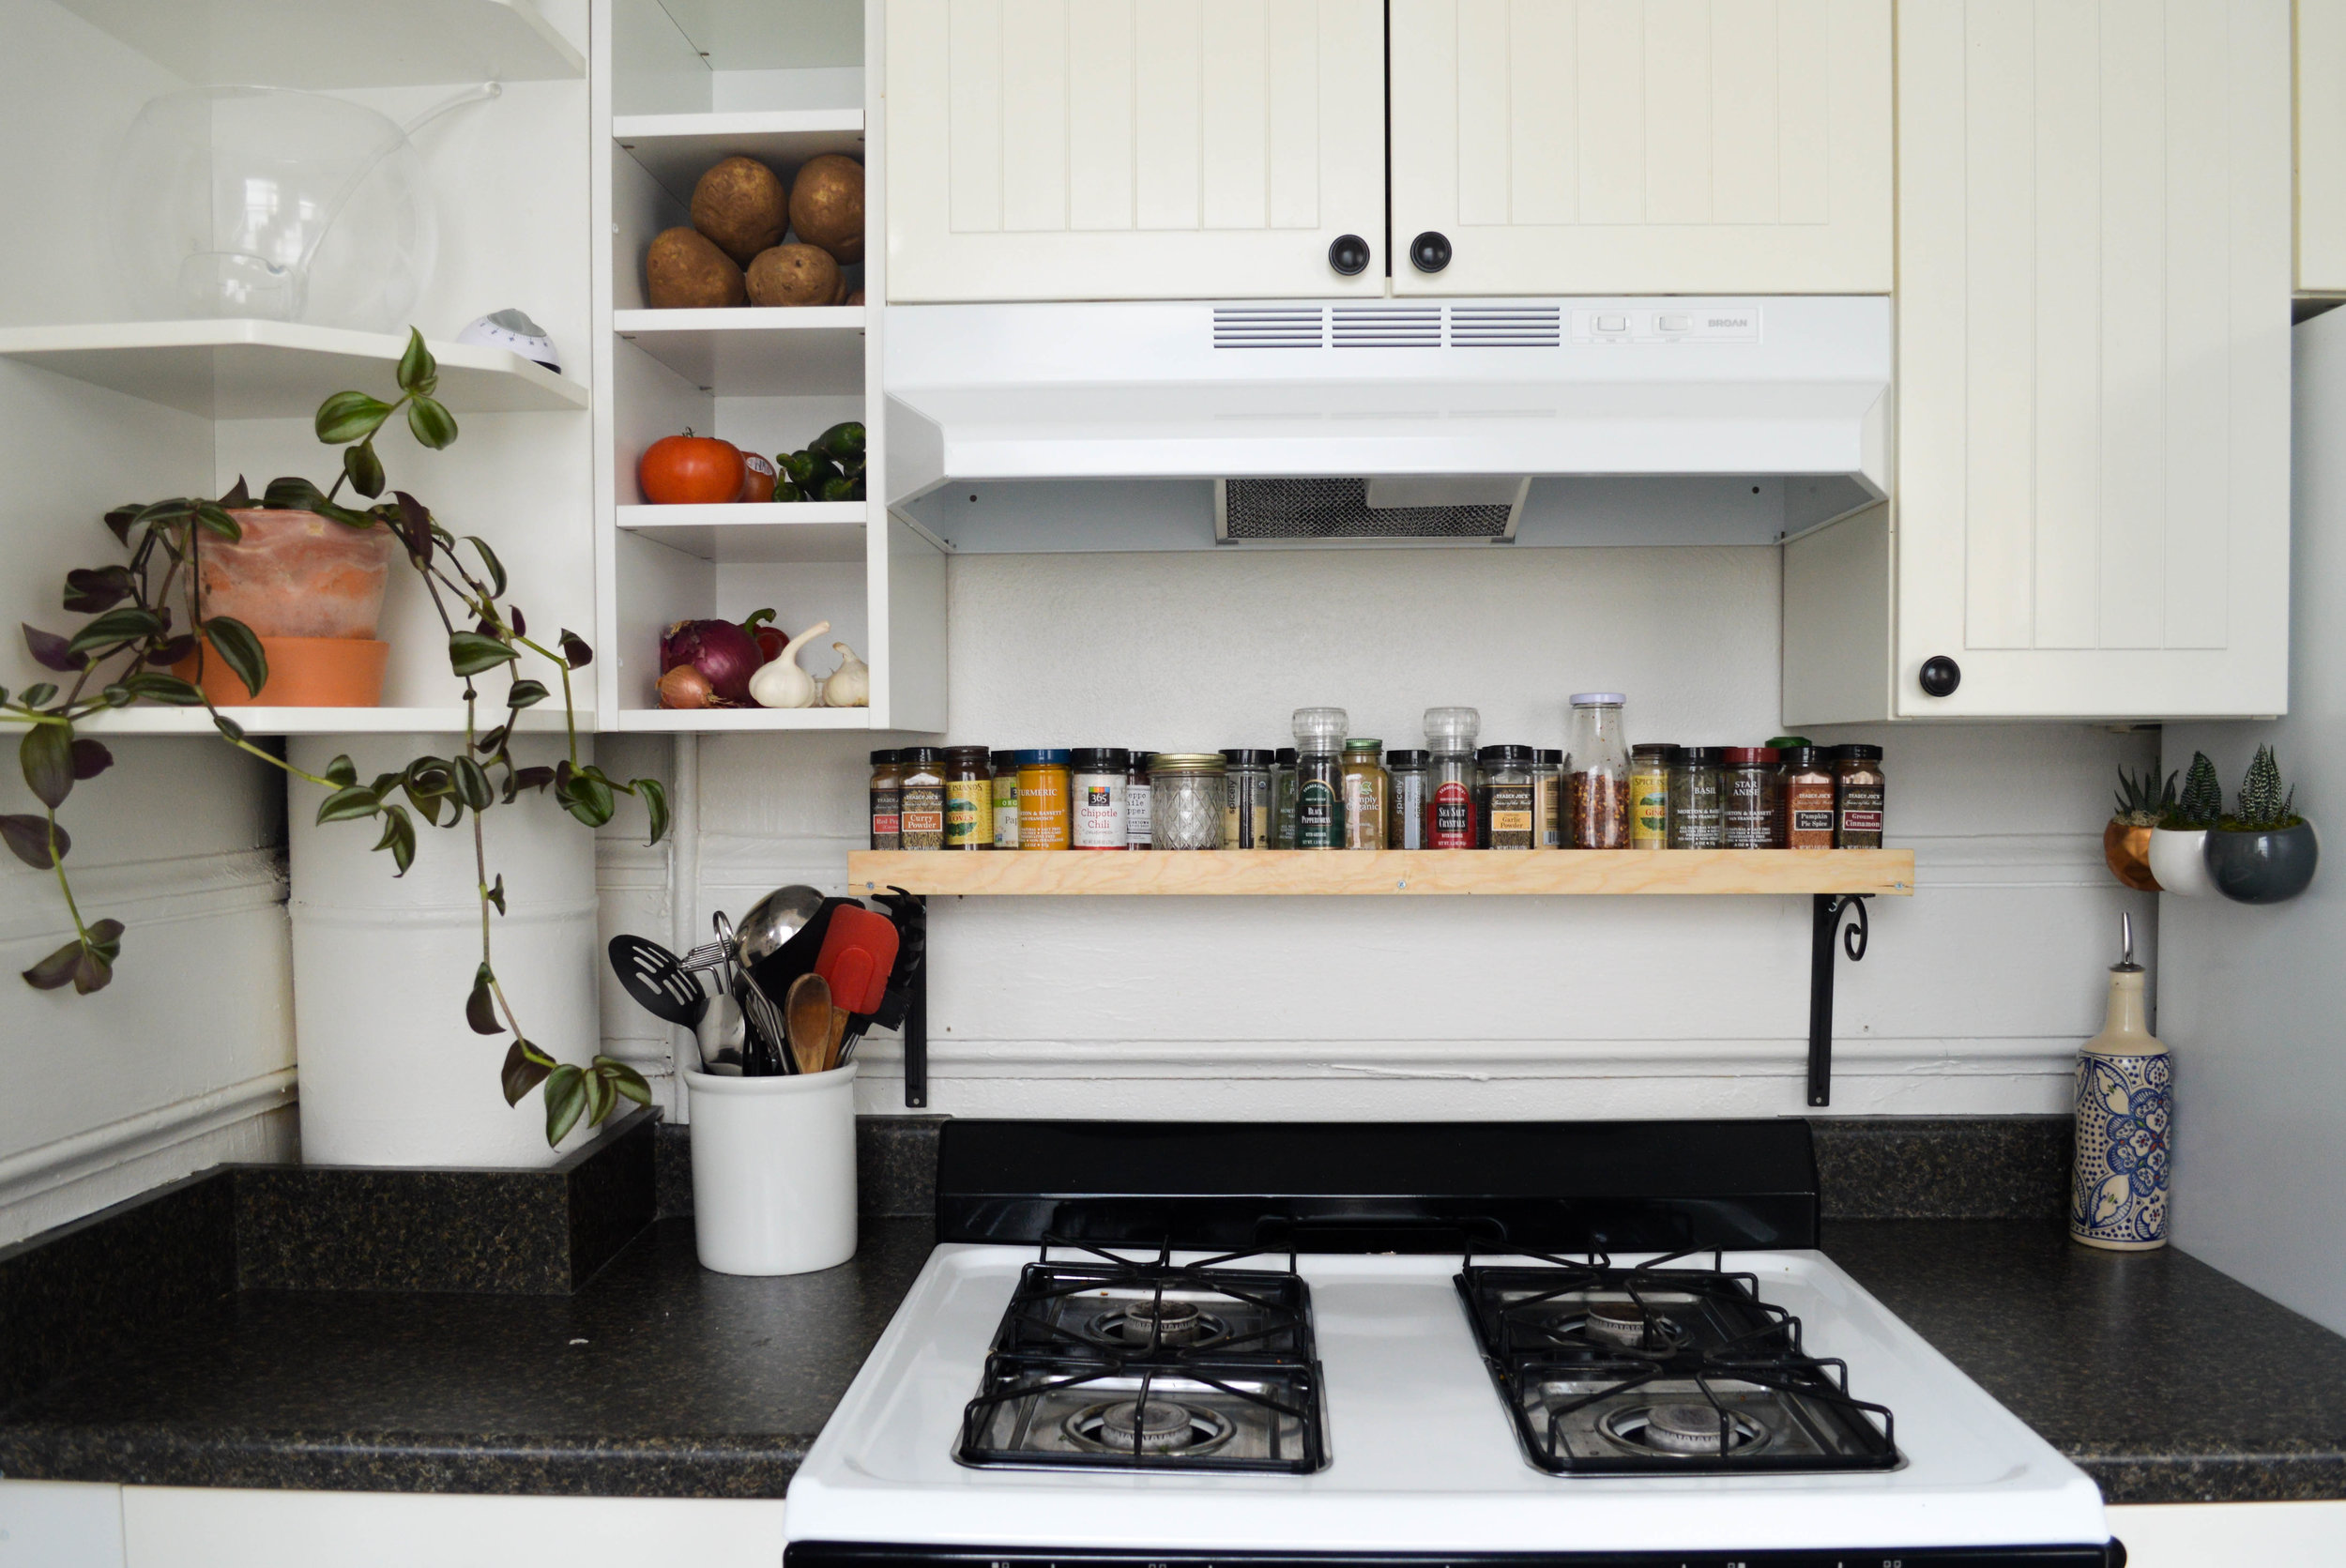
Voila! With a level and a screwdriver I hung up our new spice shelf! Unfortunately, the brackets I chose were too long for my un-flat wall, so I could only utilize the screw holes at the top of my brackets. The bottoms hang off into the air, a bit, but it still gets the job done. If this happens to you, too, just make sure to prioritize the screws at the top of your brackets since they will be bearing the real weight of your spices. As a side note, you can find brackets of all sizes at your local hardware store, I just didn't measure before choosing mine.
What do you think? We love our new shelf. It's already wayyyy easier to find what we need and it looks much cleaner!
Costs
Project board: $2.50 per = $10
Screws: $4
Brackets: $20
Tools/Polyurethane/Wood glue: Had
Total: $34!


